
Virtual Boy Cartridge Programmer
Originally: April 8th, 2018
Last Updated: April 5th, 2020
That great logo at the top is courtesy of Barry Shilmover. Thanks Barry!
This was a really interesting project for me that evolved over its development. Below is a linear progression of that development. I did the electrical, firmware, and mechanical design for this entire project, as well as all the assembly for 18 units. It takes about 2 hours to assemble a unit with the right tools. The main new skill I learned for this project was much more elaborate chassis design in TinkerCad. Read on for more details!
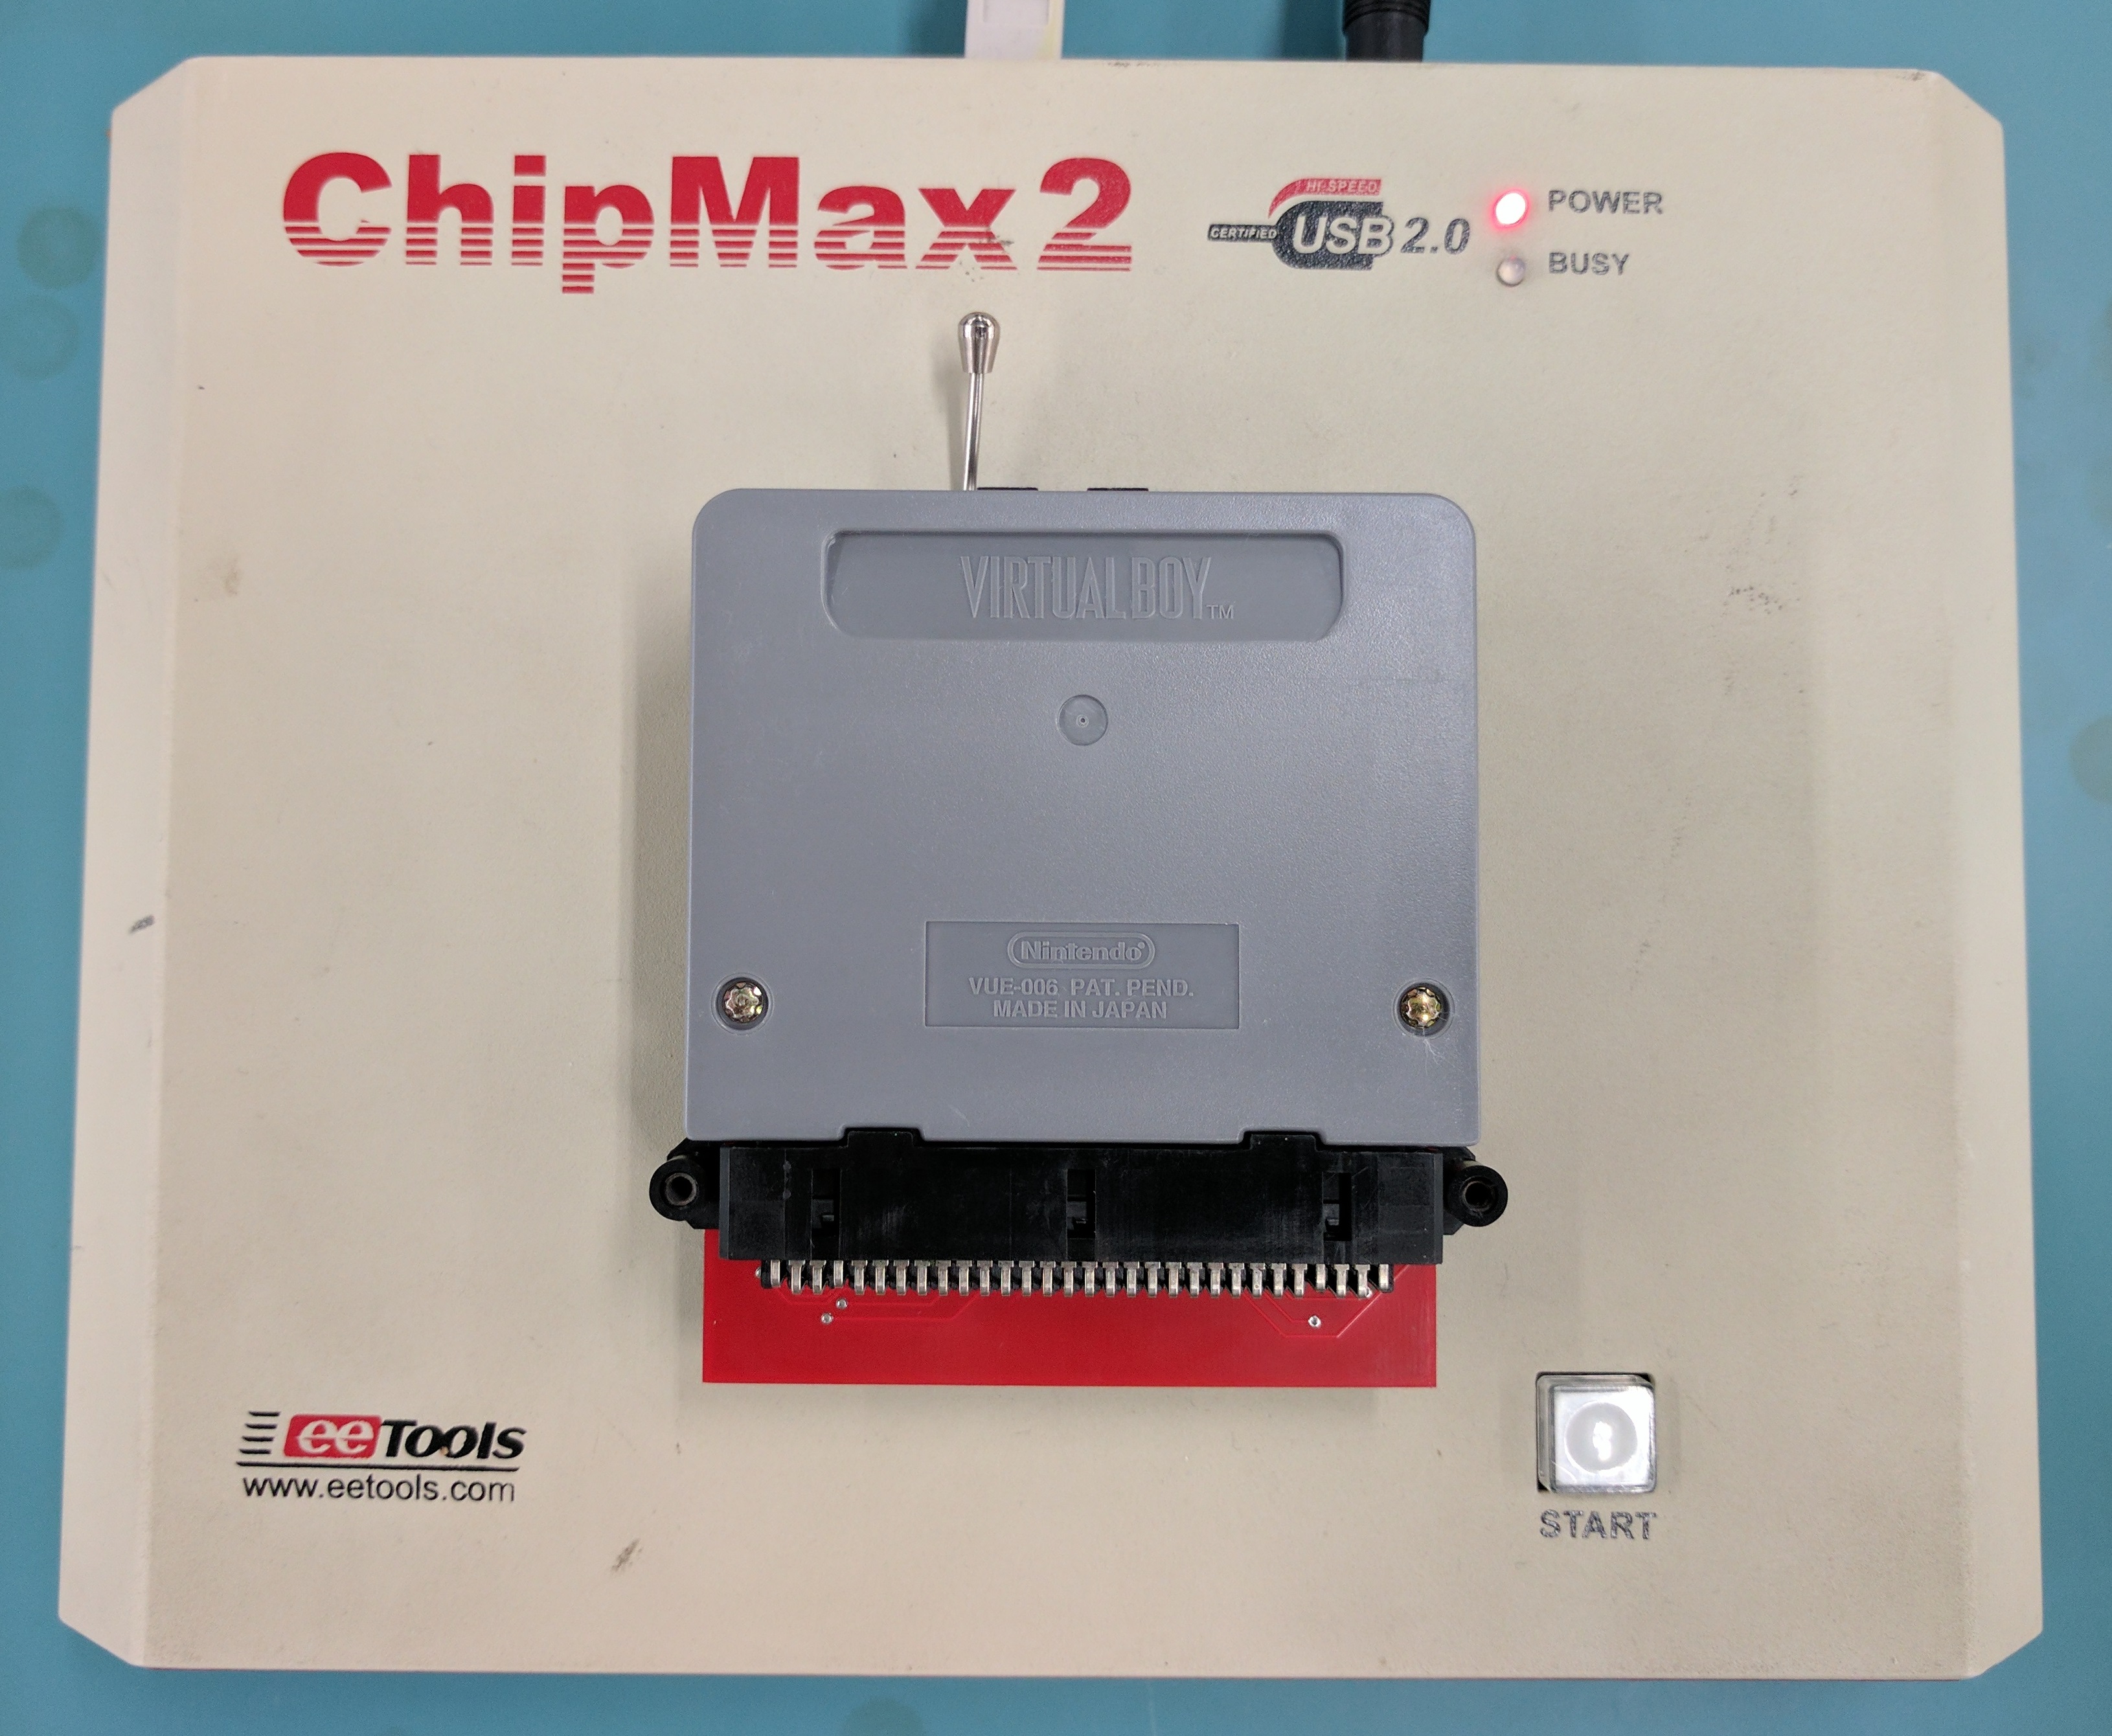
I originally started out building an adapter PCB to plug VB carts into an EETools ChipMax 2 reader/writer. That didn’t work out so well because the ChipMax 2 cannot tolerate much more line delay then its already has. I’ve since then also had additional problems programming the flash chips I use for VB cartridges using a newer ChipMax 2. There seems to be some compatibility issues with ChipMax 2 based on computer operating systems and the older flash chips I use. Shown below is my original ChipMax 2 VB cart adapter. I did use the ChipMax 2 for several years to program my 16Mbit chips before deciding that I needed something custom.
Rather than continue to struggle with Chipmax 2 issues, I decided to build my own VB cart specific programmer based on an Arduino Mega2560 R3 board. I’ve built my own EEPROM programmers in the past so I knew it wasn’t difficult to do. It just requires time. That led to the build of a VB cartridge adapter PCB that plugs into a Arduino Mega2560 R3 board to create a fully featured VB cart programmer.
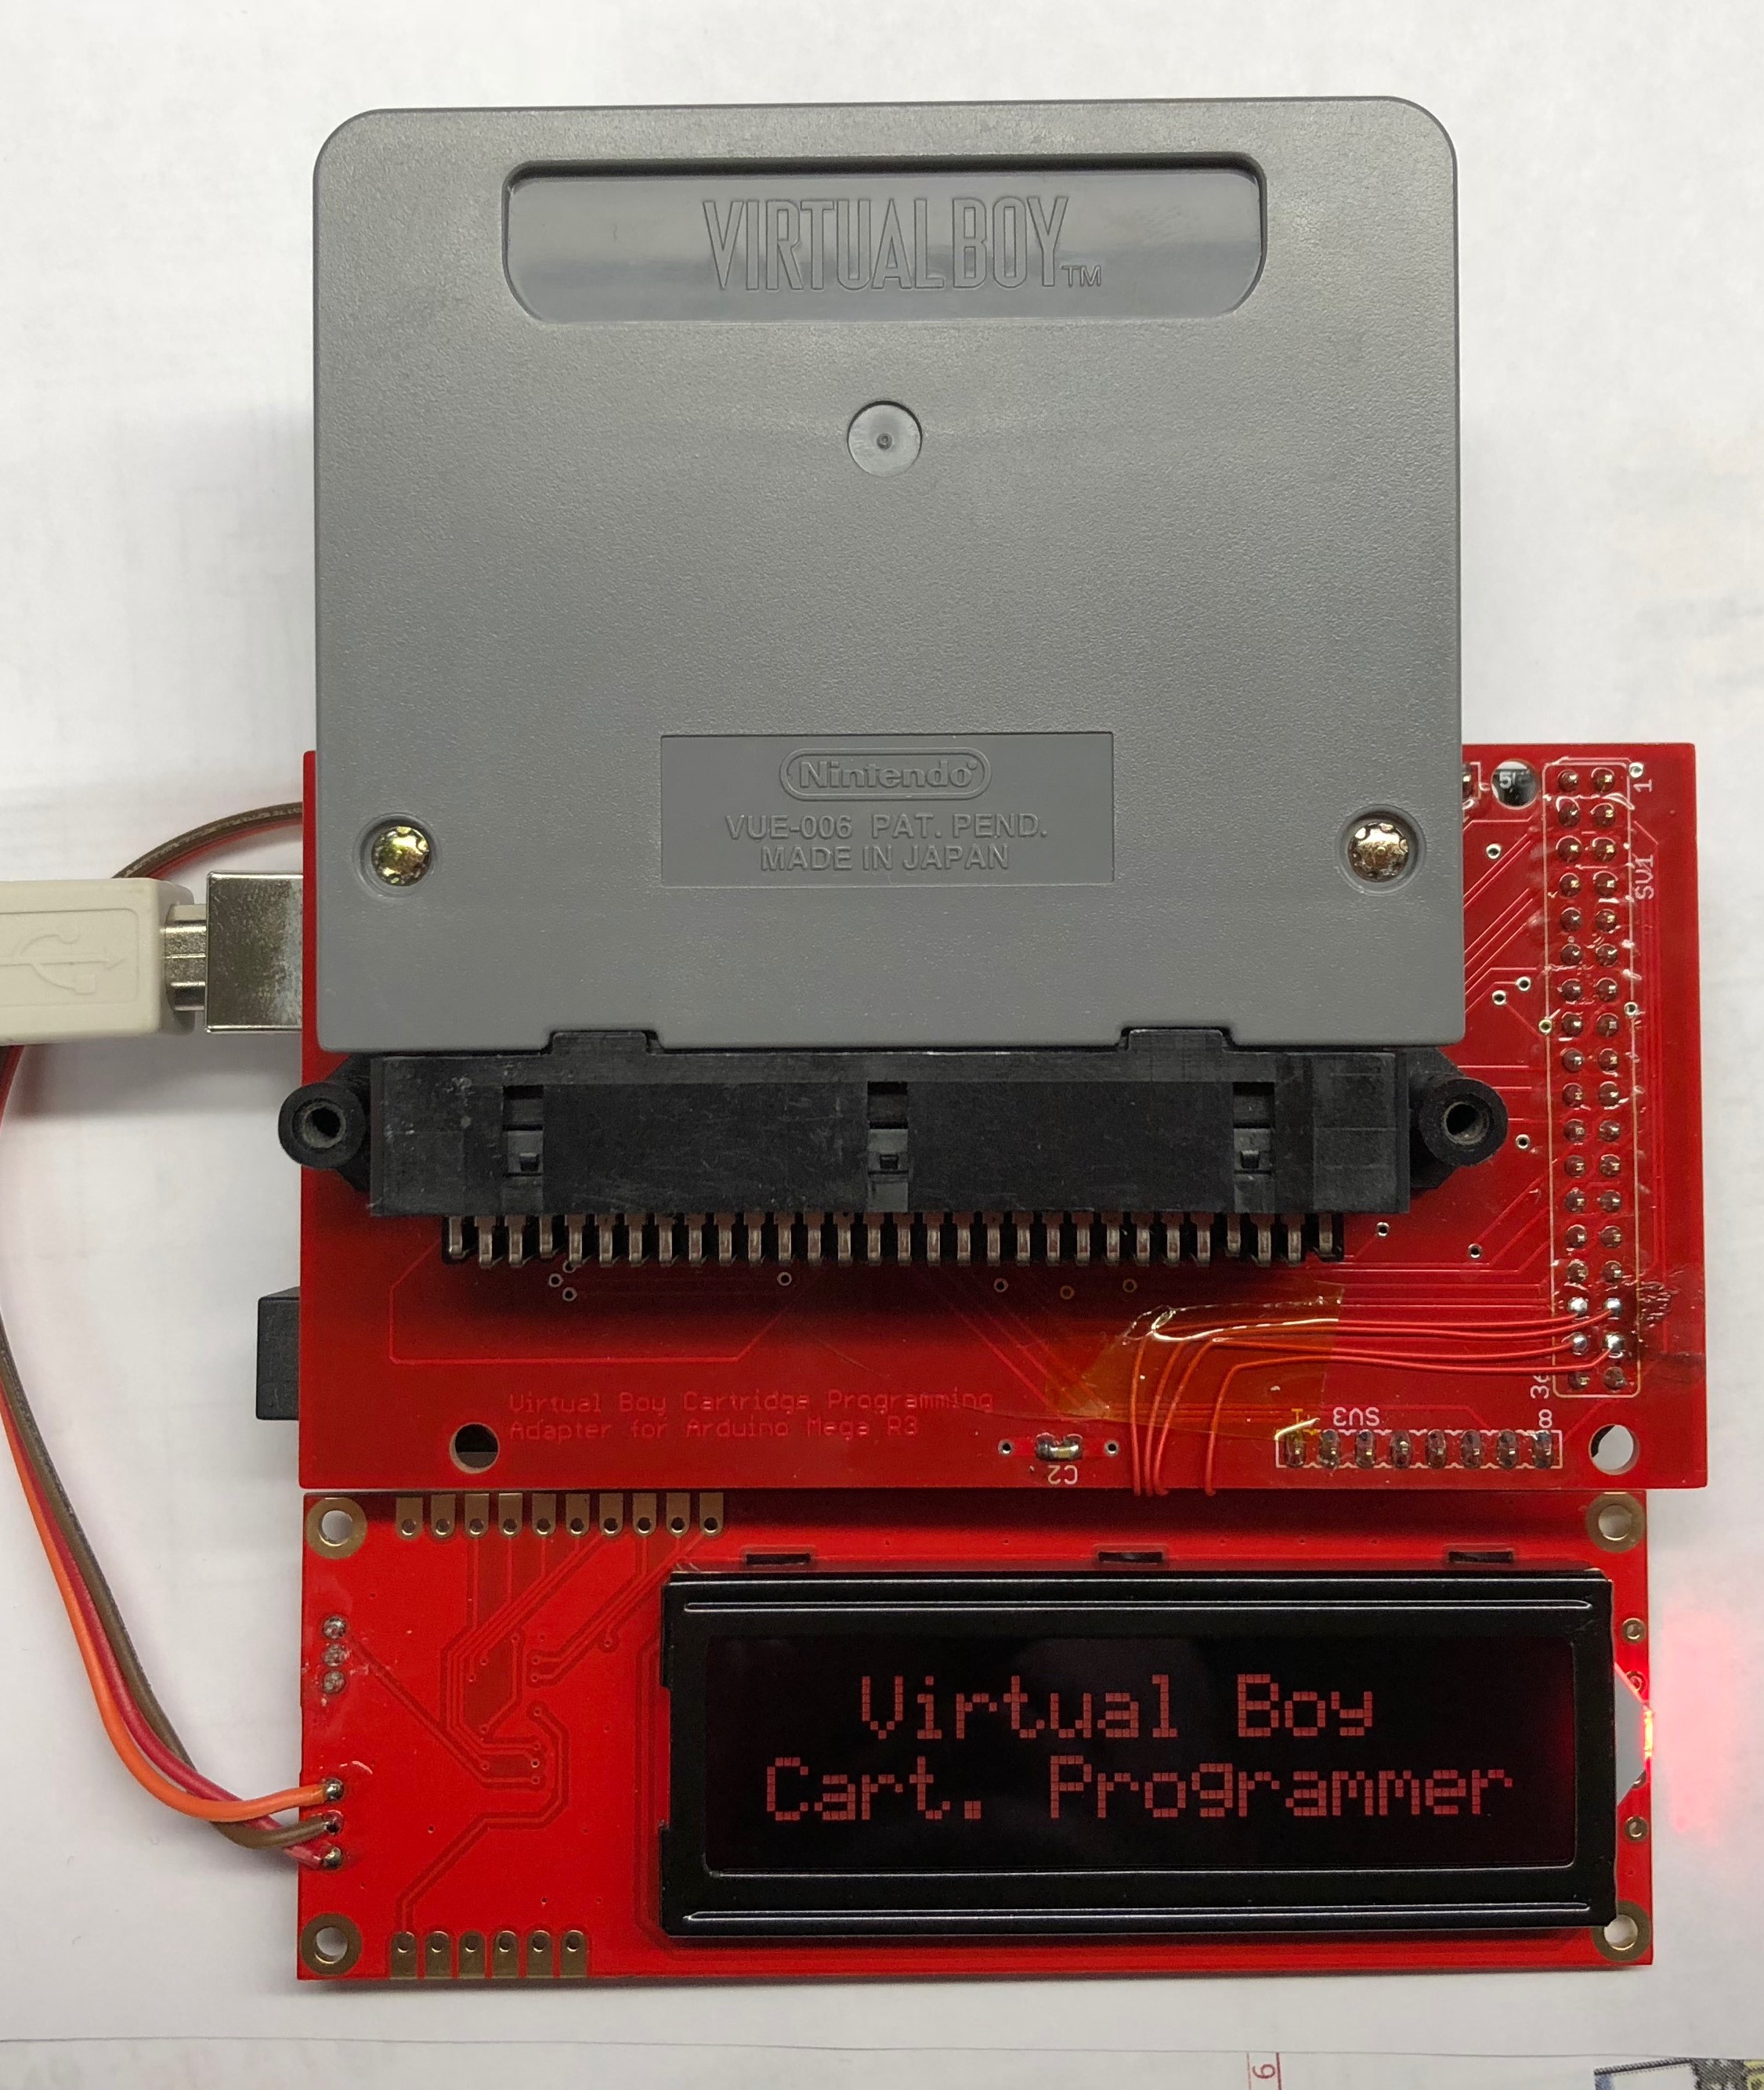
The programmer shown in the picture above was then modified to support an SD card and an LCD after the fact, hence the jumper wires. It wasn’t worth spinning another board for only 18 units. The current design can dump any current VB game, as well as program my 16Mbit custom VB carts. Support for my 128Mbit and 256Mbit carts were added next along with support for a few different vendors of the flash chips. The programmer then gave me the ability to have the cart PCBs pre-assembled and then programmed after assembly, with any file I choose.
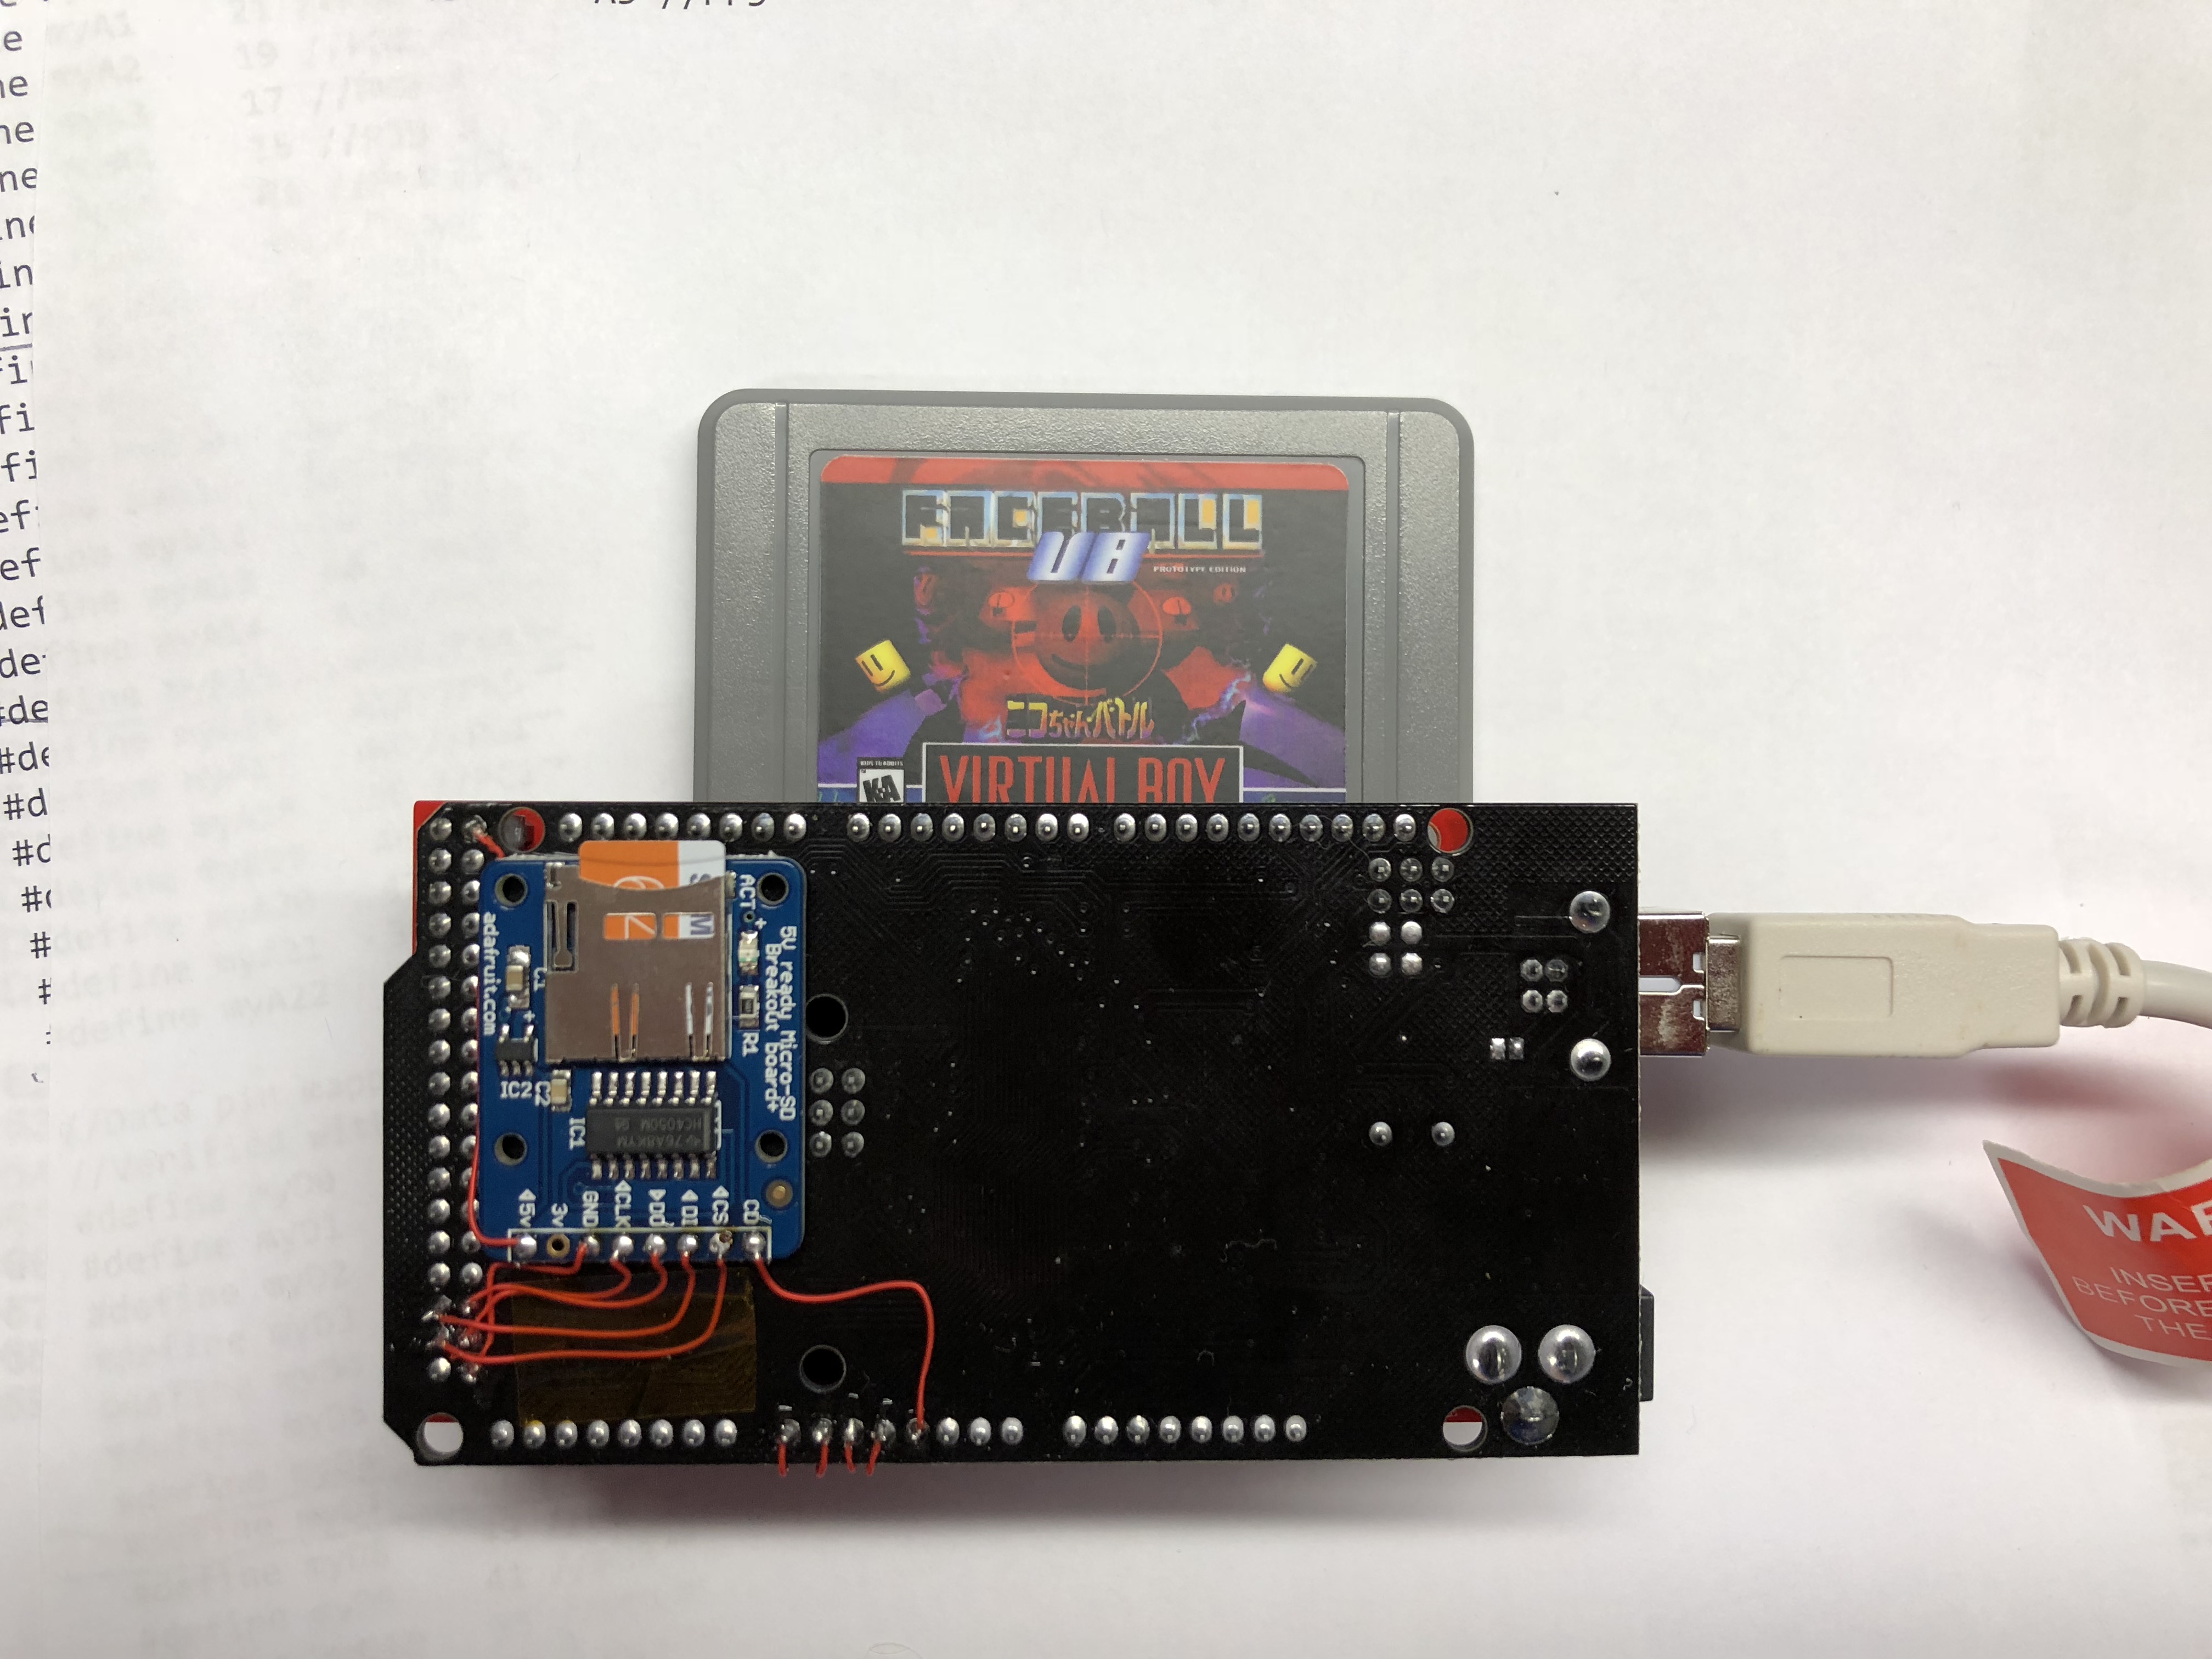
My VB cart programmer has the ability to write both the flash space and SRAM space, as well as dump both of those to the SD card. Files that you want to program with are placed on the SD card and then can be selected to upload to the cart.
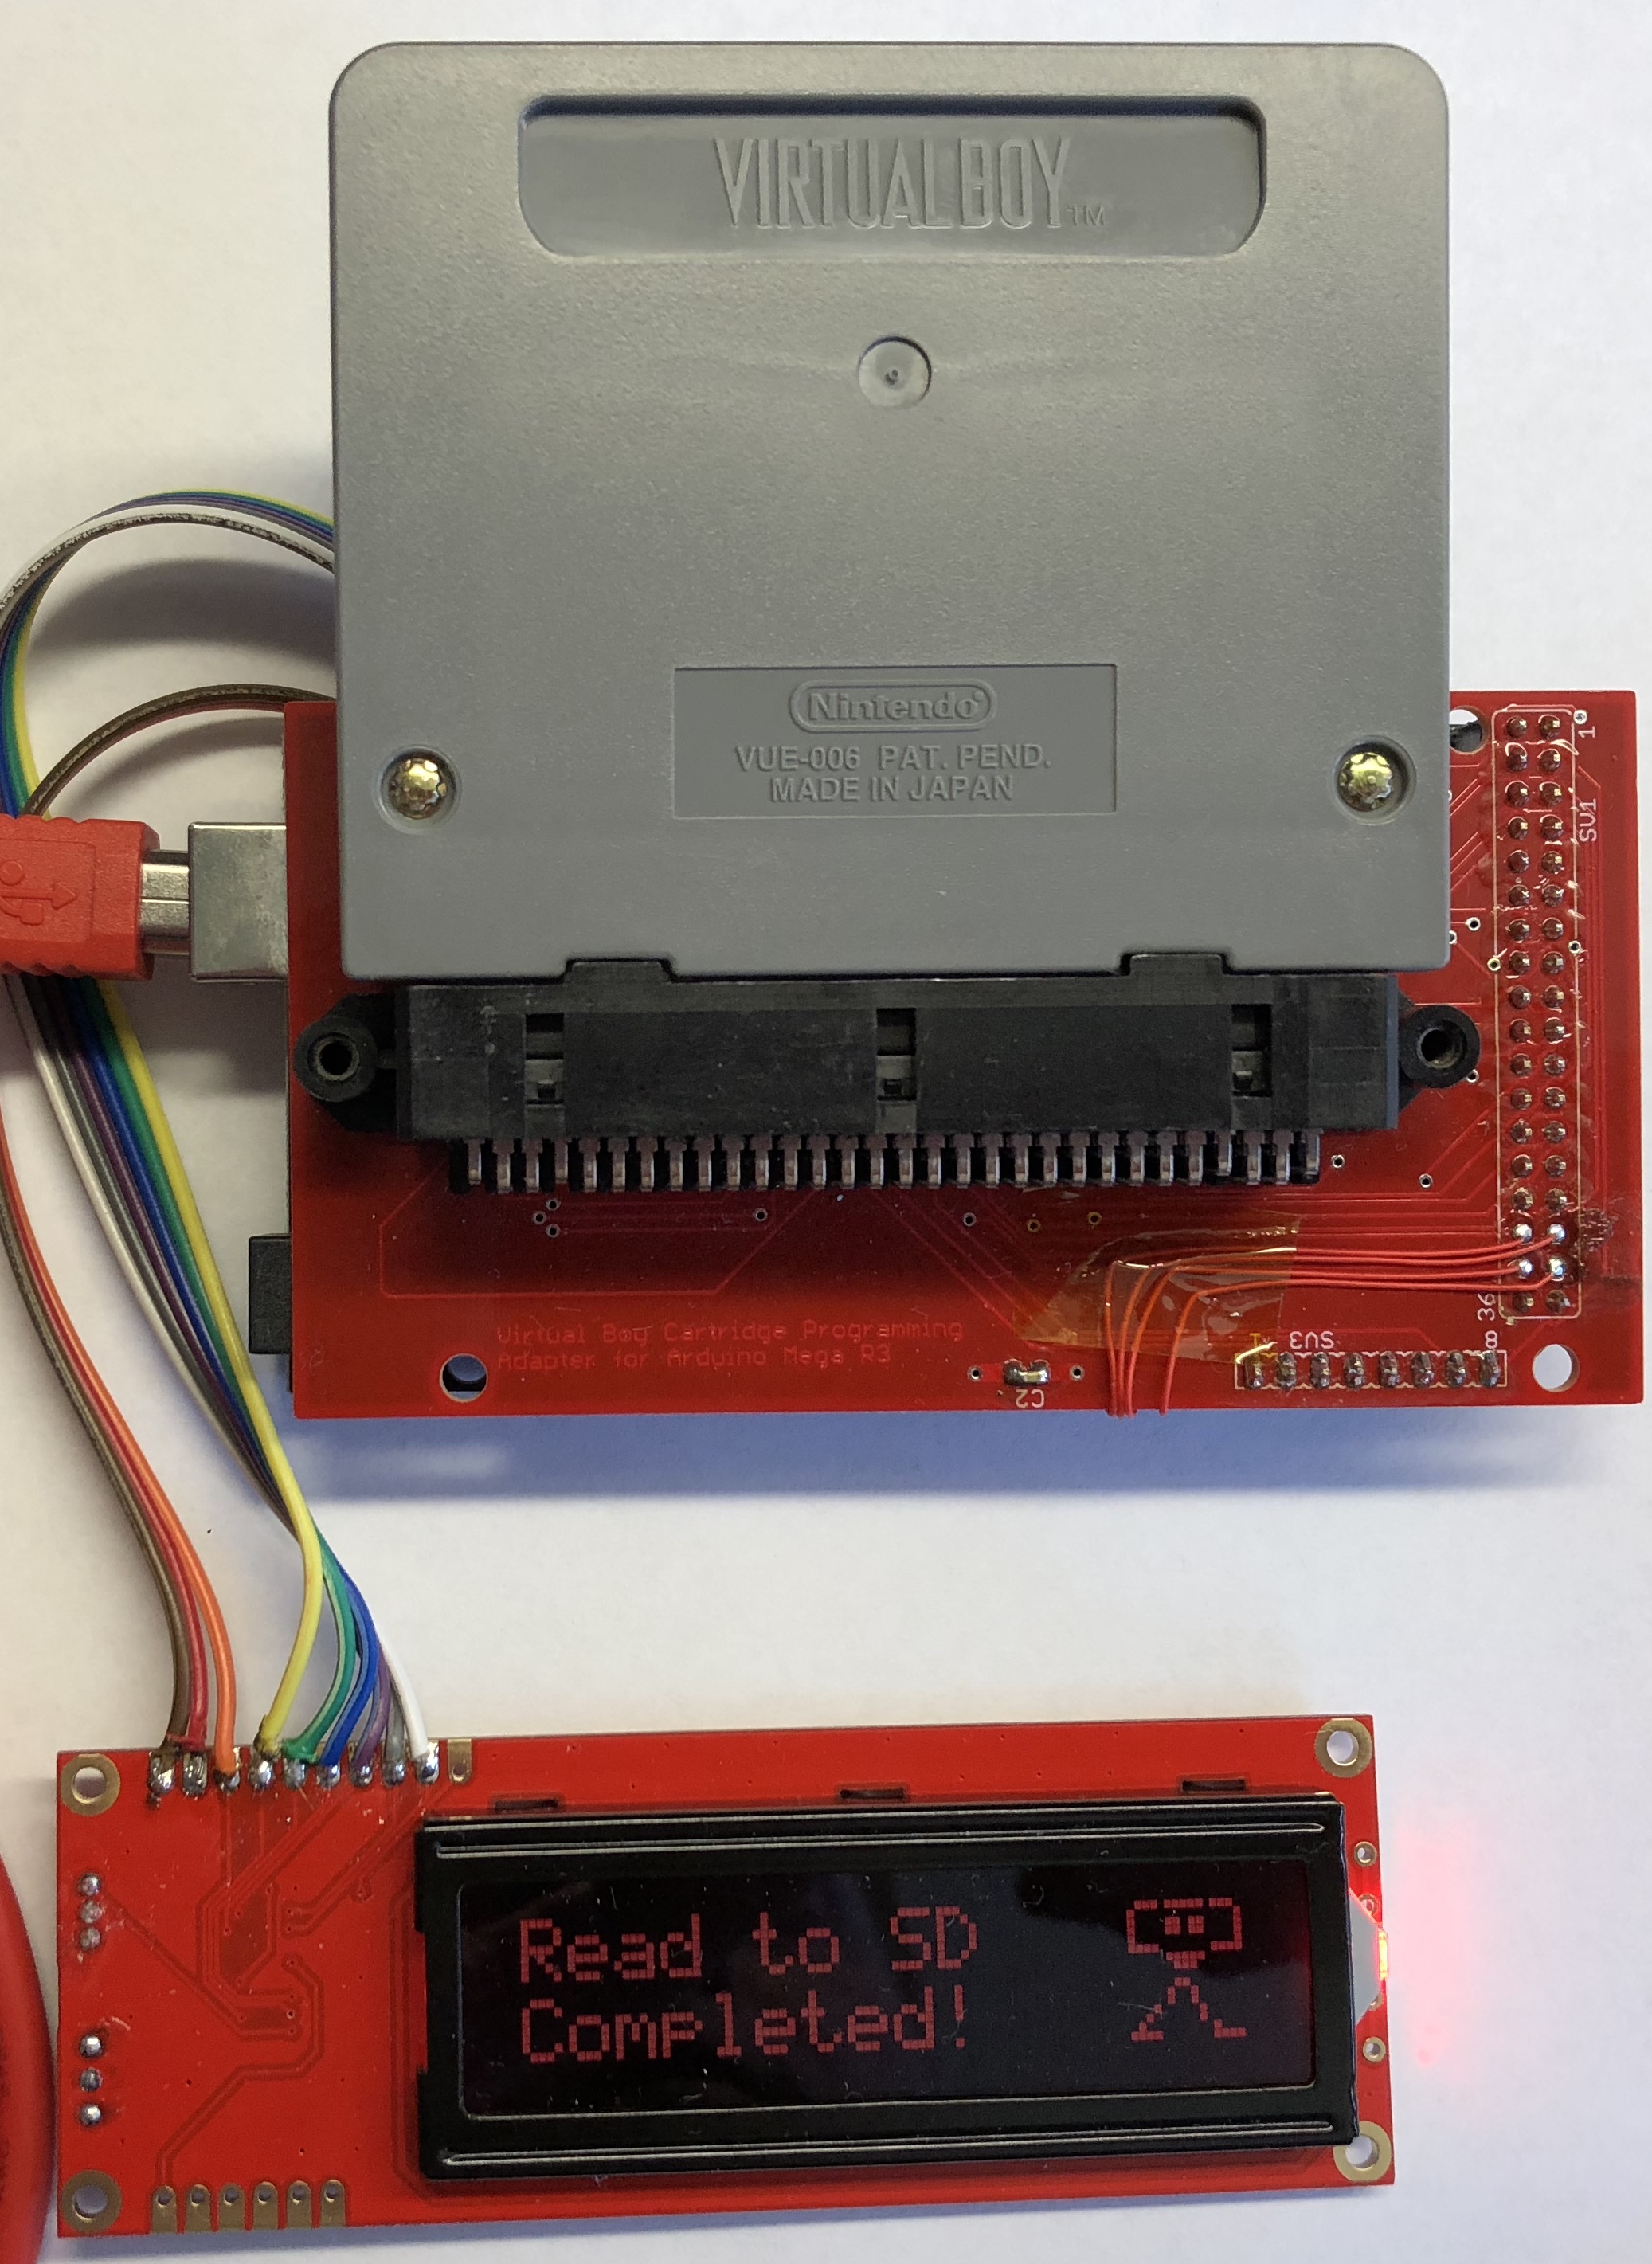
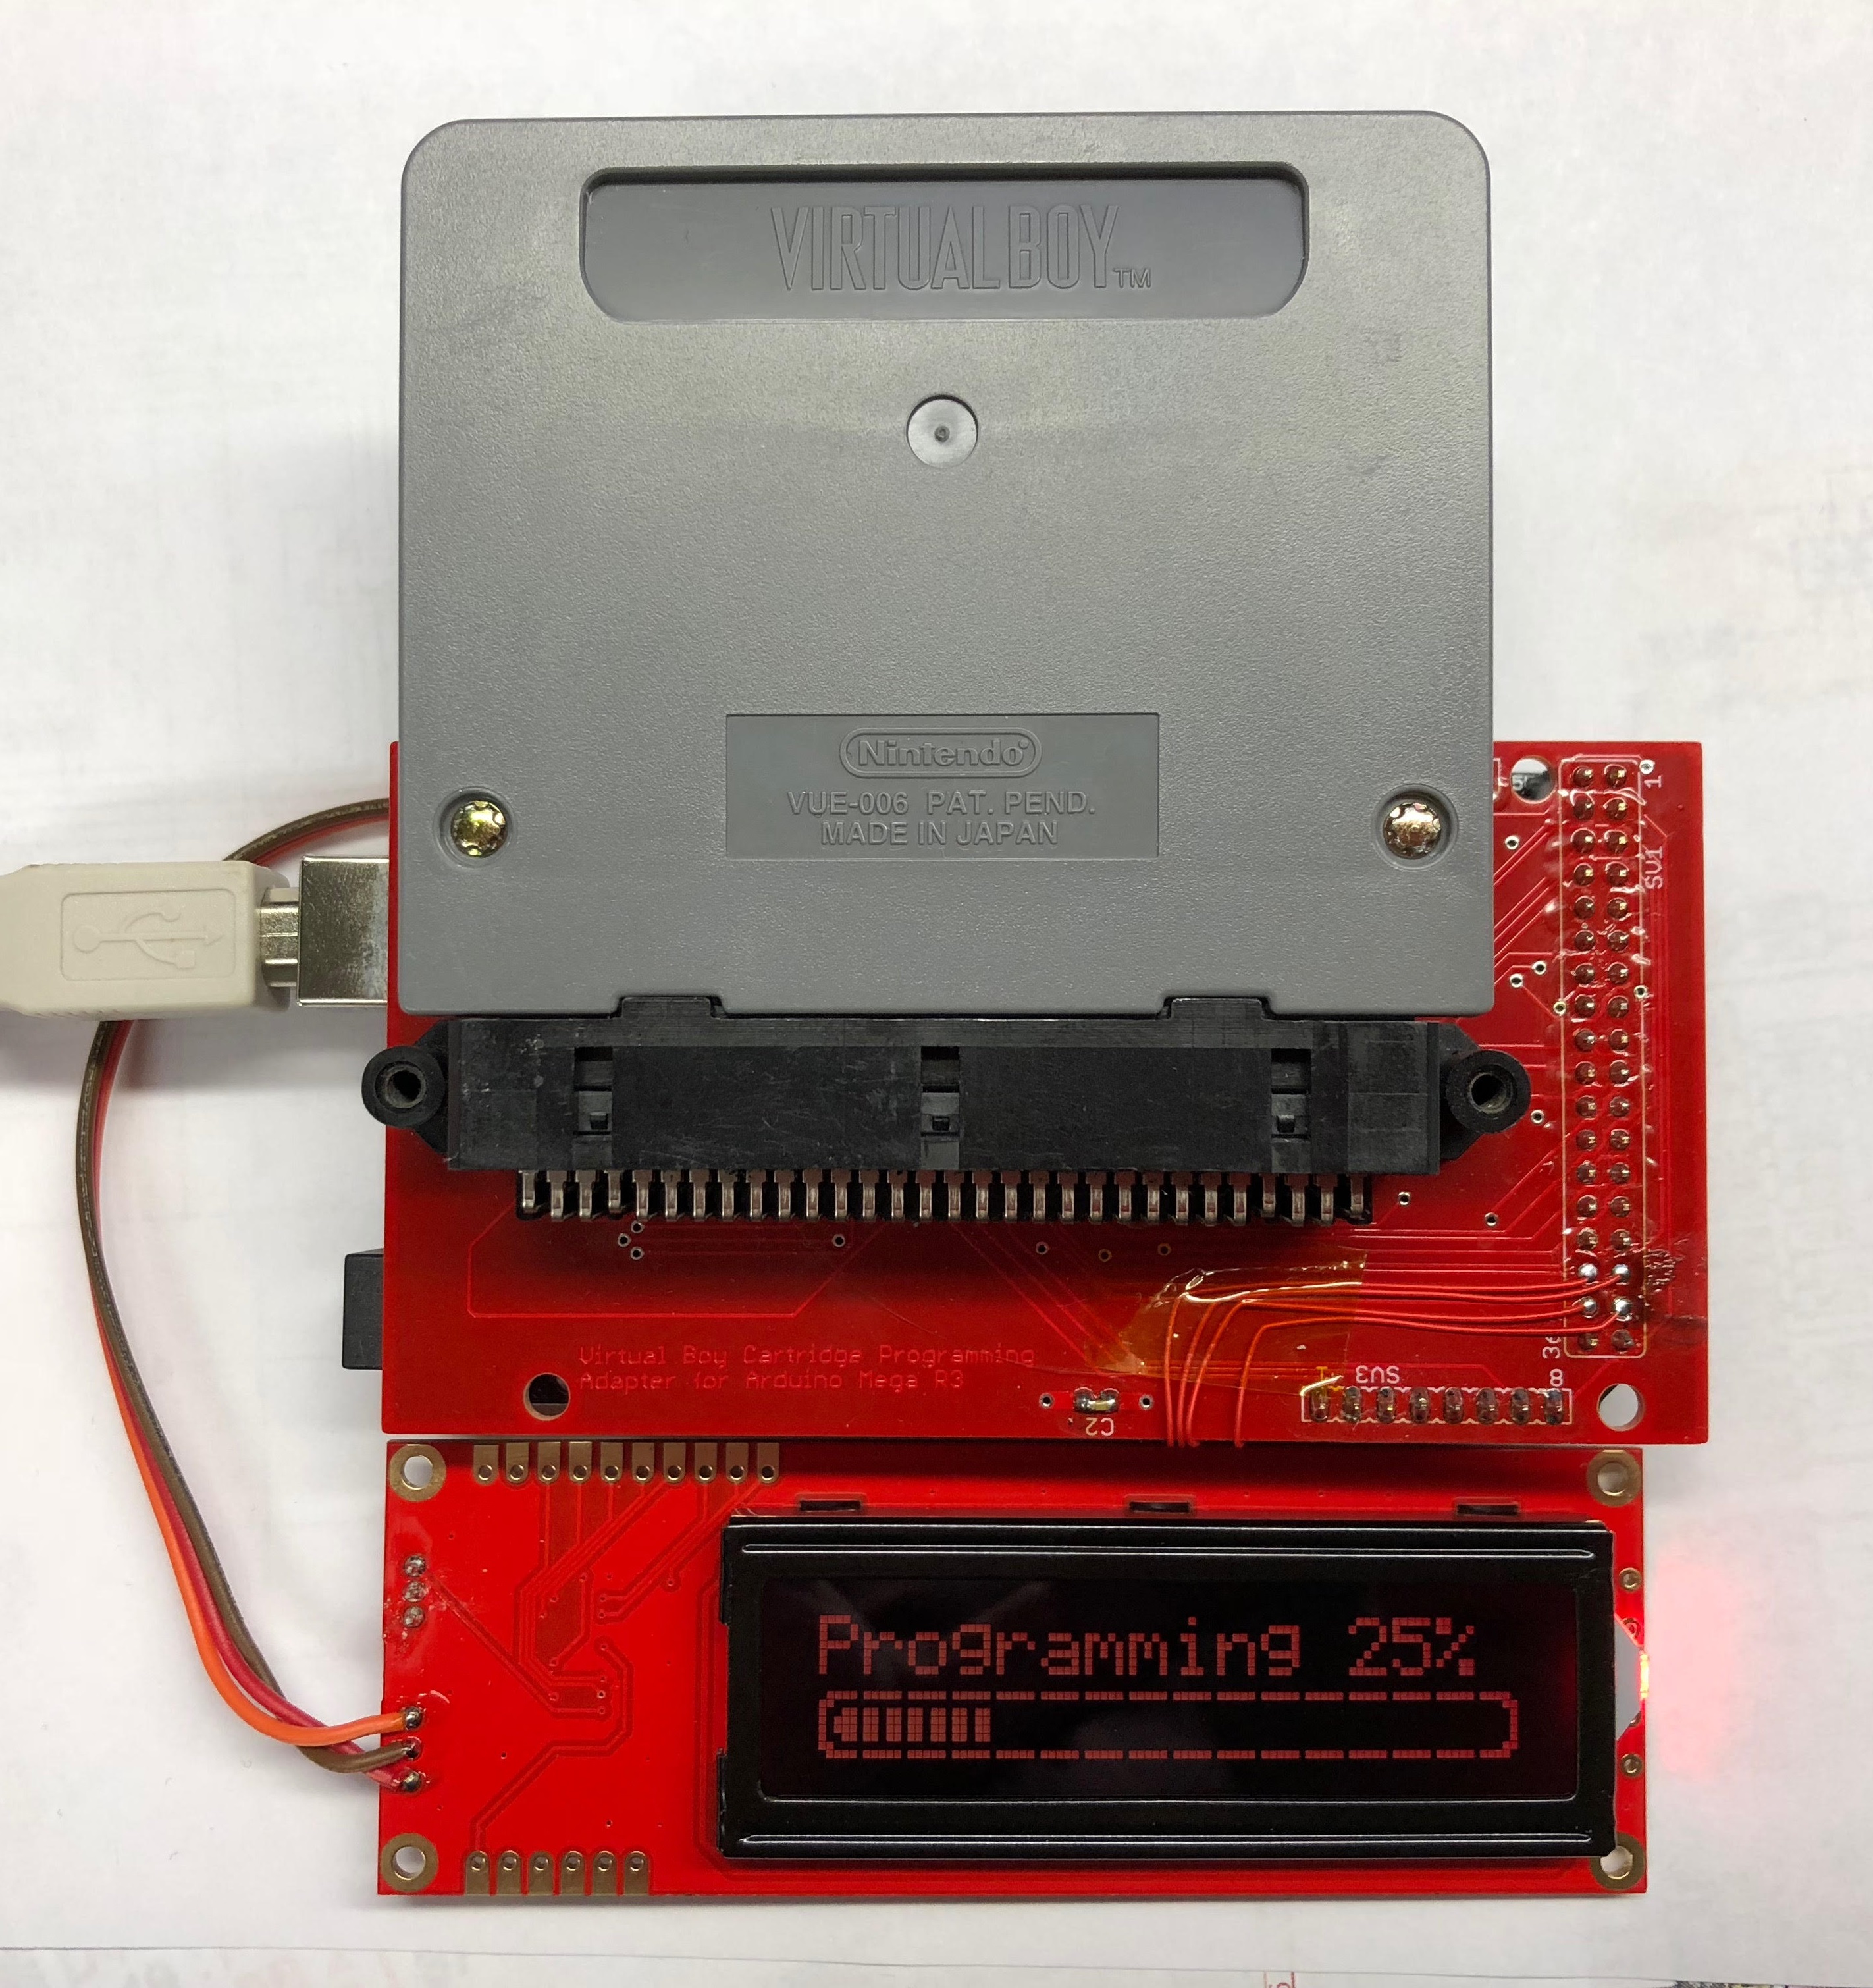
Erase, Blank Check, Read, Write, and Verify are all implemented for both Flash and RAM. This means save states for games can also be downloaded and saved offline. I’ve successfully transferred save states between two carts of the same game. Below is a screenshot of an animated percent complete bar to show progress during any of the major operations.
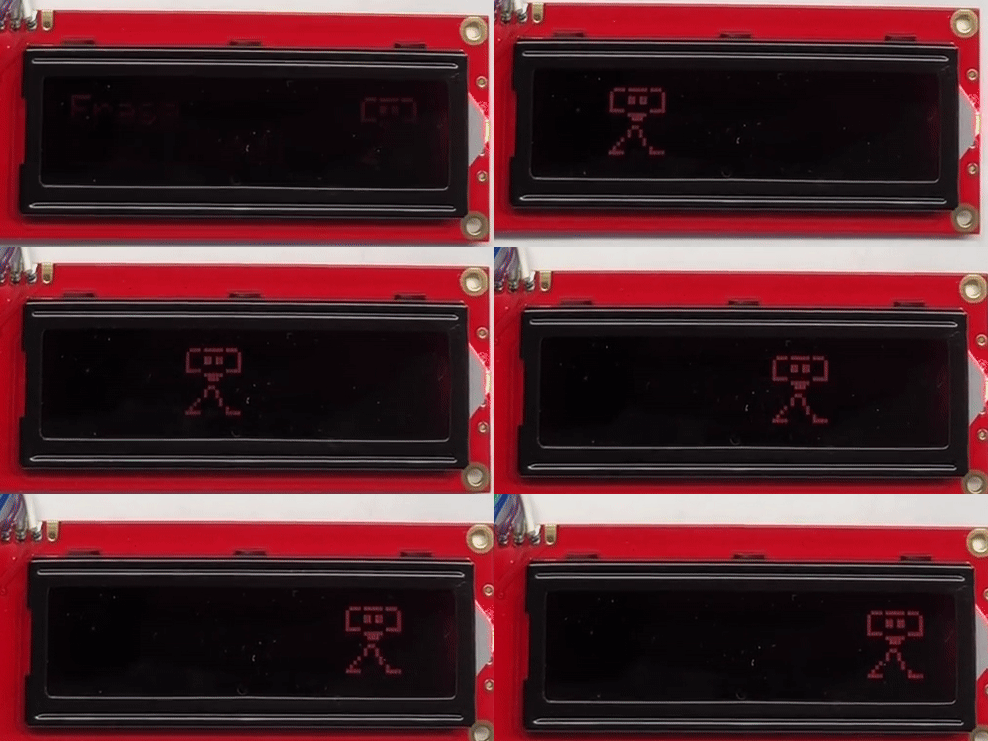
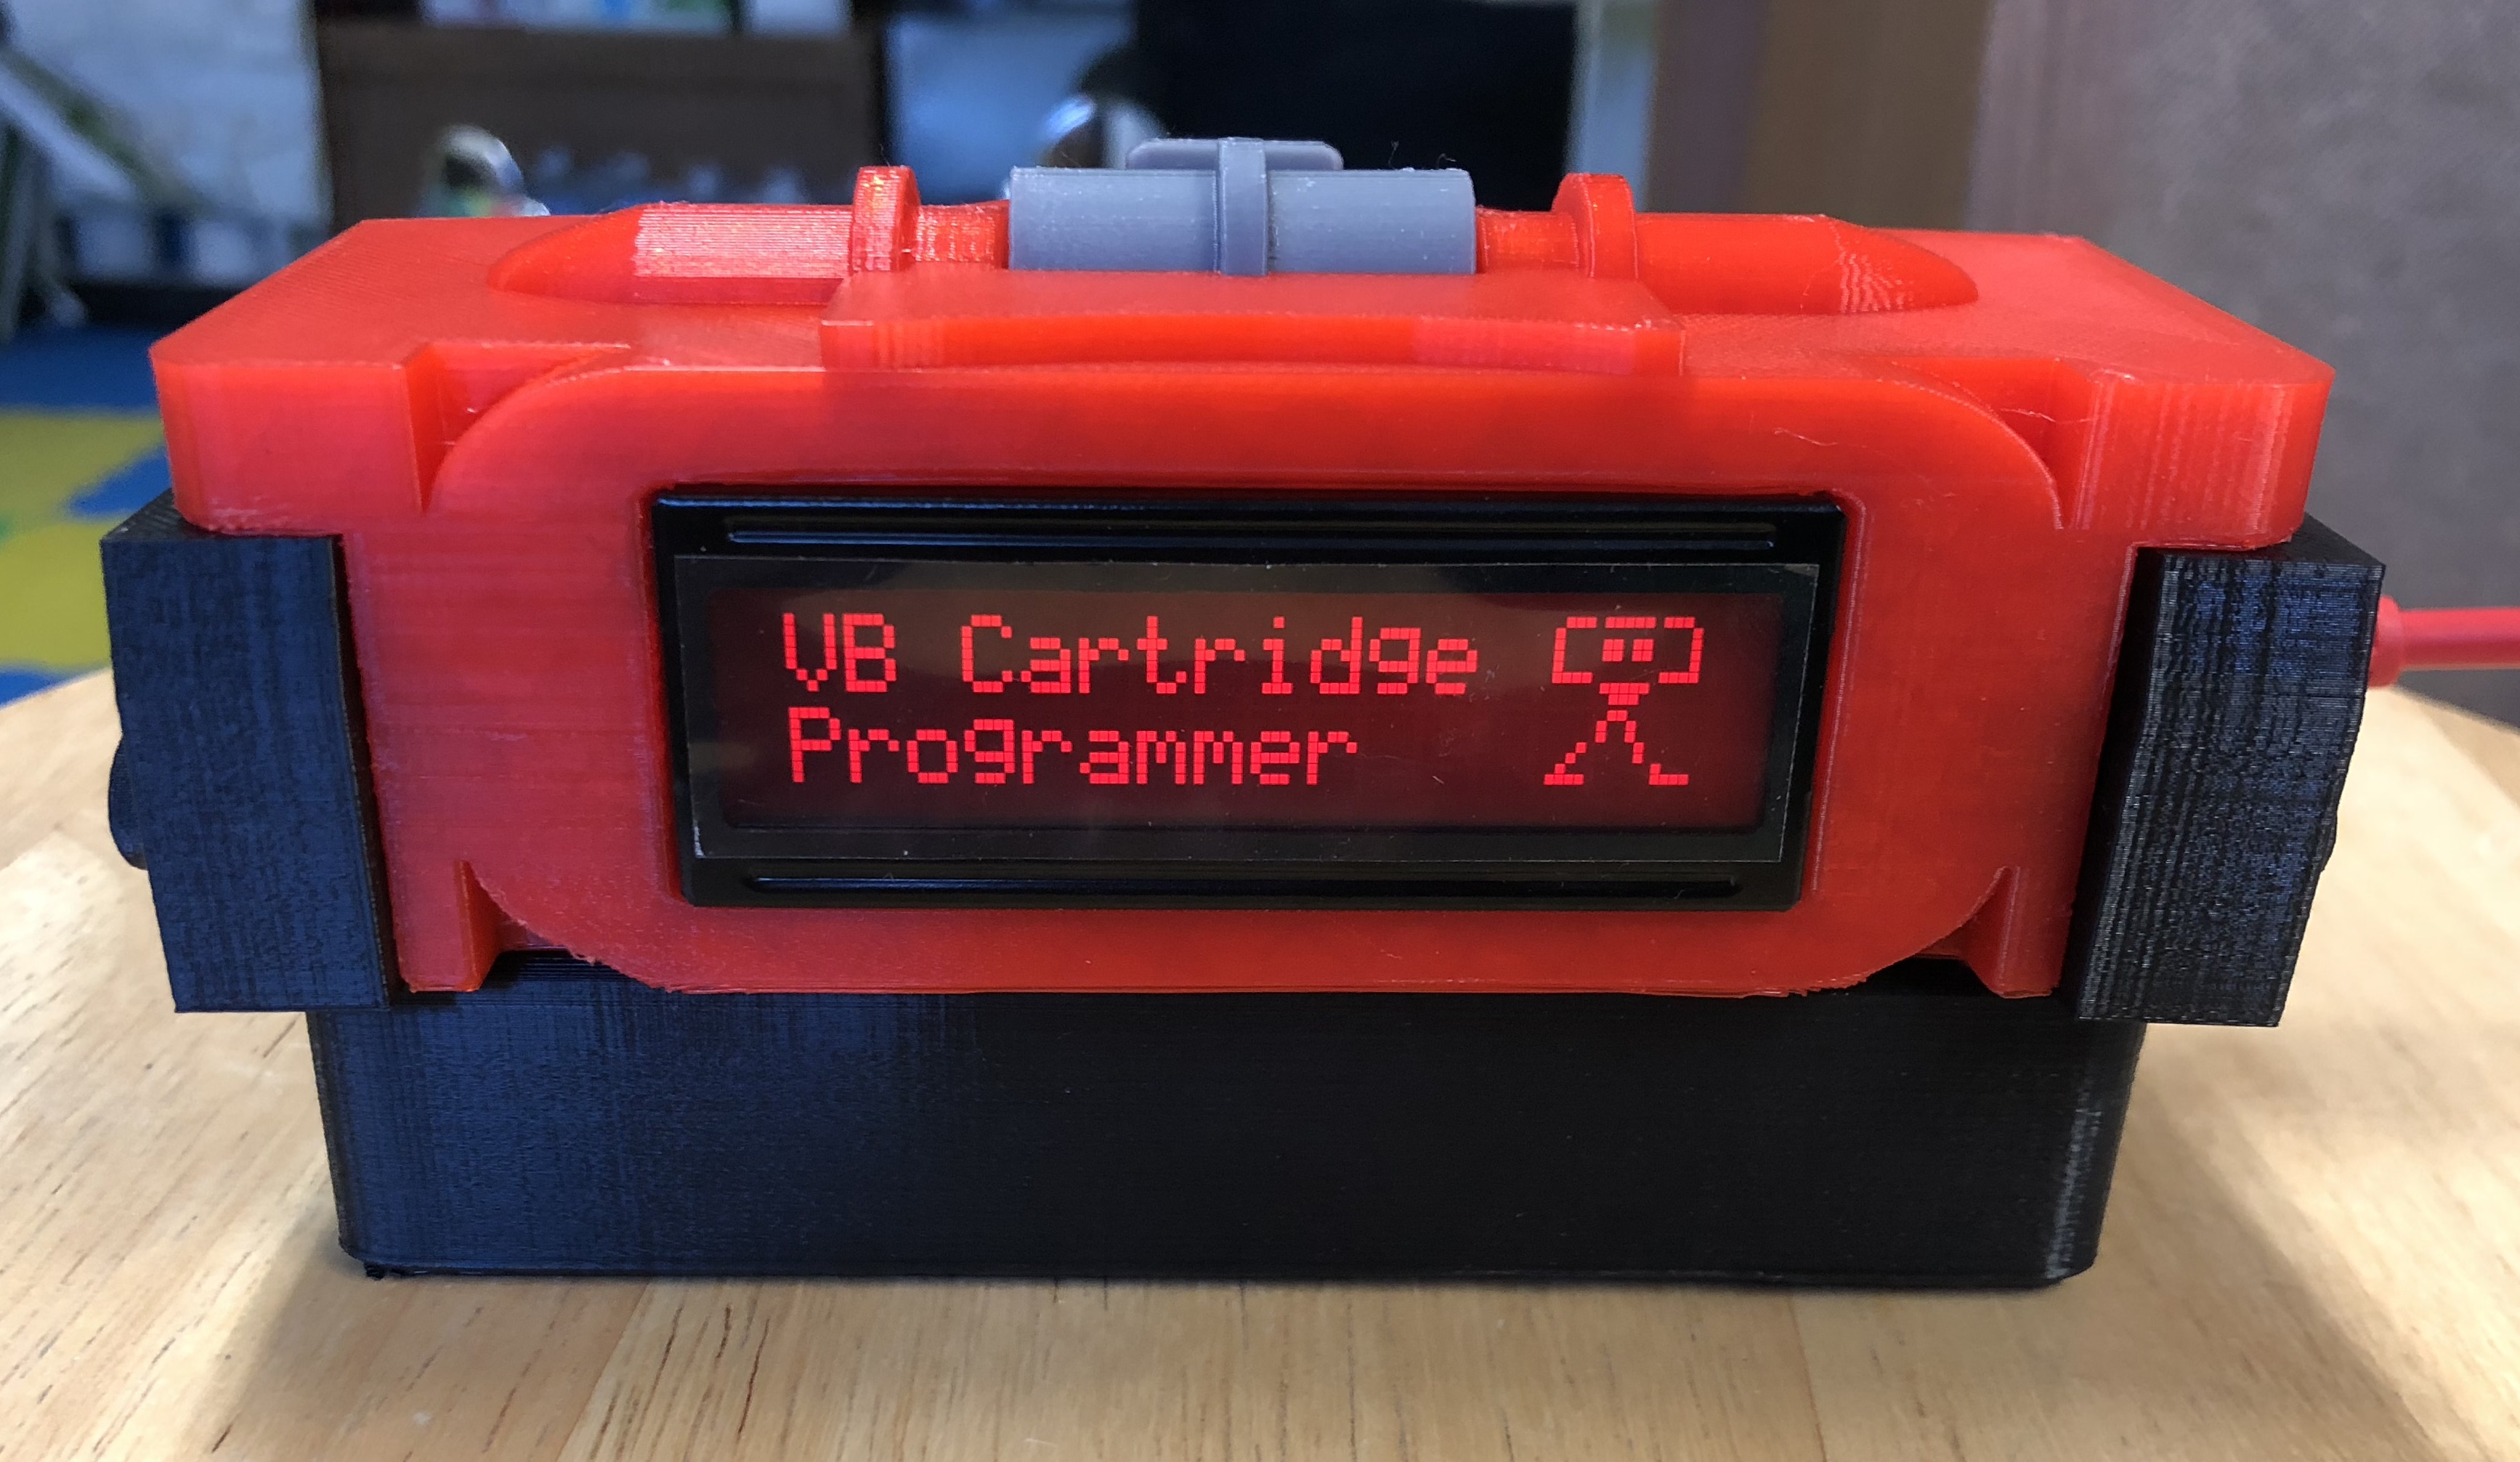
Just for fun I’ve also designed and implemented a very simple animation at boot-up of a Virtual Boy character walking across the screen. You can see the intro video below. My 2 year old son calls him Do-Do because he disappears and reappears as he steps across the screen.
Here’s a close up GIF of the animation that’s easier to see. The latest animation on the programmers that shipped also animate the feet.
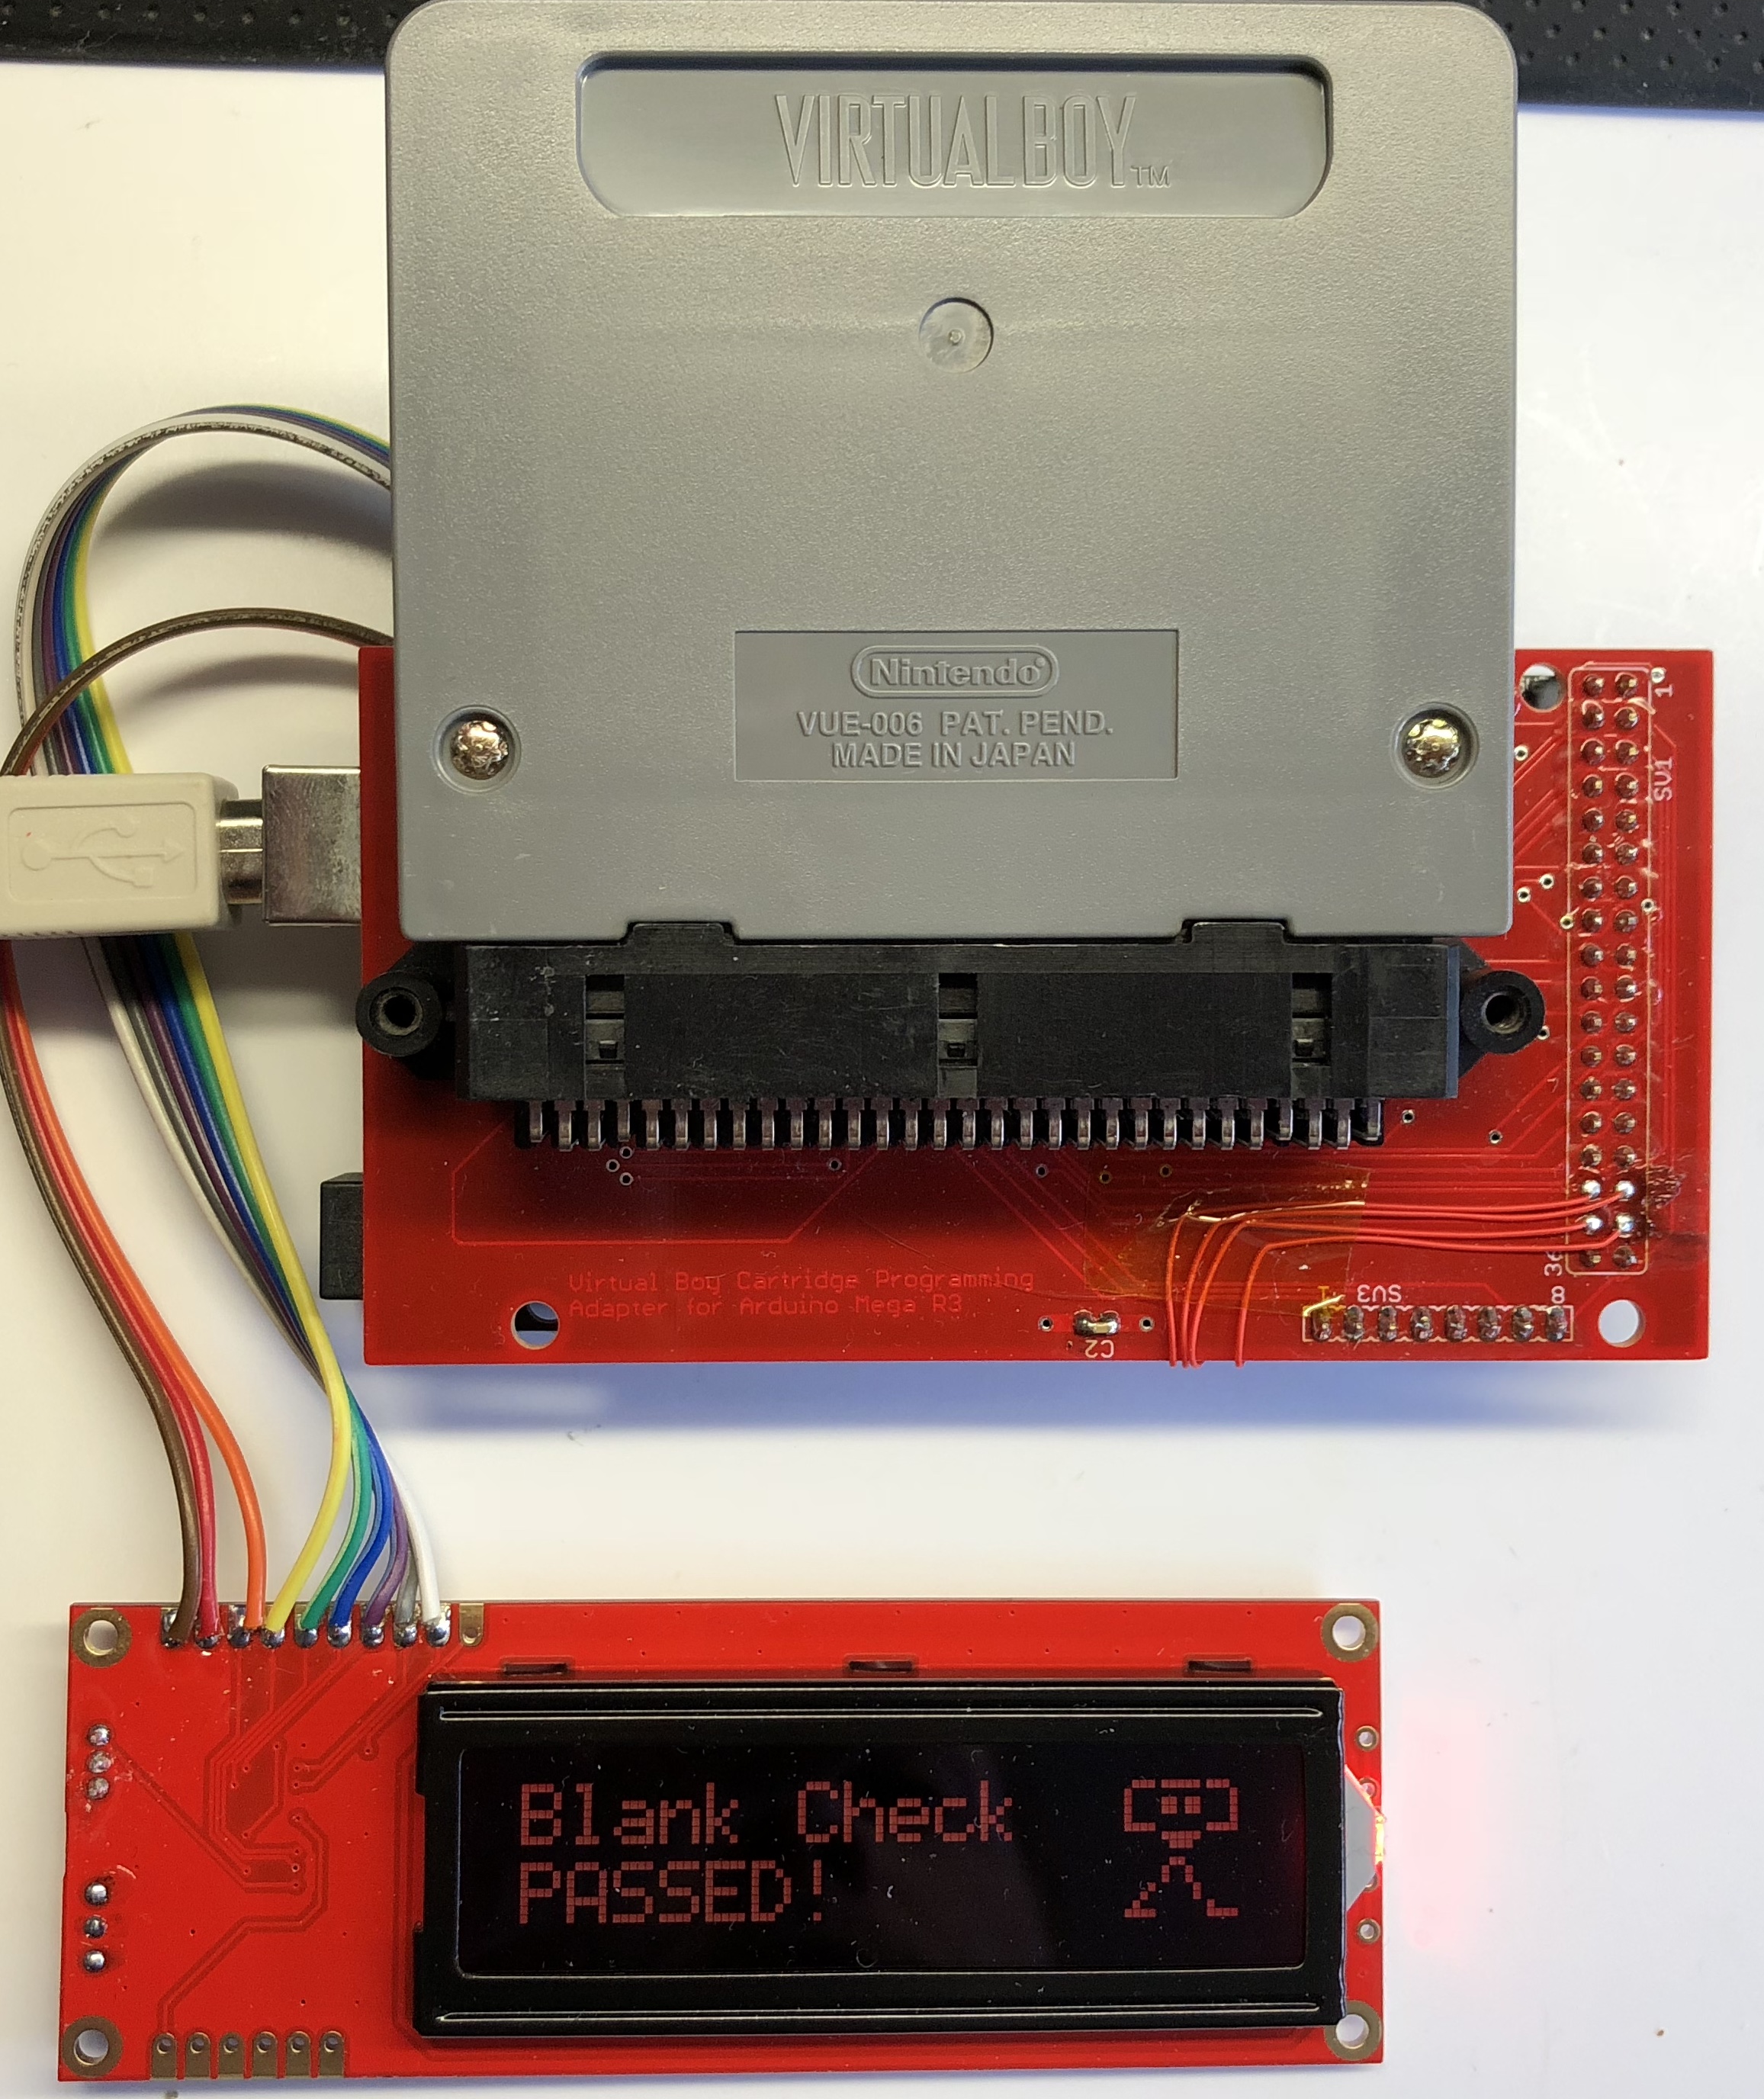
This same character appears at the end of some program operations as shown below.
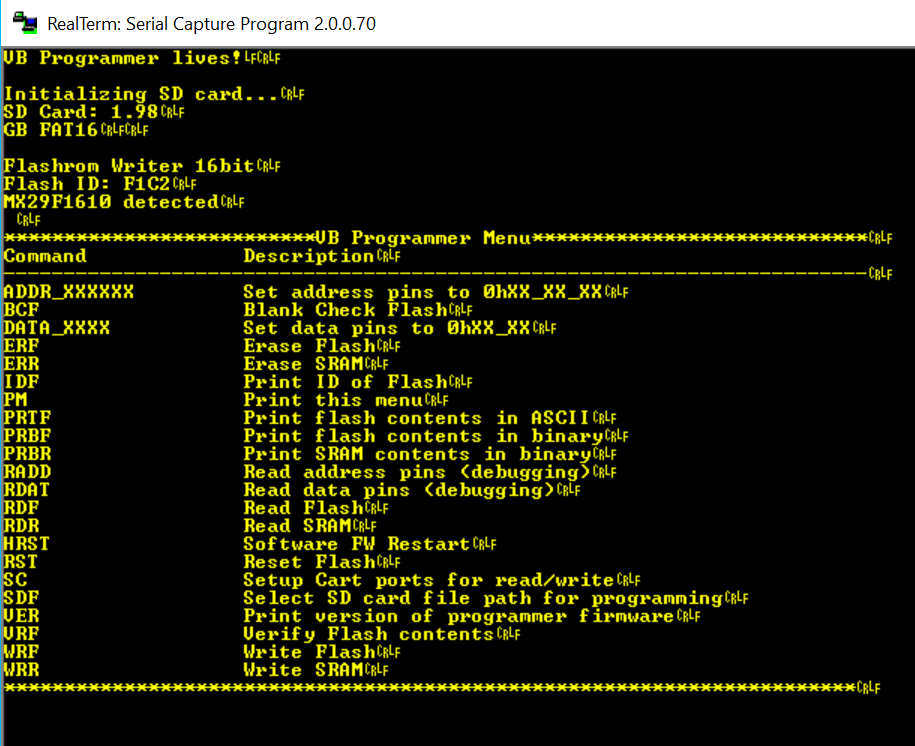
The user interface to the programmer is currently an ASCII based interface through a terminal program like RealTerm. It’s fairly easy to use. Operations are performed by issuing ASCII readable messages to the programmer surrounded by brackets <>. The commands most people should start with are
Below is a picture of the bootup messages and the initial ID of one of my 16Mbit carts. Then I’ve issued a
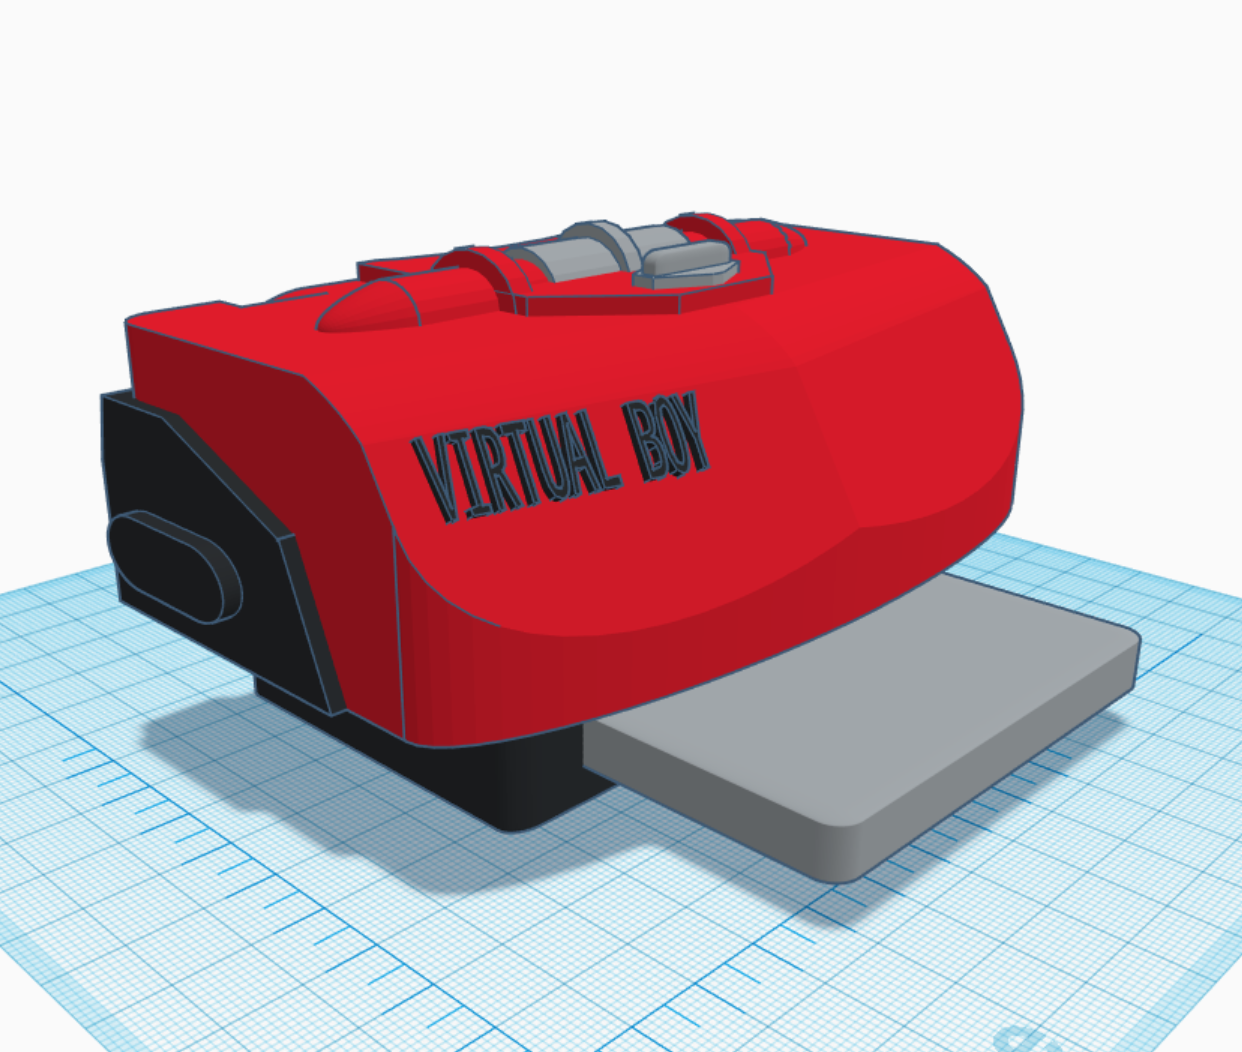
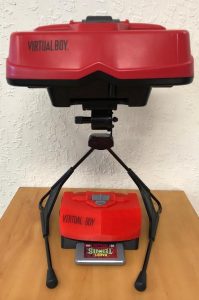
Shown below is the first revision v0 of the VB mini enclosure design. I would eventually go through seven revisions with prints at each revision for testing and refinement.
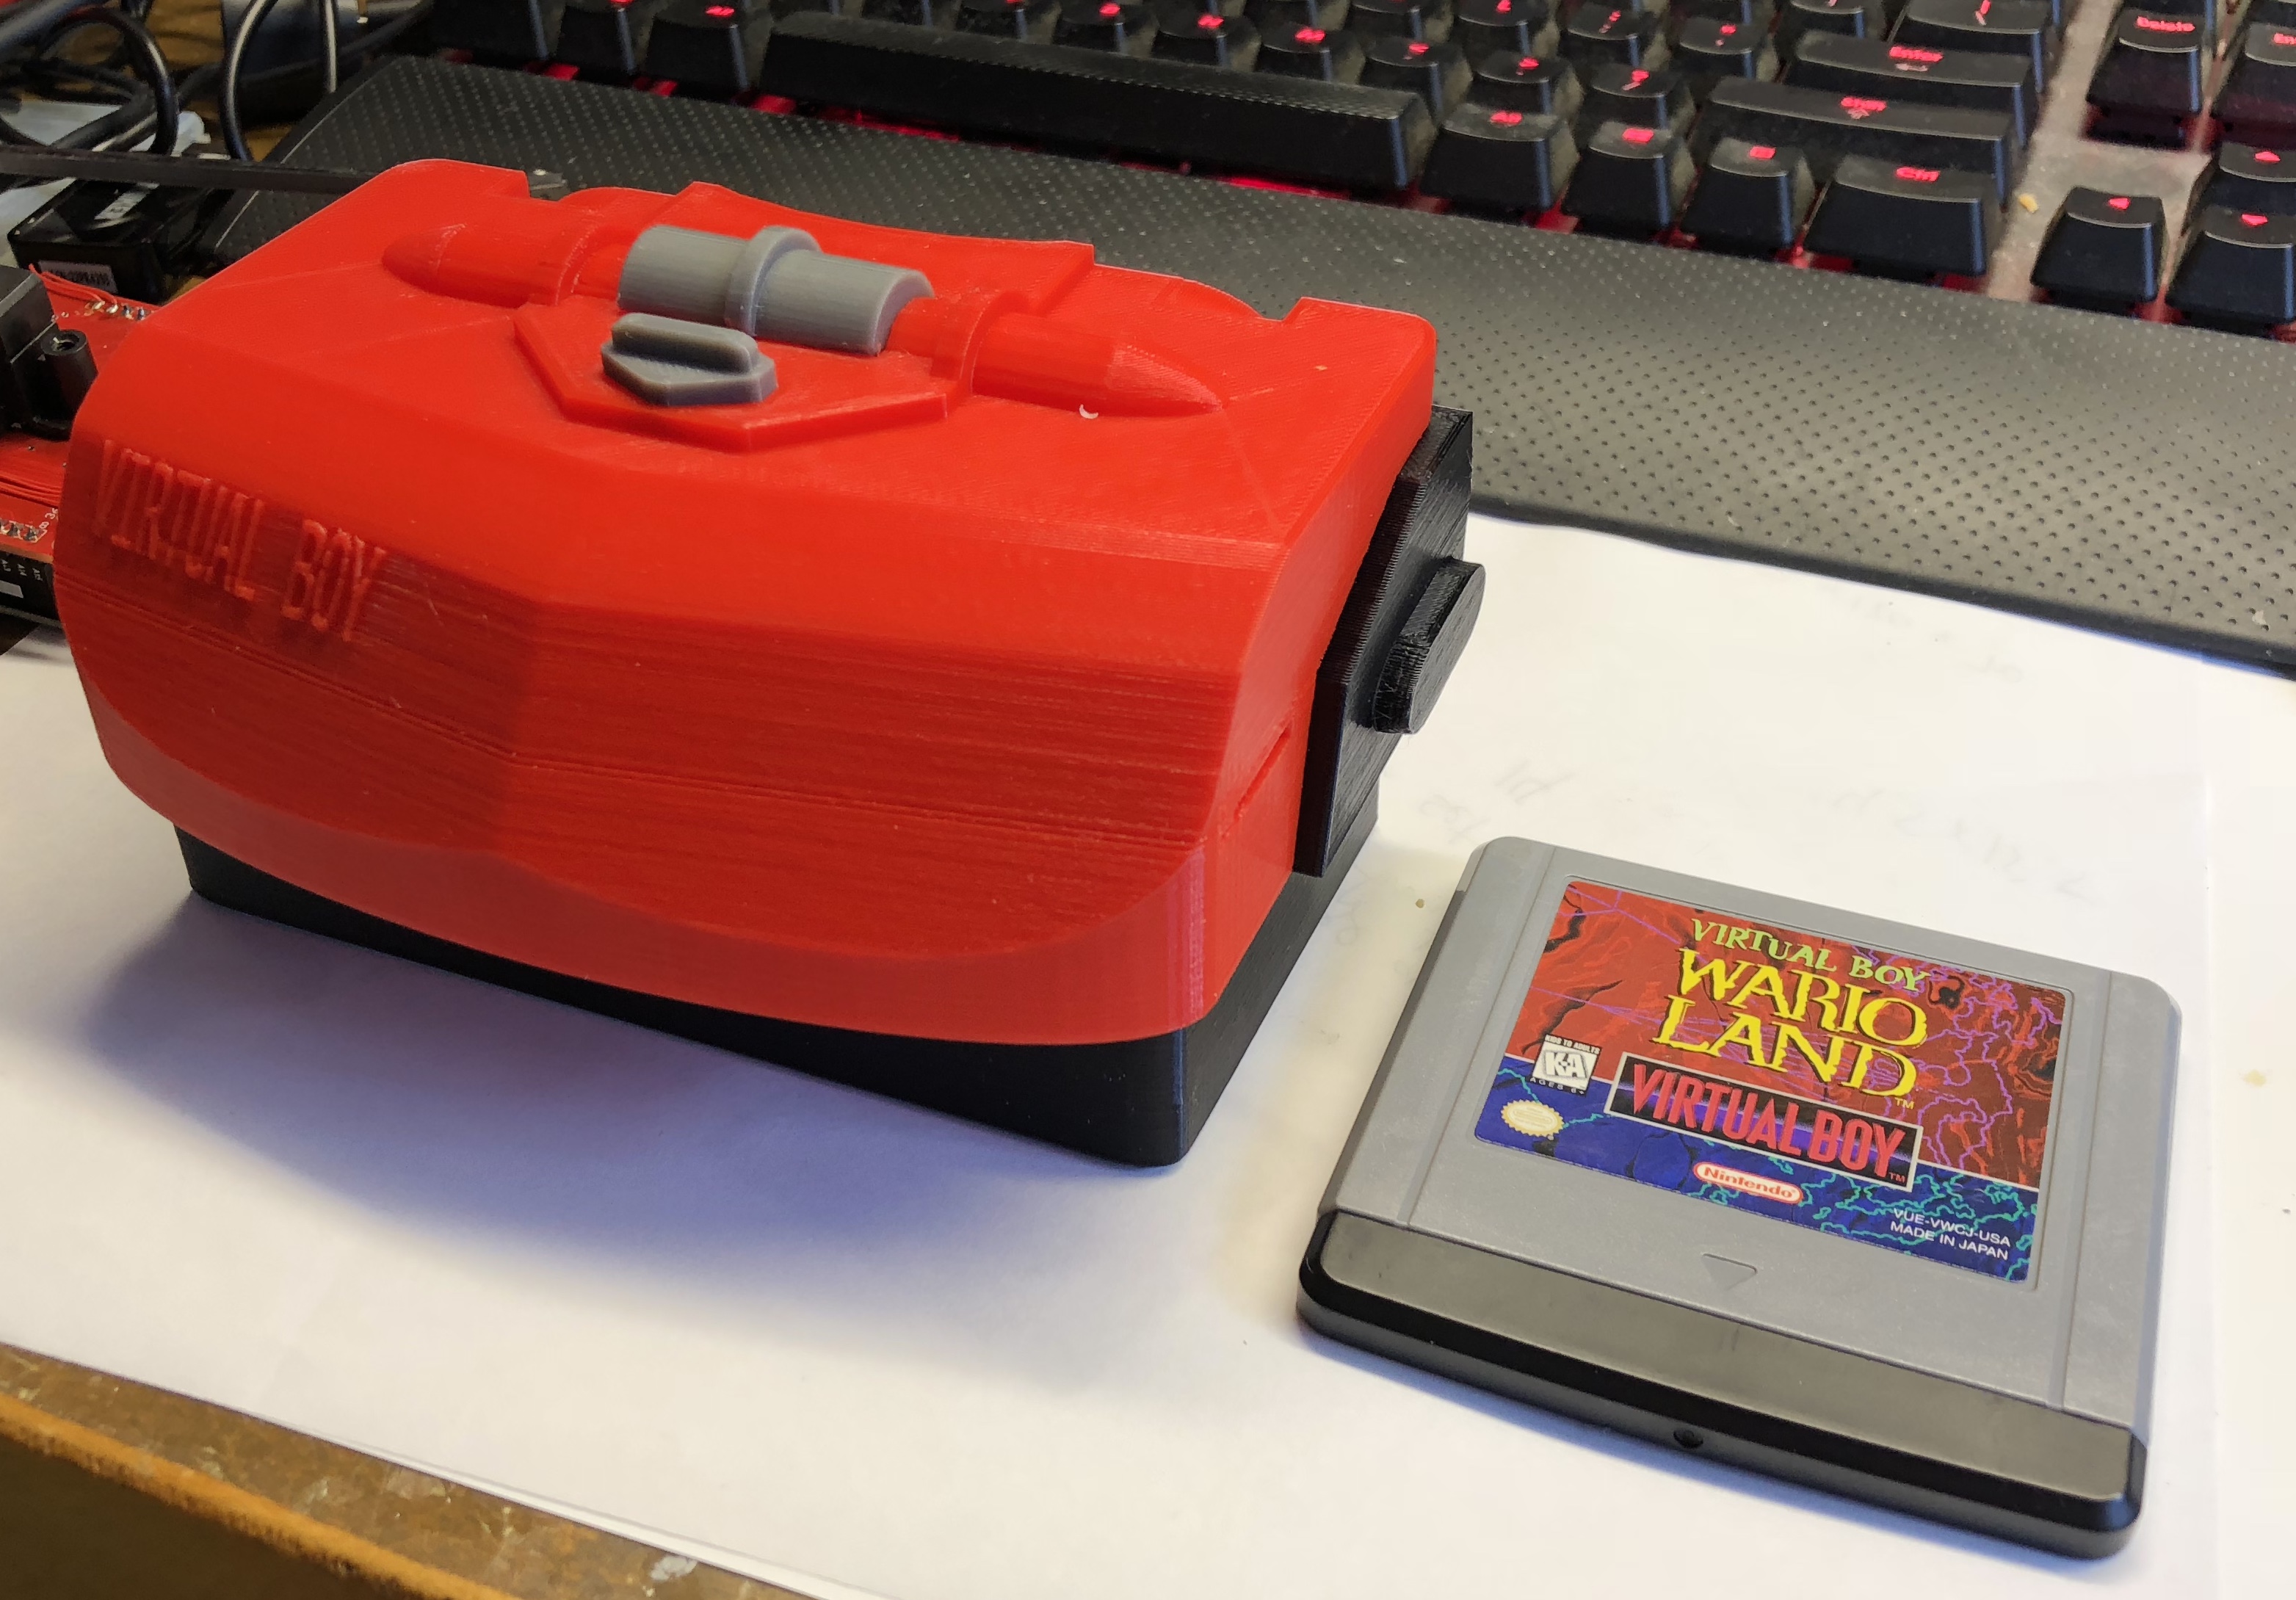
Here’s a few images of that first v0 test print. Came out better than I hoped in colored PLA material via a FDM 3D print.
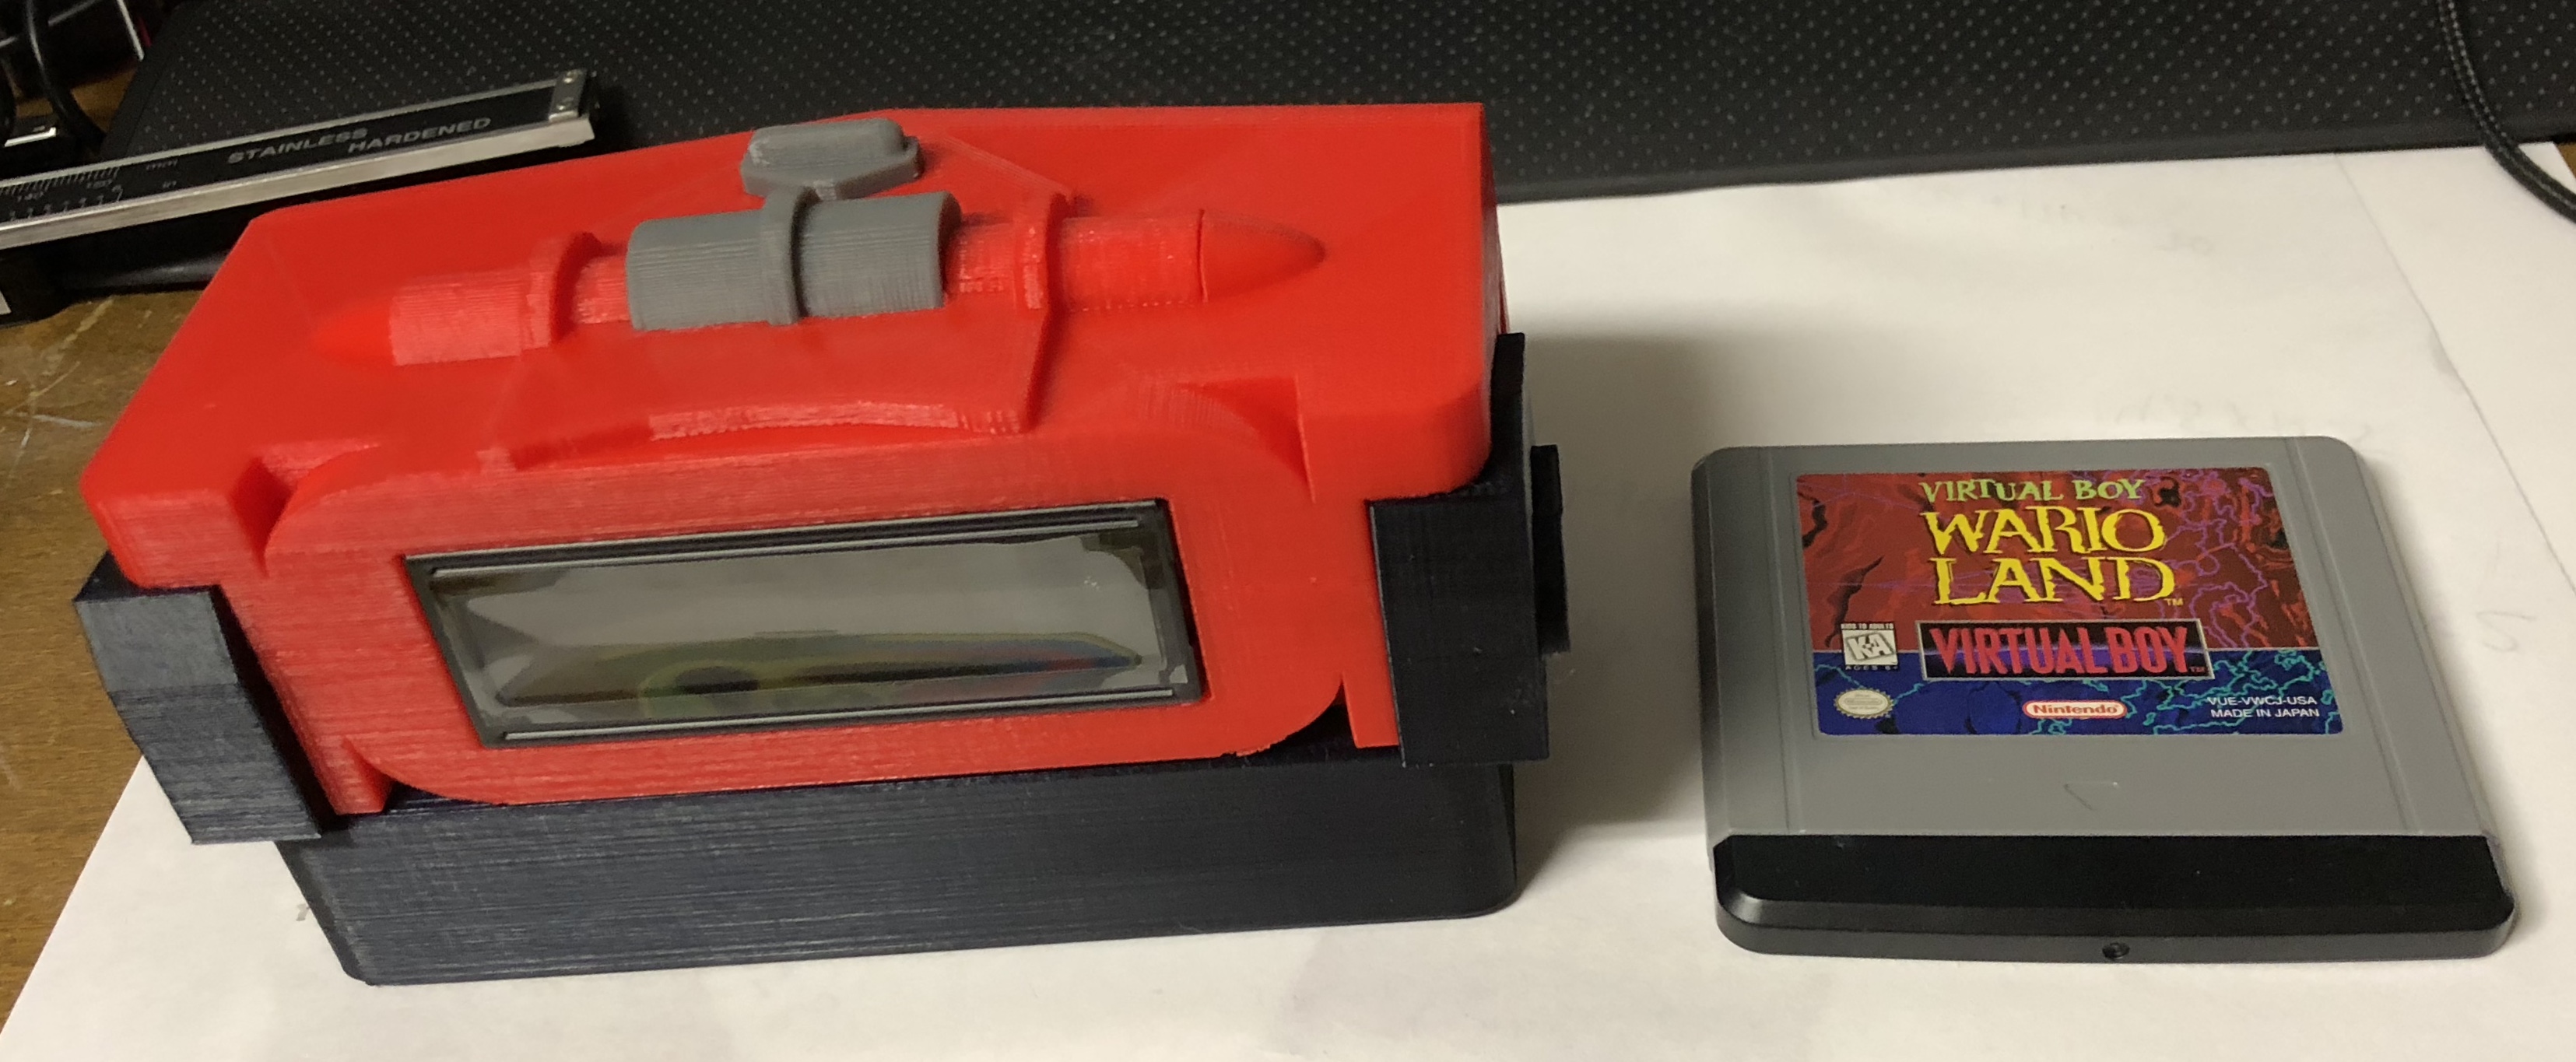
And a back view.
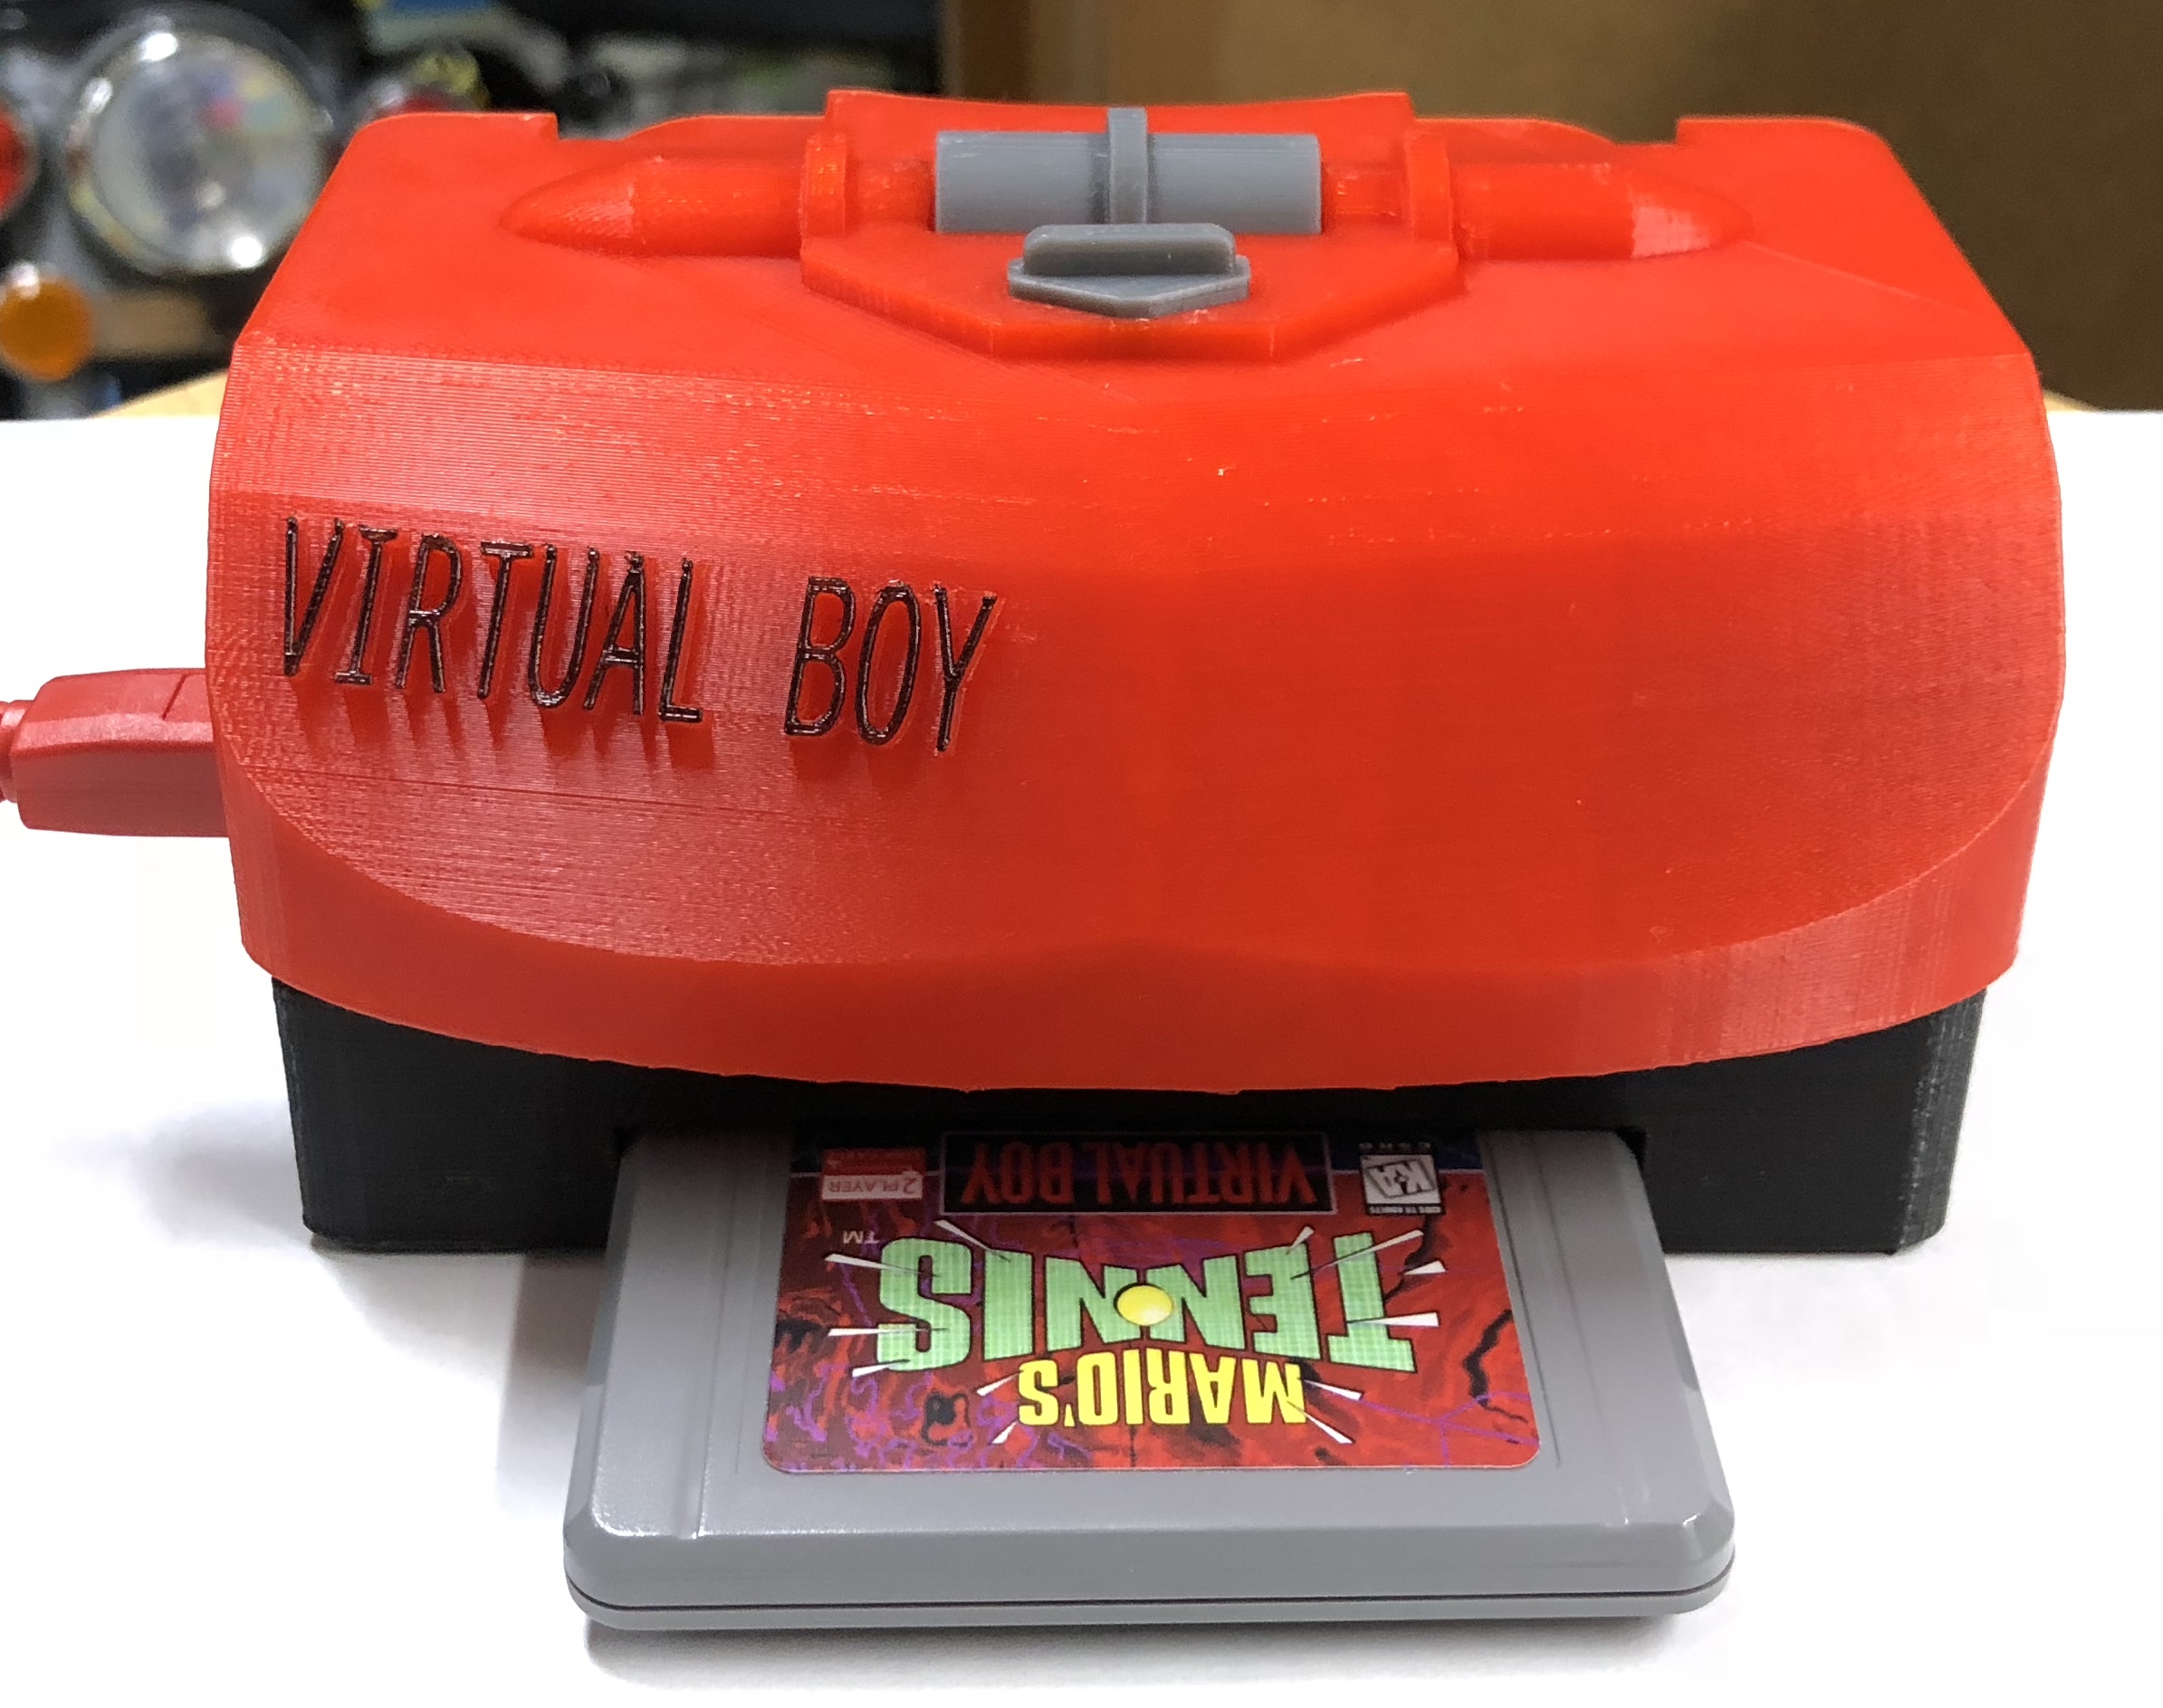
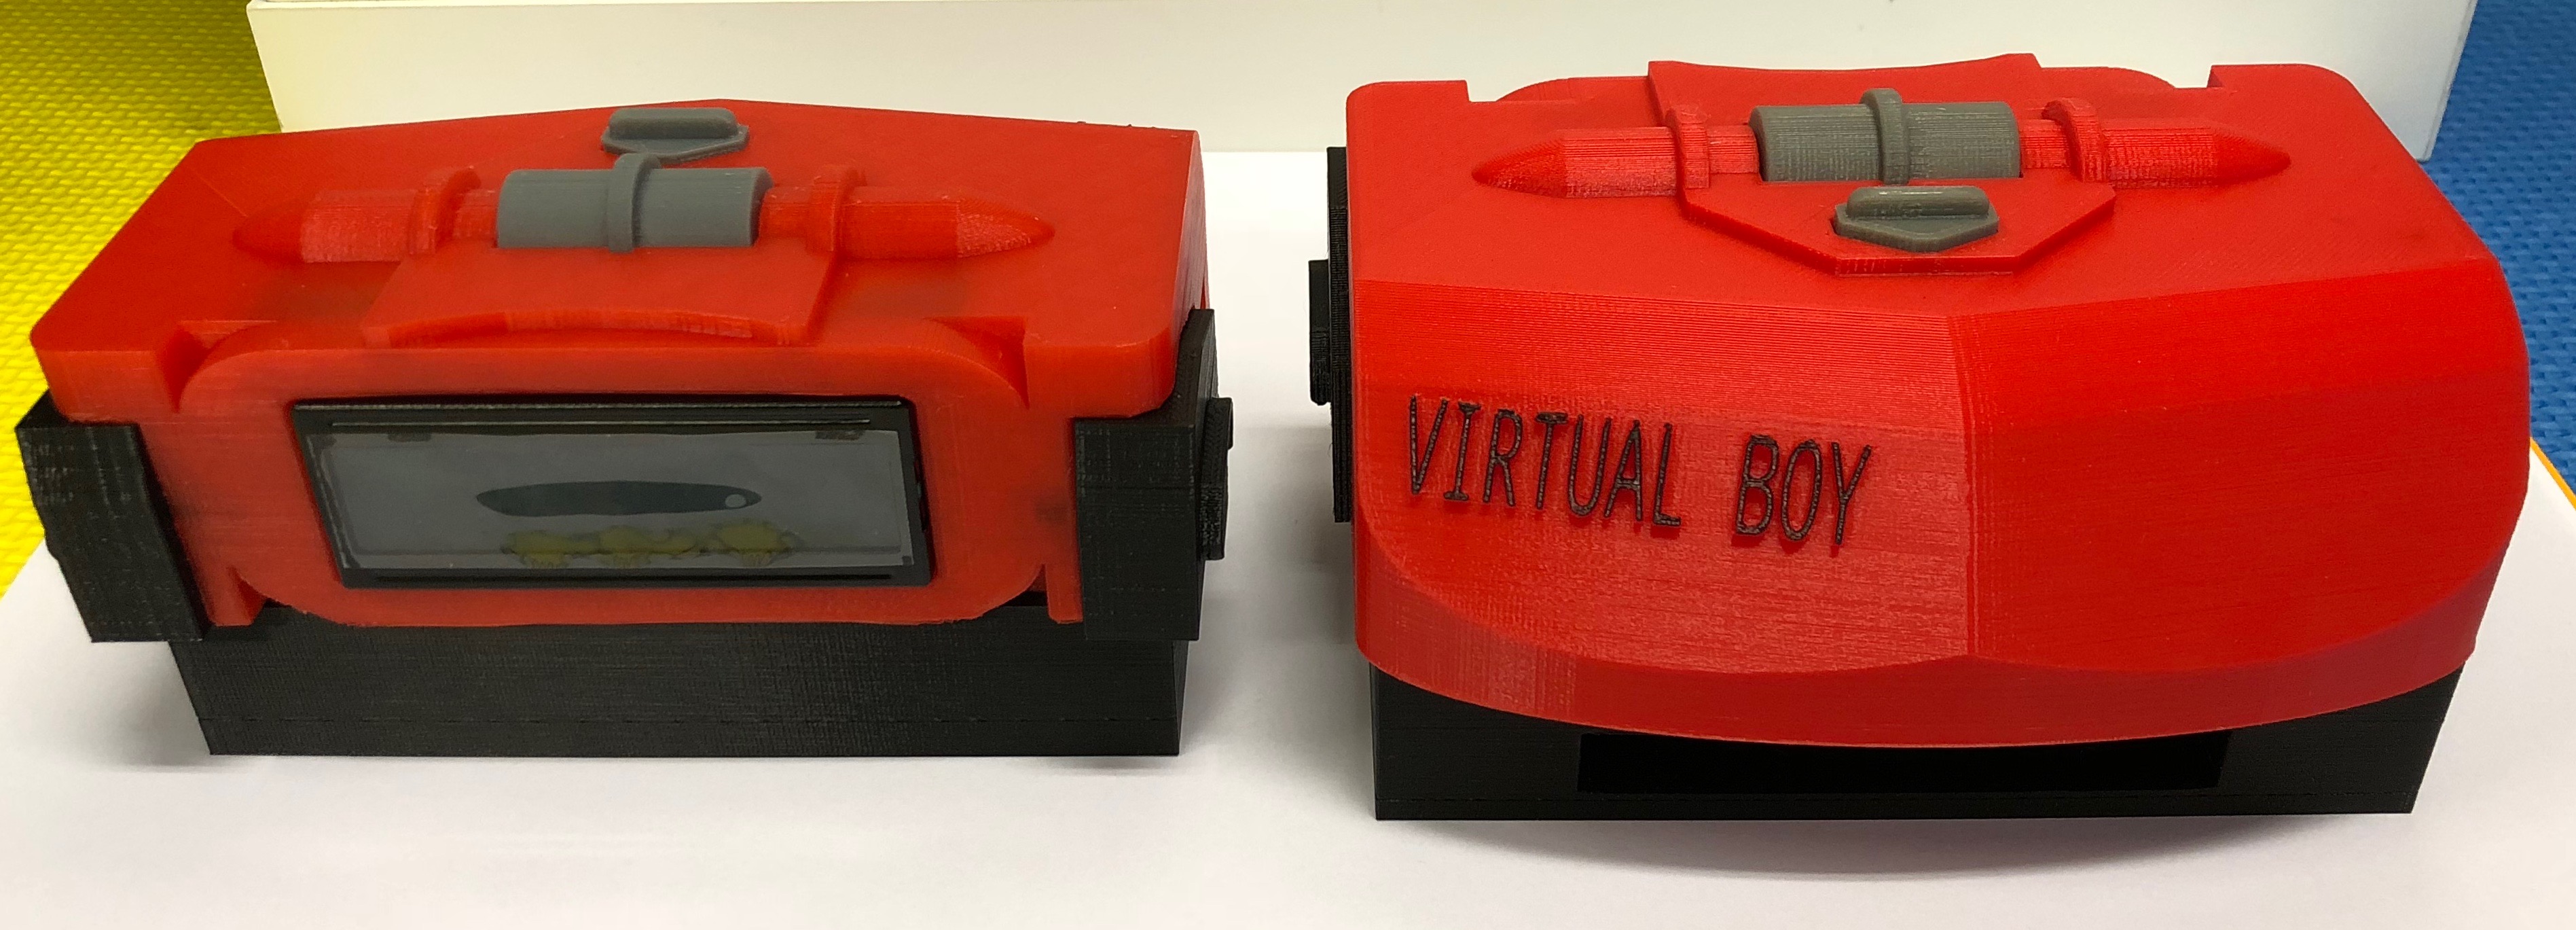
The first fully working assembled unit is shown below. This was a REV3 print and build. The next REV4 print is shown below. These early prototype prints went out as free units to developers.
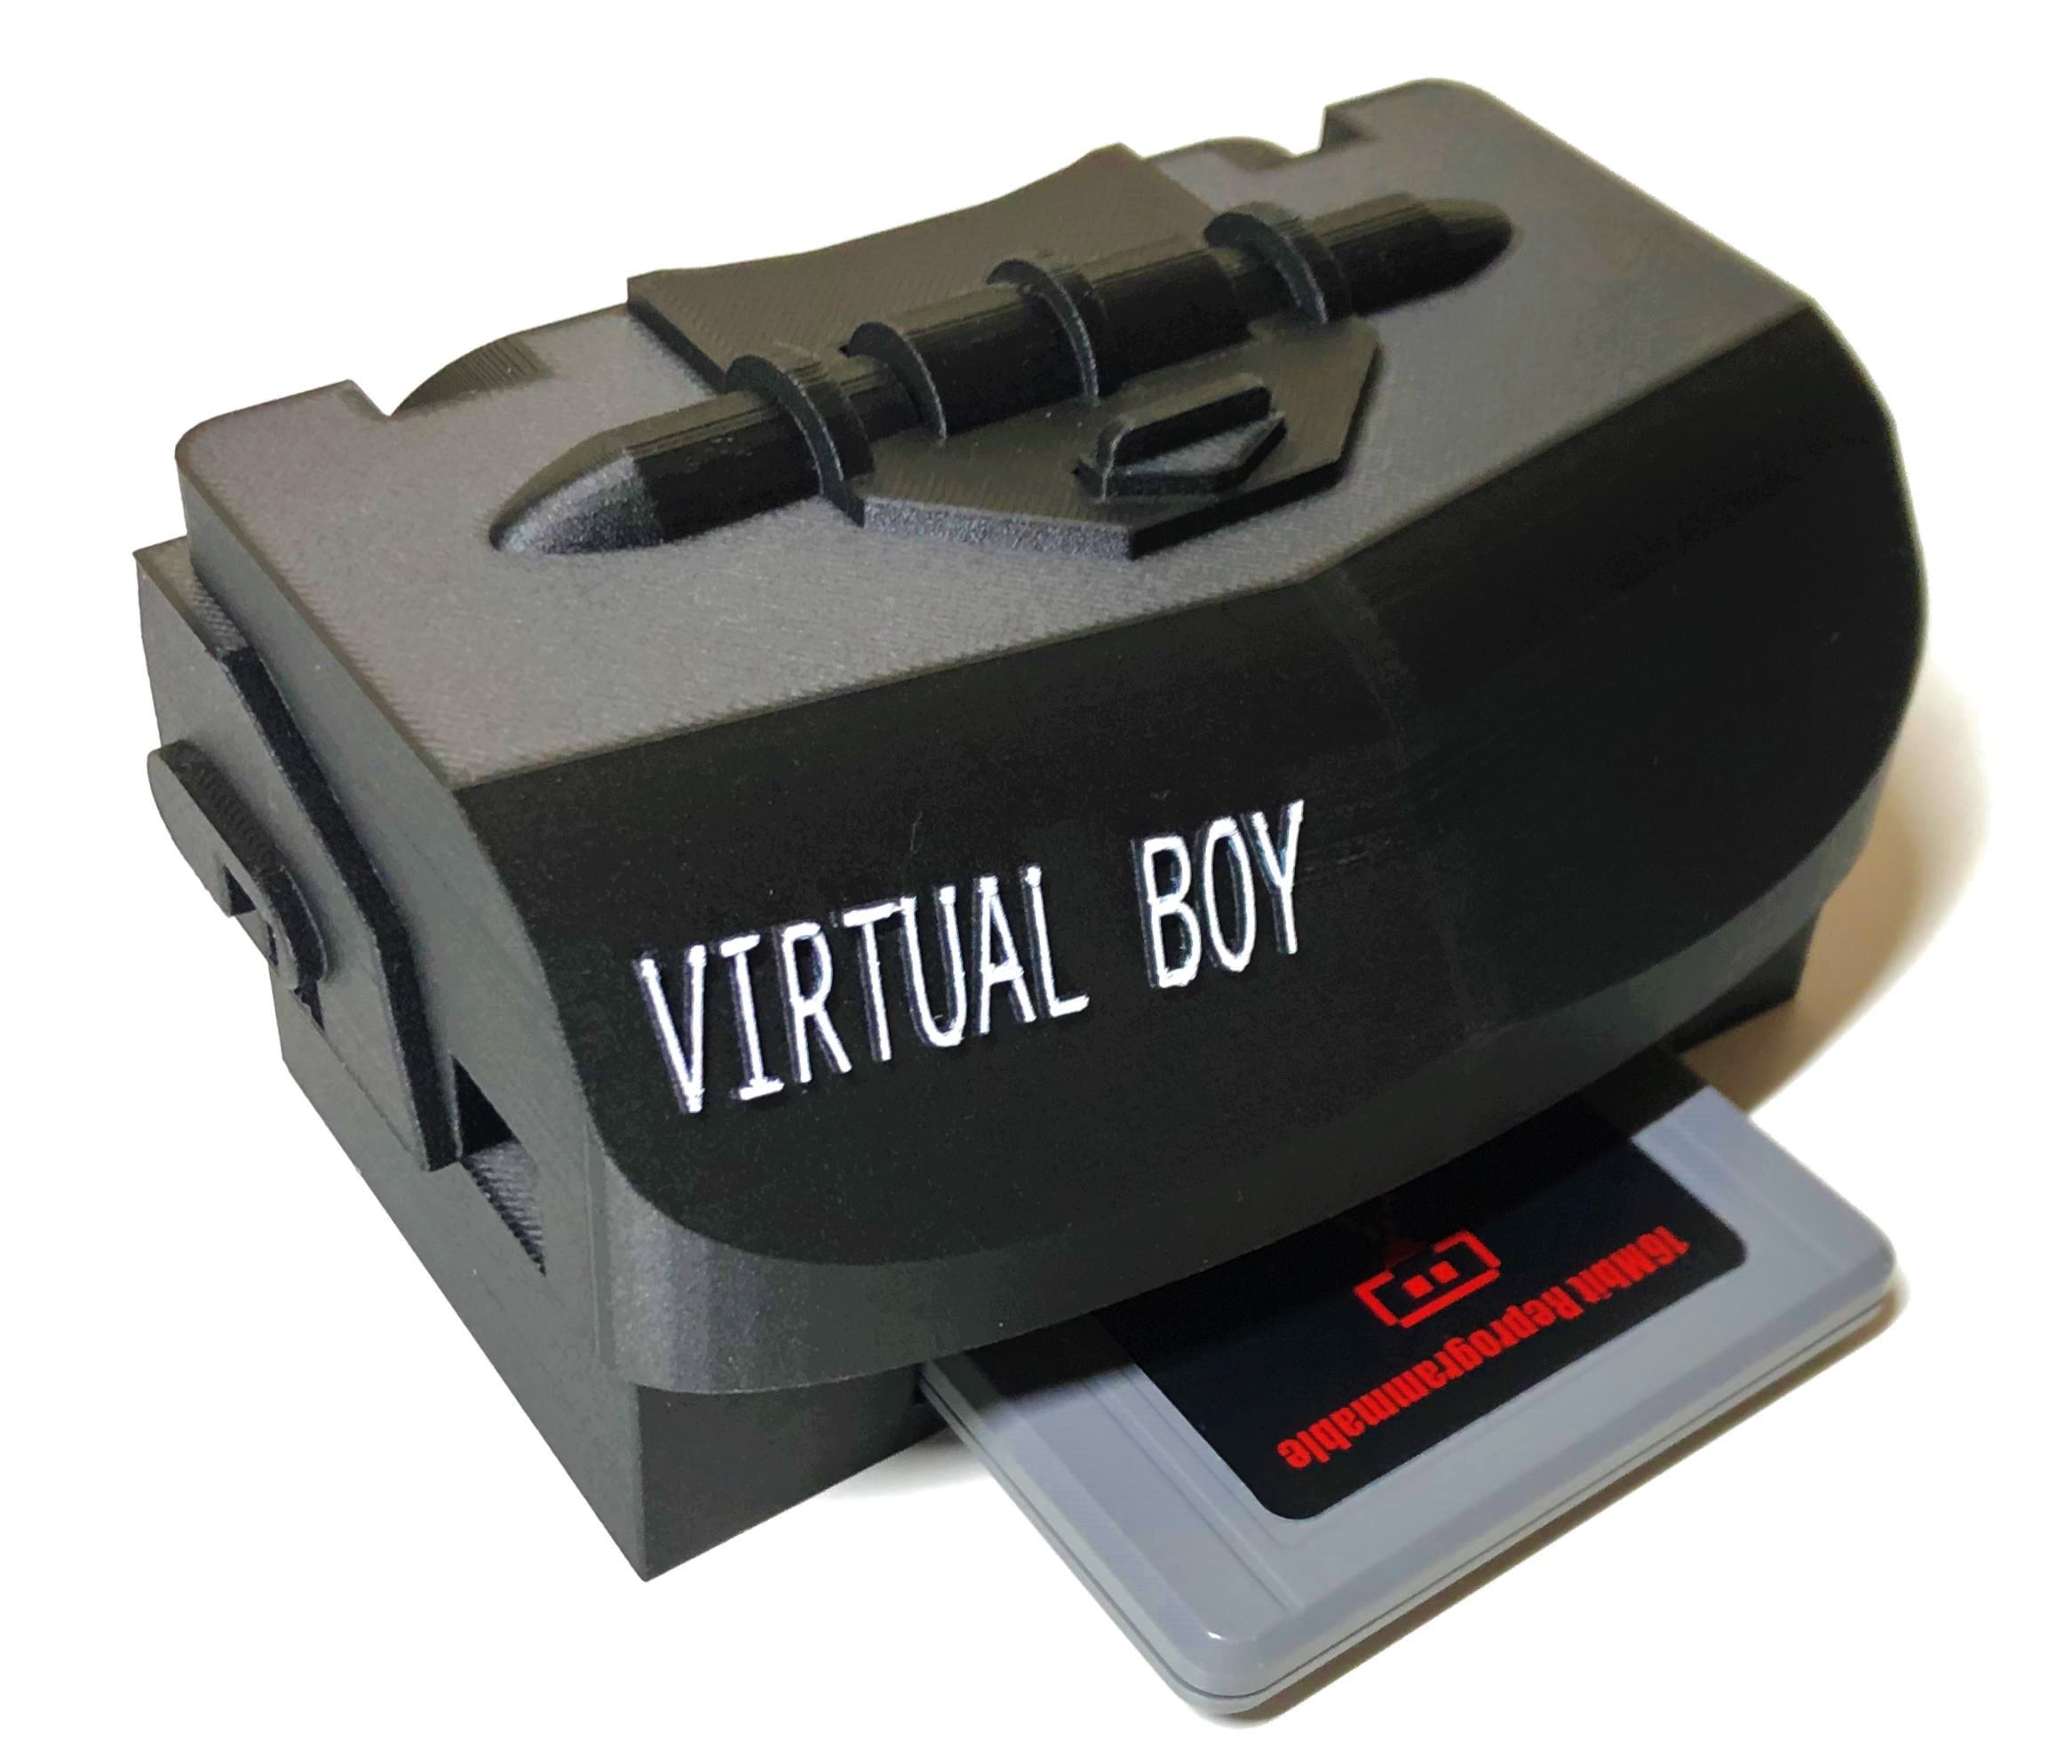
I more recently made a new VENOM edition. LOL. 3D printed carbon fiber. Surface finish is also really nice.
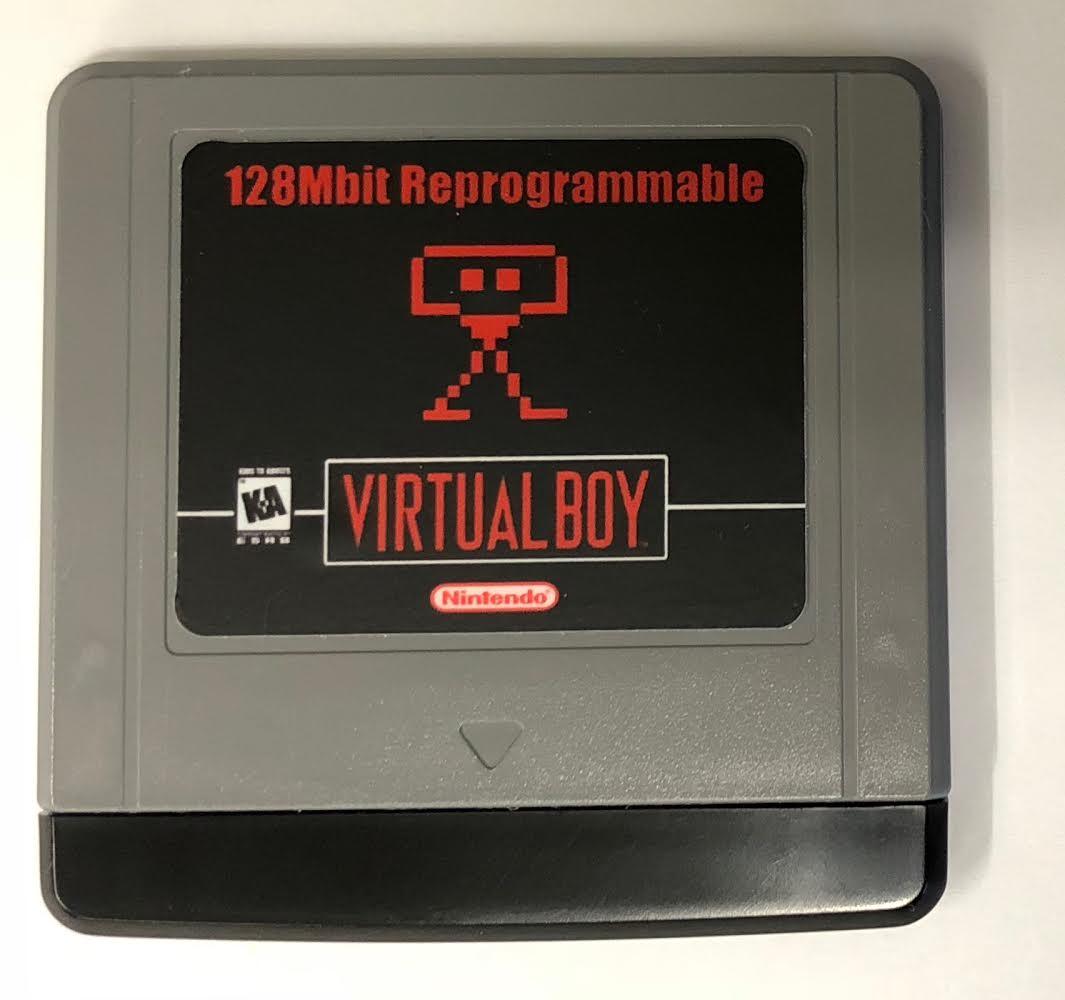
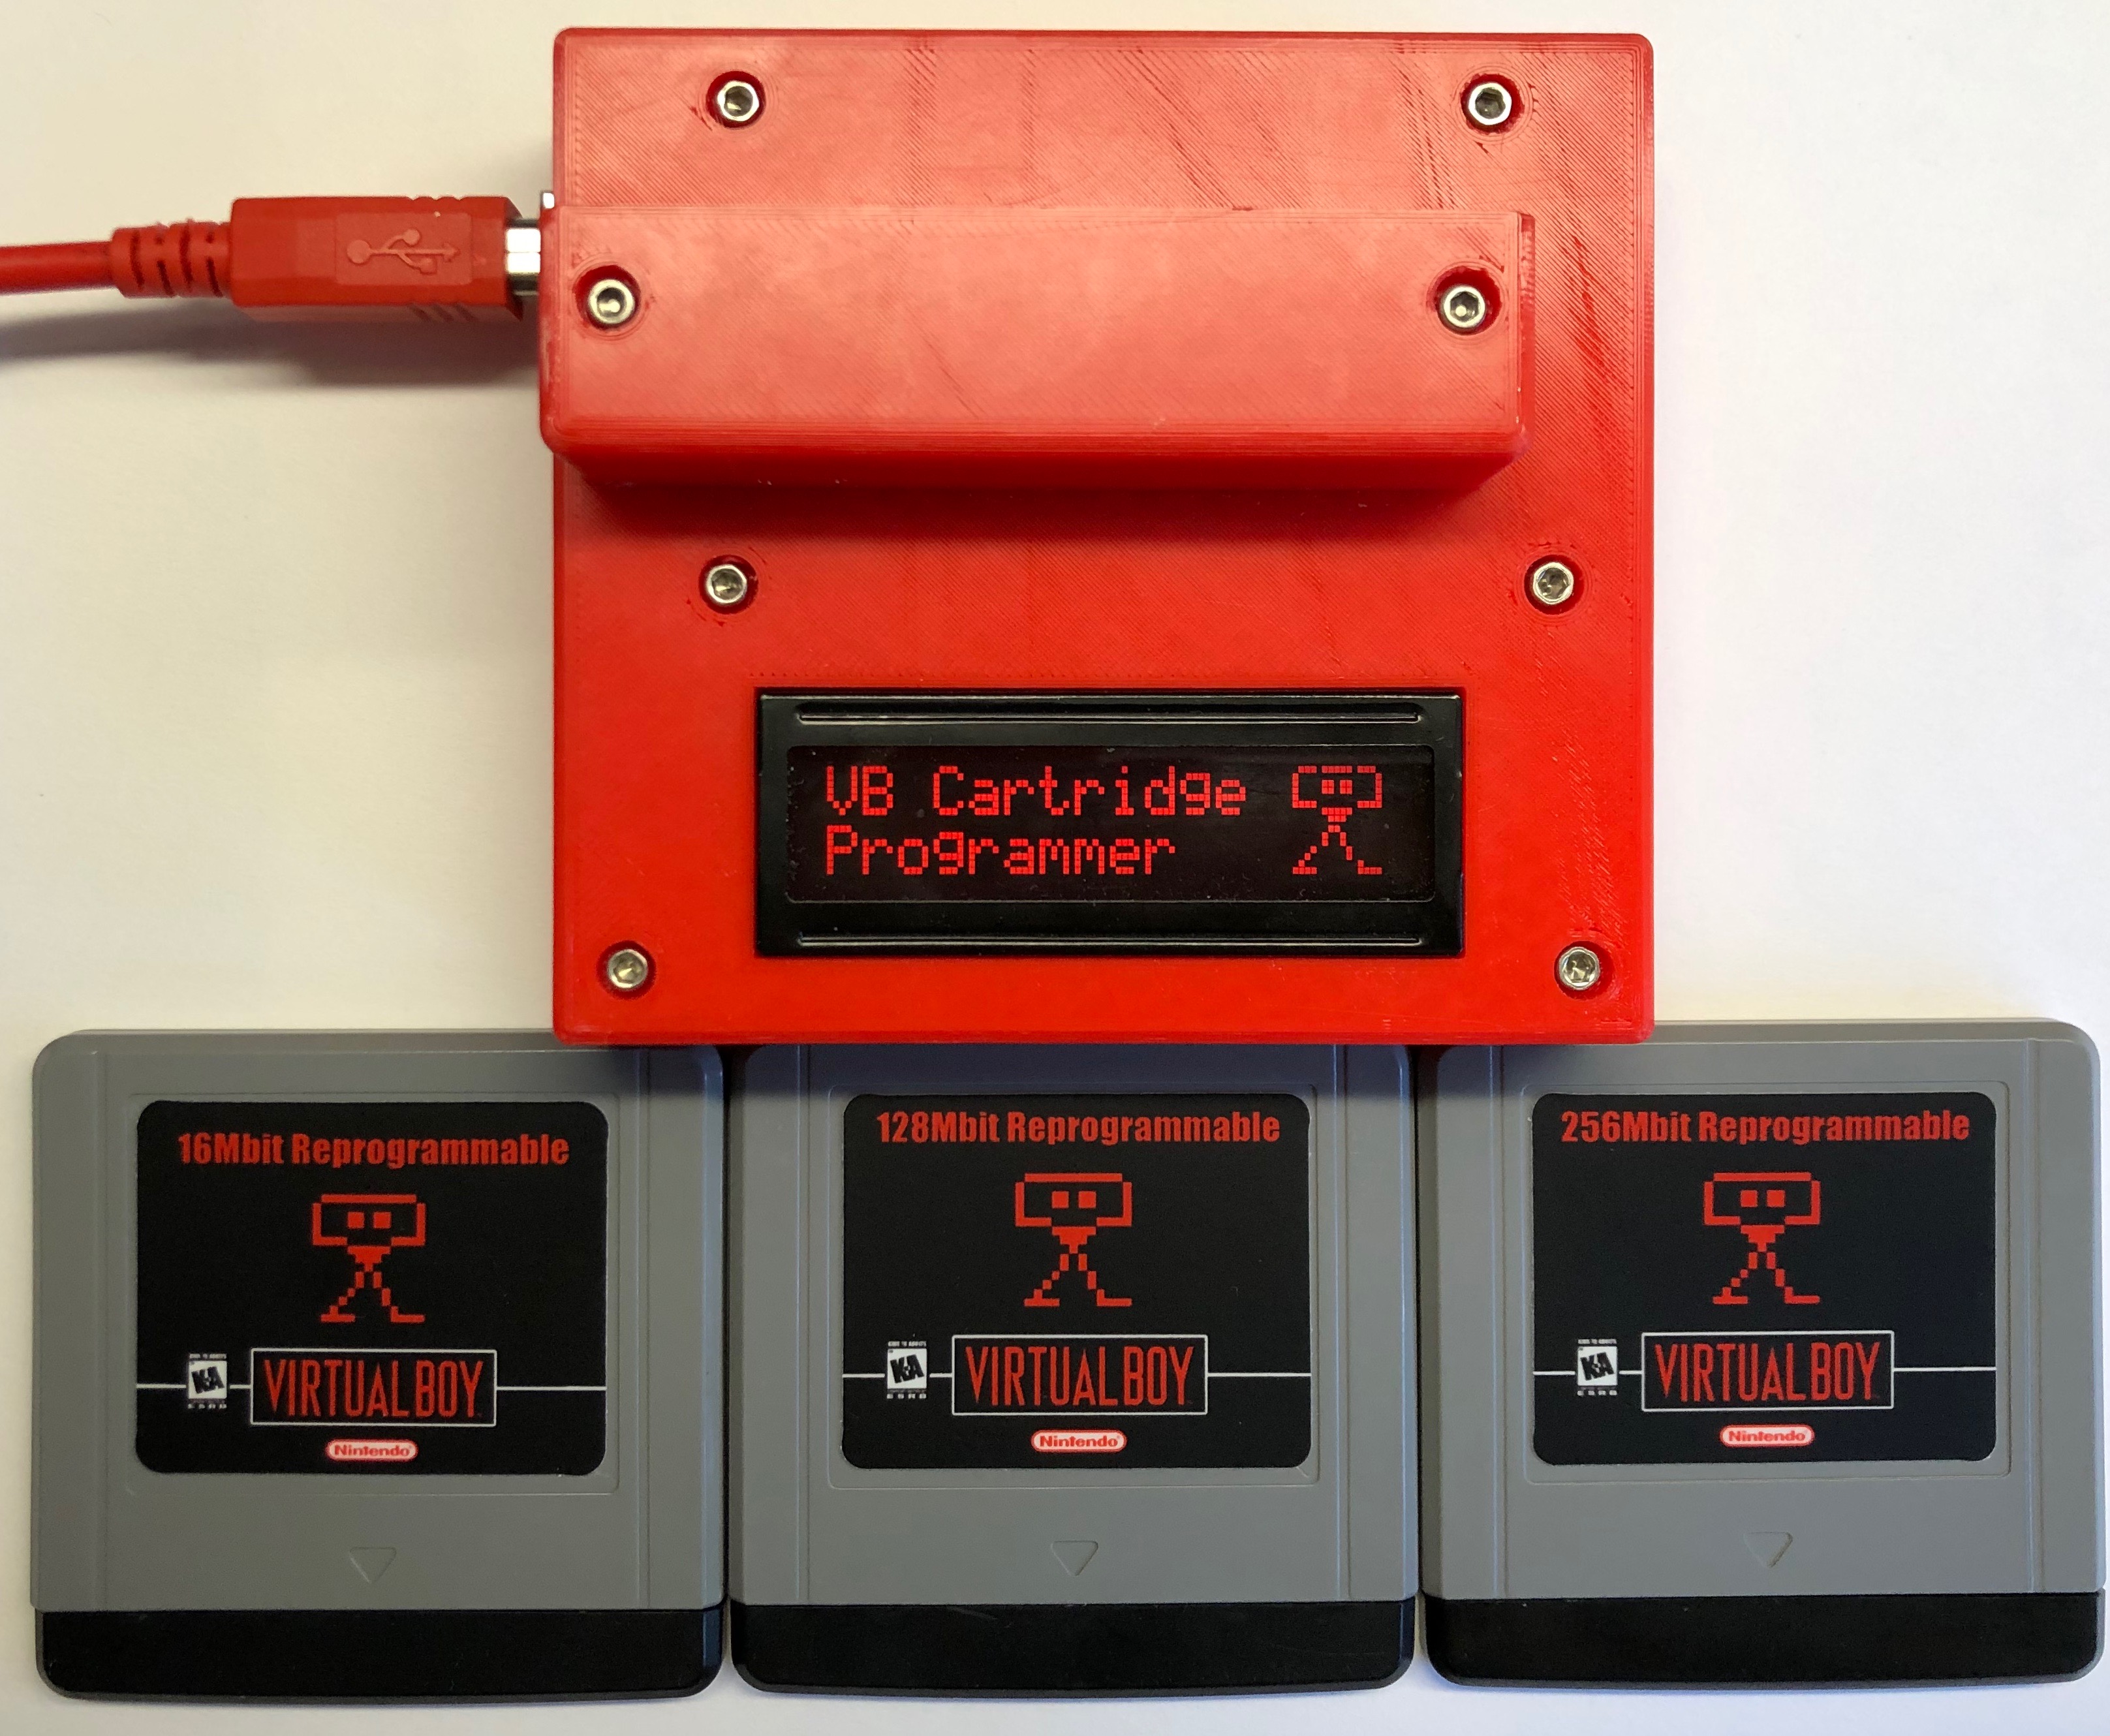
I then made some themed labels for the reprogrammble carts that go with the programmer. These contain my 16/128/256 Mbit custom carts.
And here’s a photo shoot with its older brother!
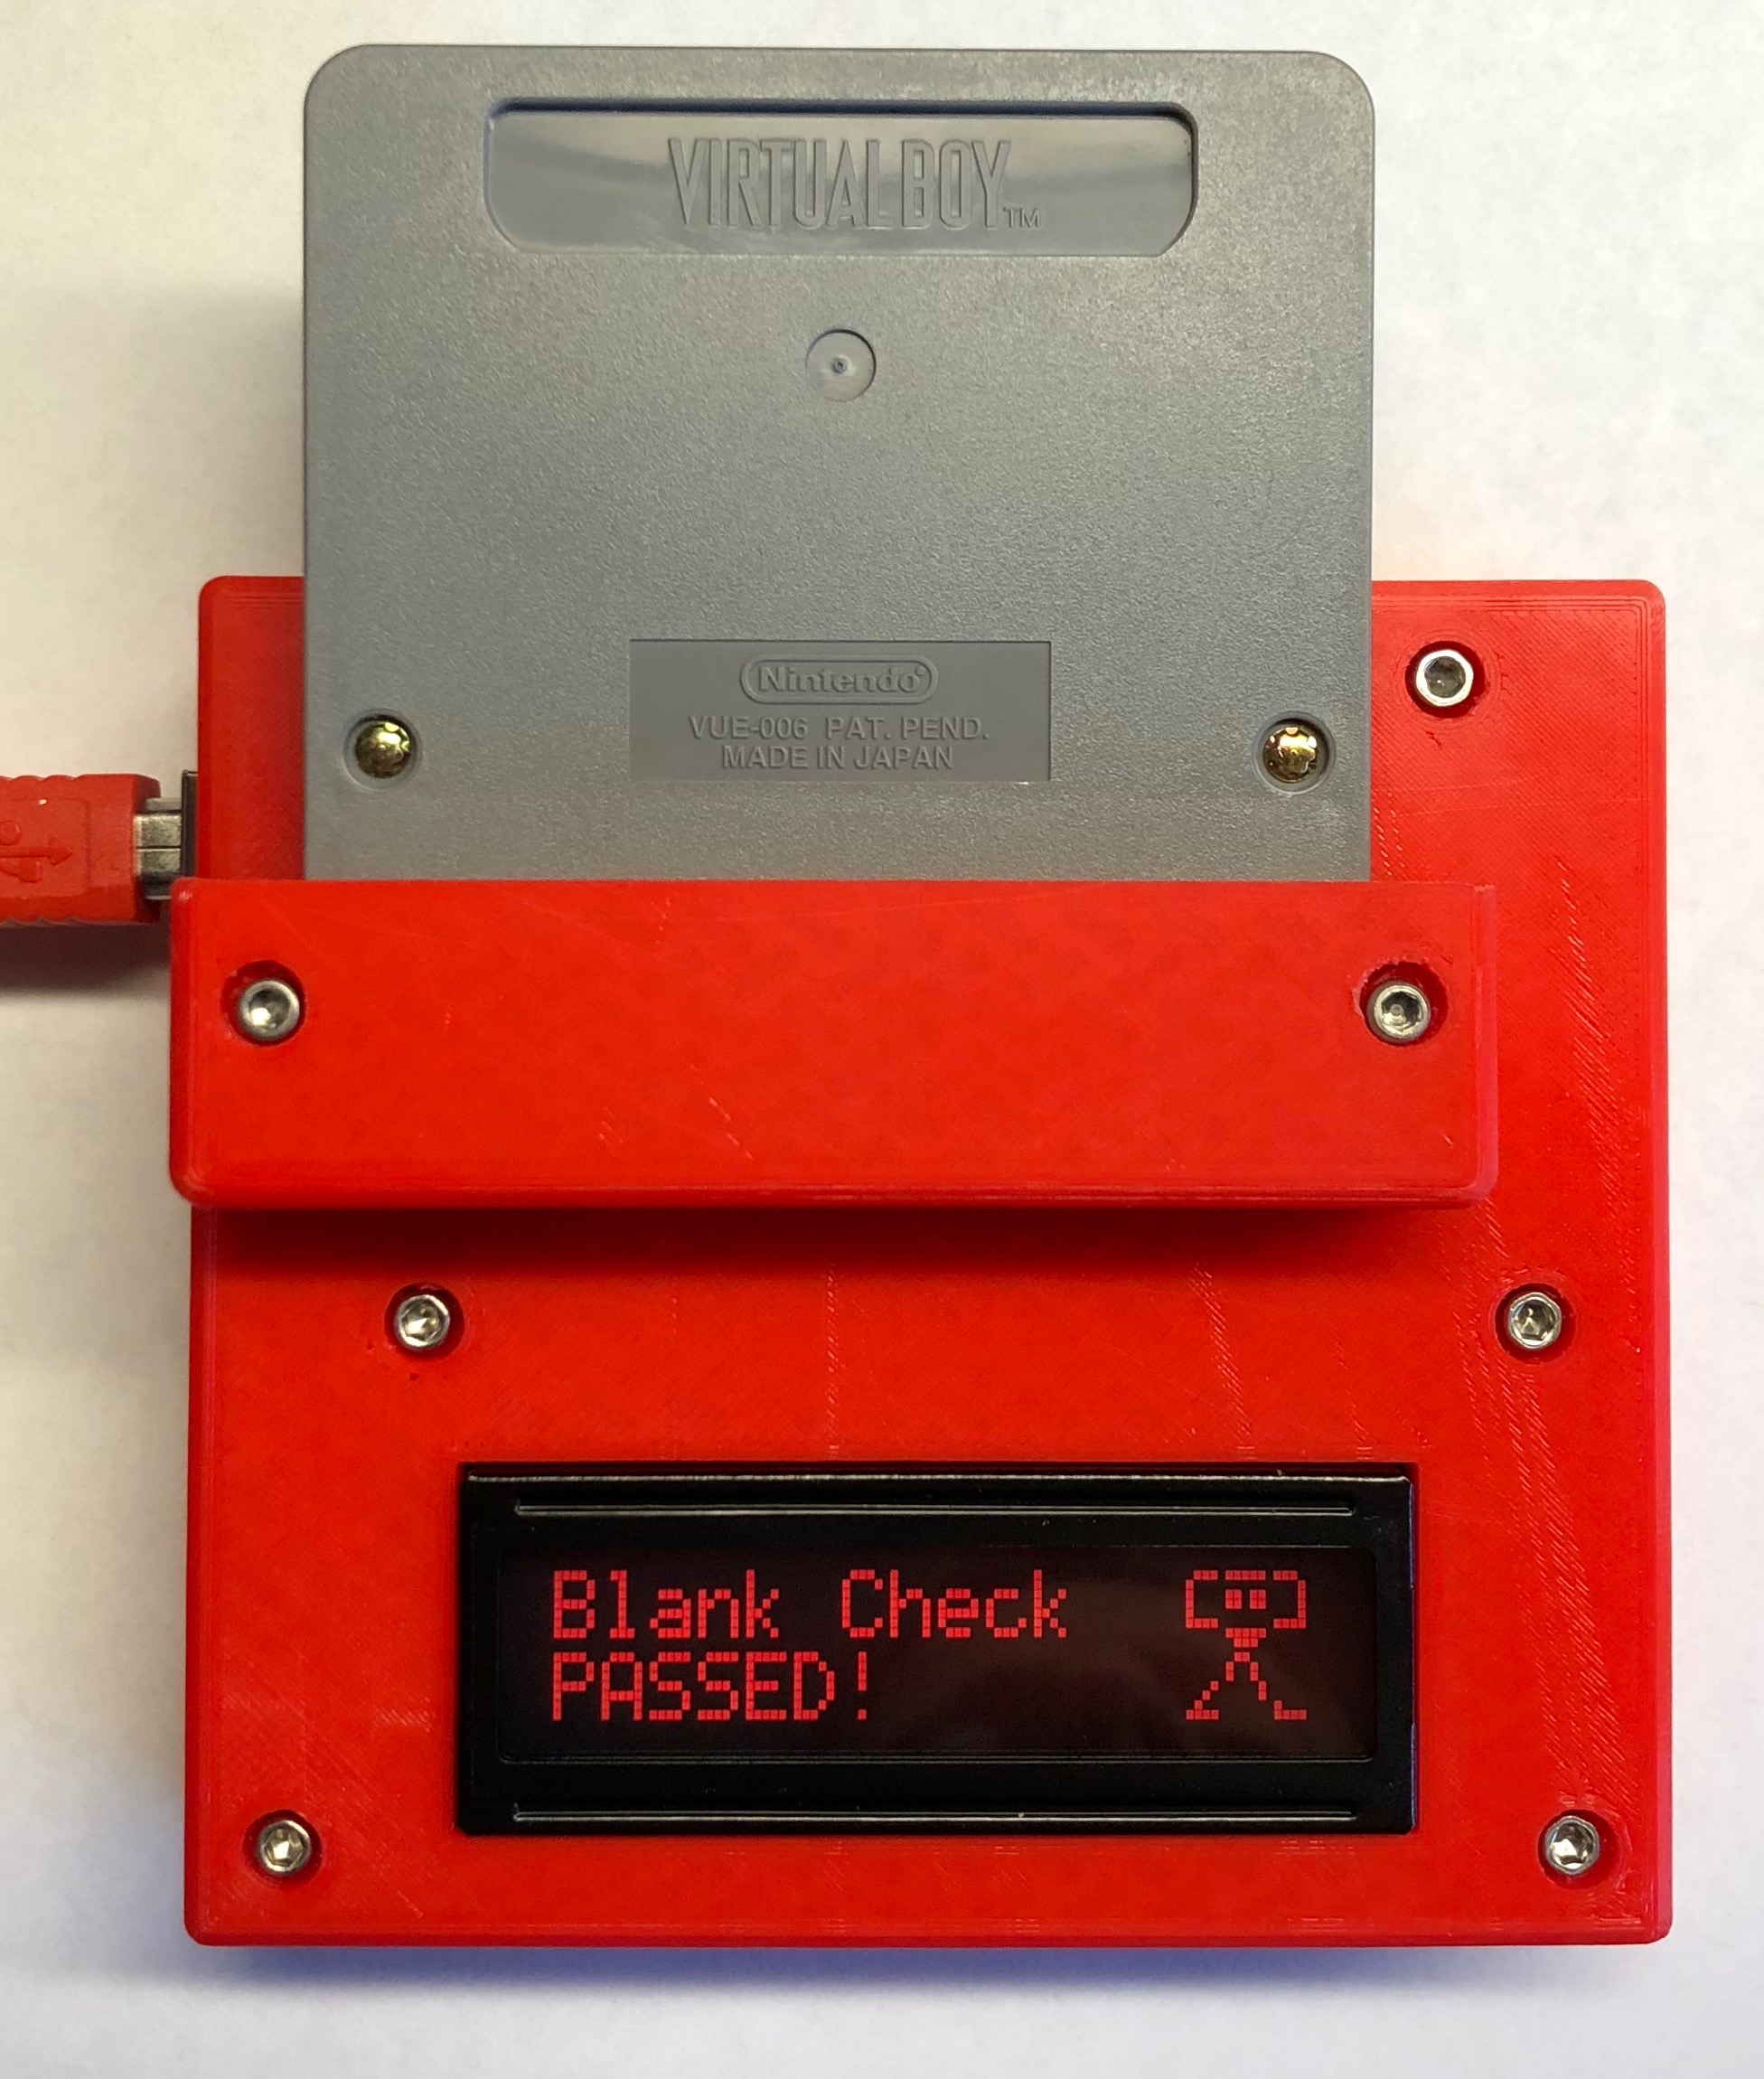
I’ve built ~23 of these units in the VB mini style case and a few more units in a more box looking enclosure. This enclosure was designed by someone who bought a naked programmer from me. I printed one as a test and it works quite well. It’s faster and cheaper to assemble as well.
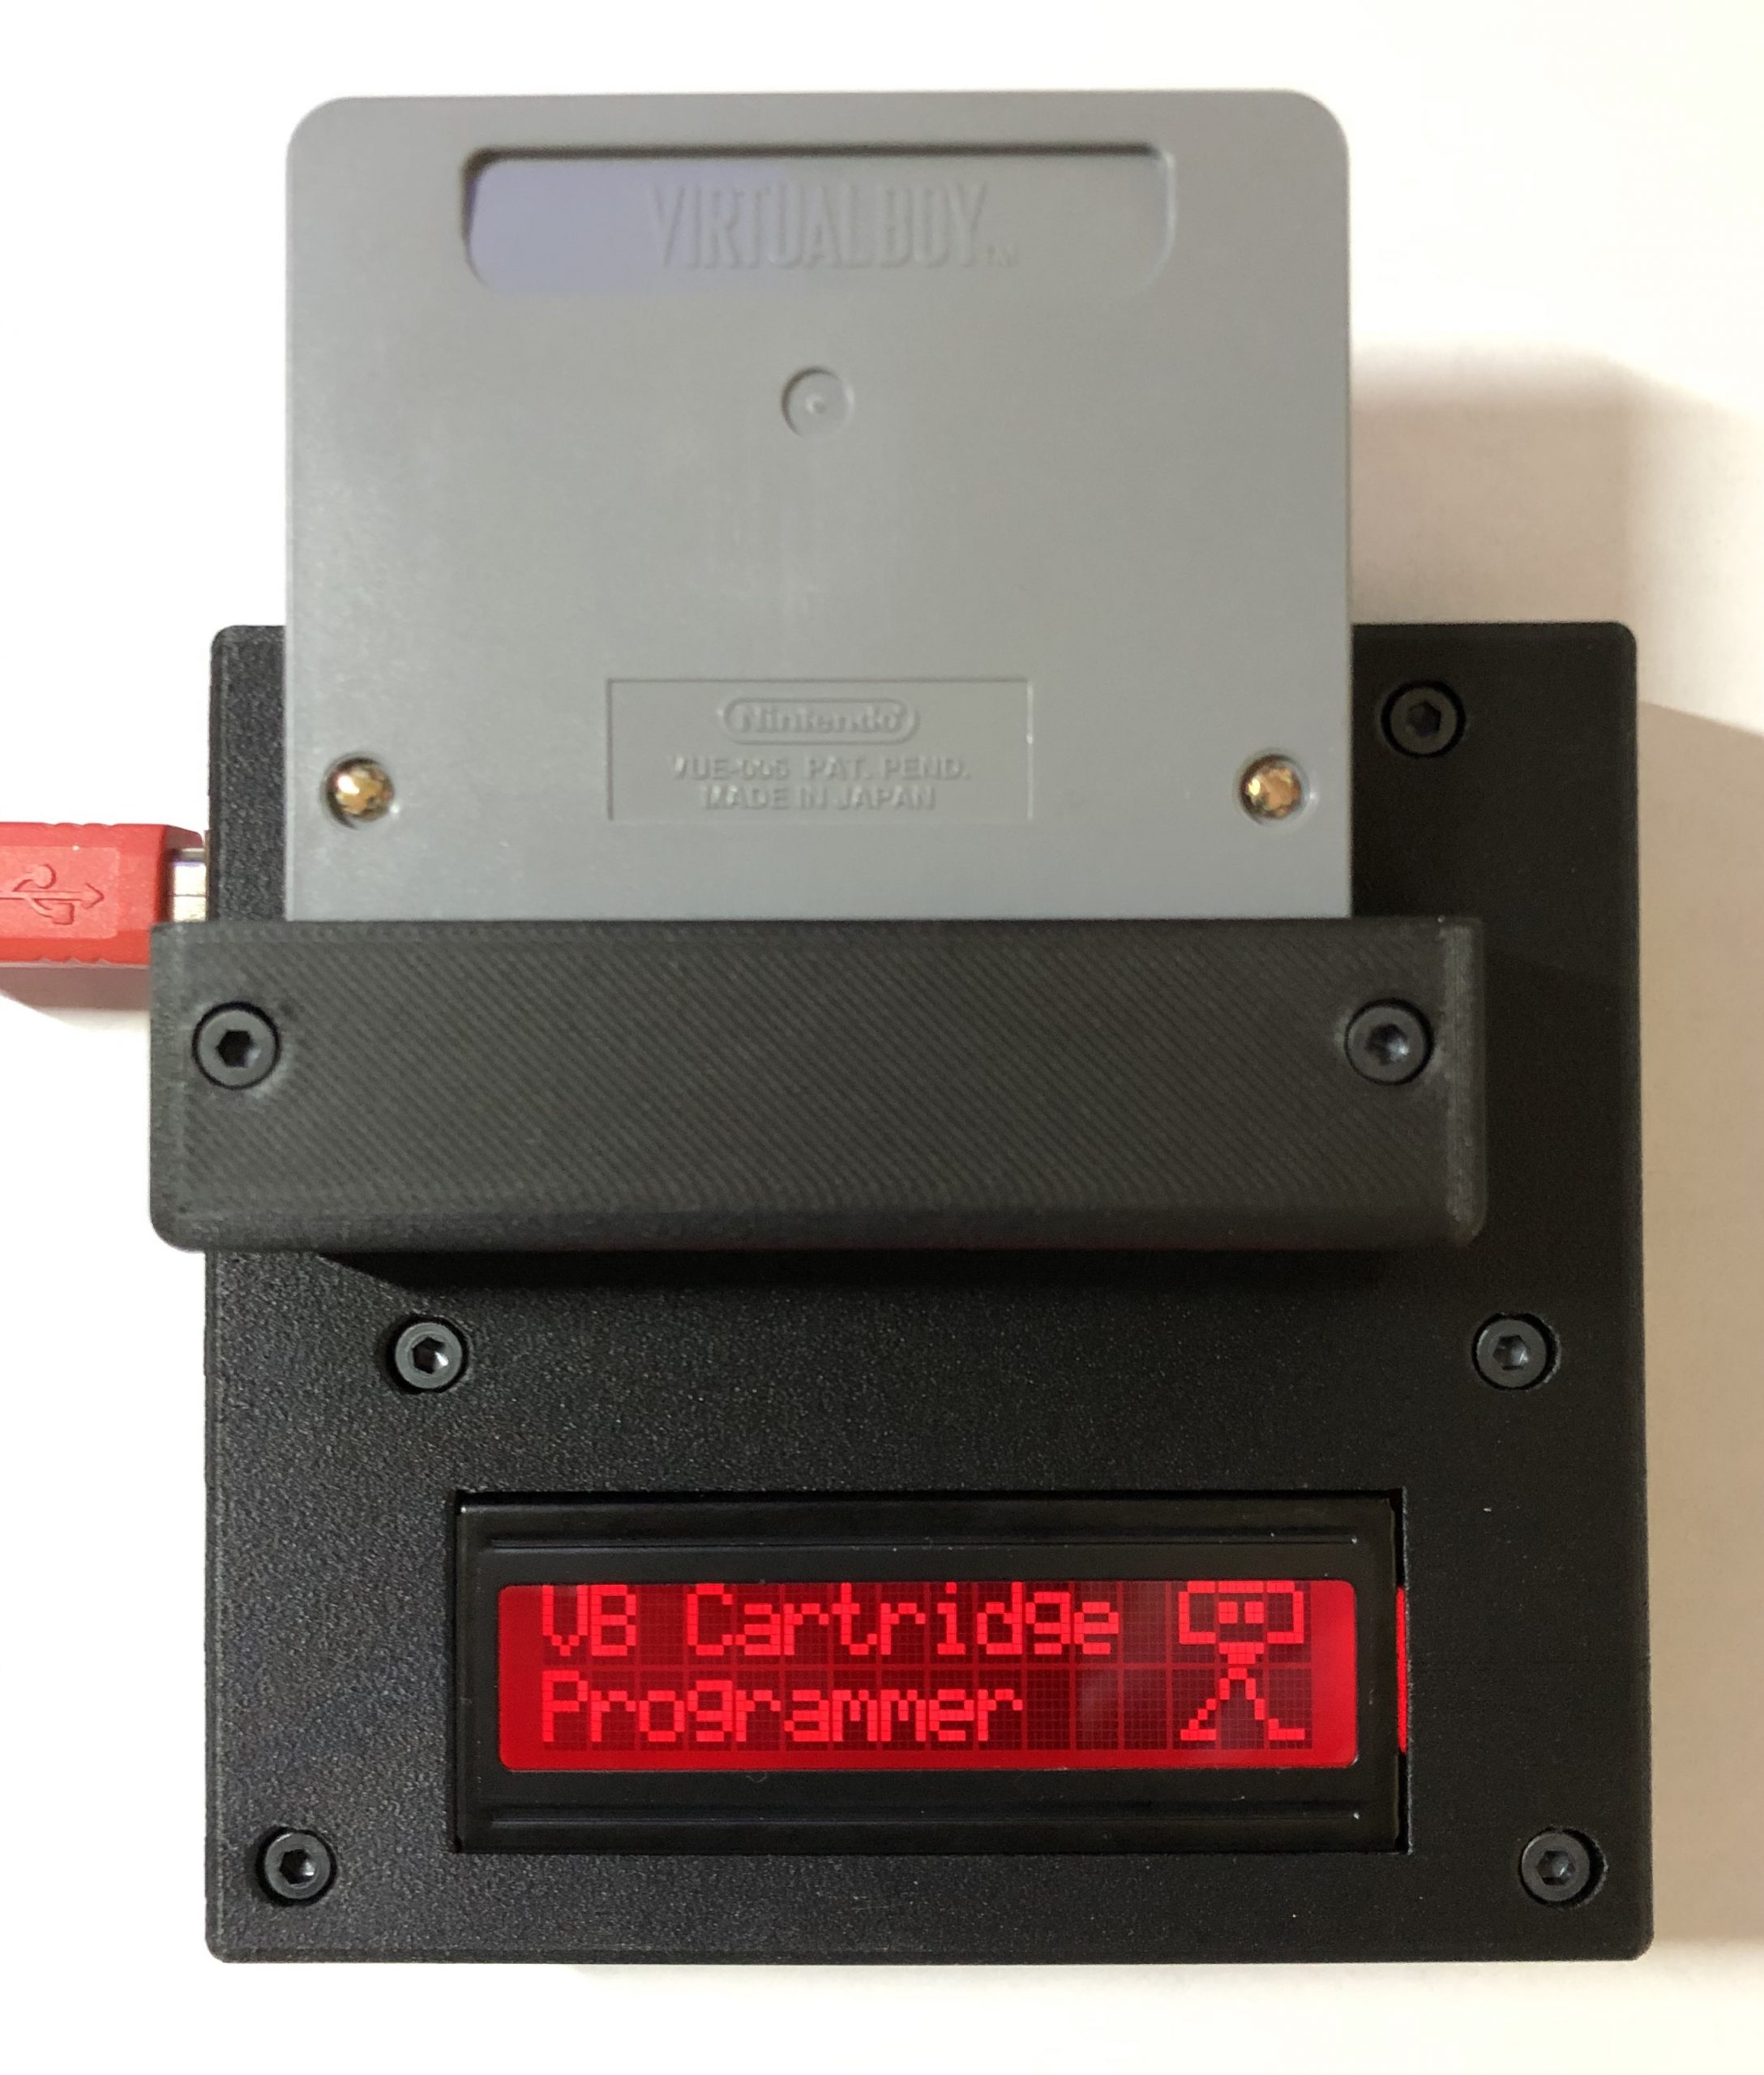
And eventually I printed one in 3D chopped carbon fiber on my Markforged Onyx printer.
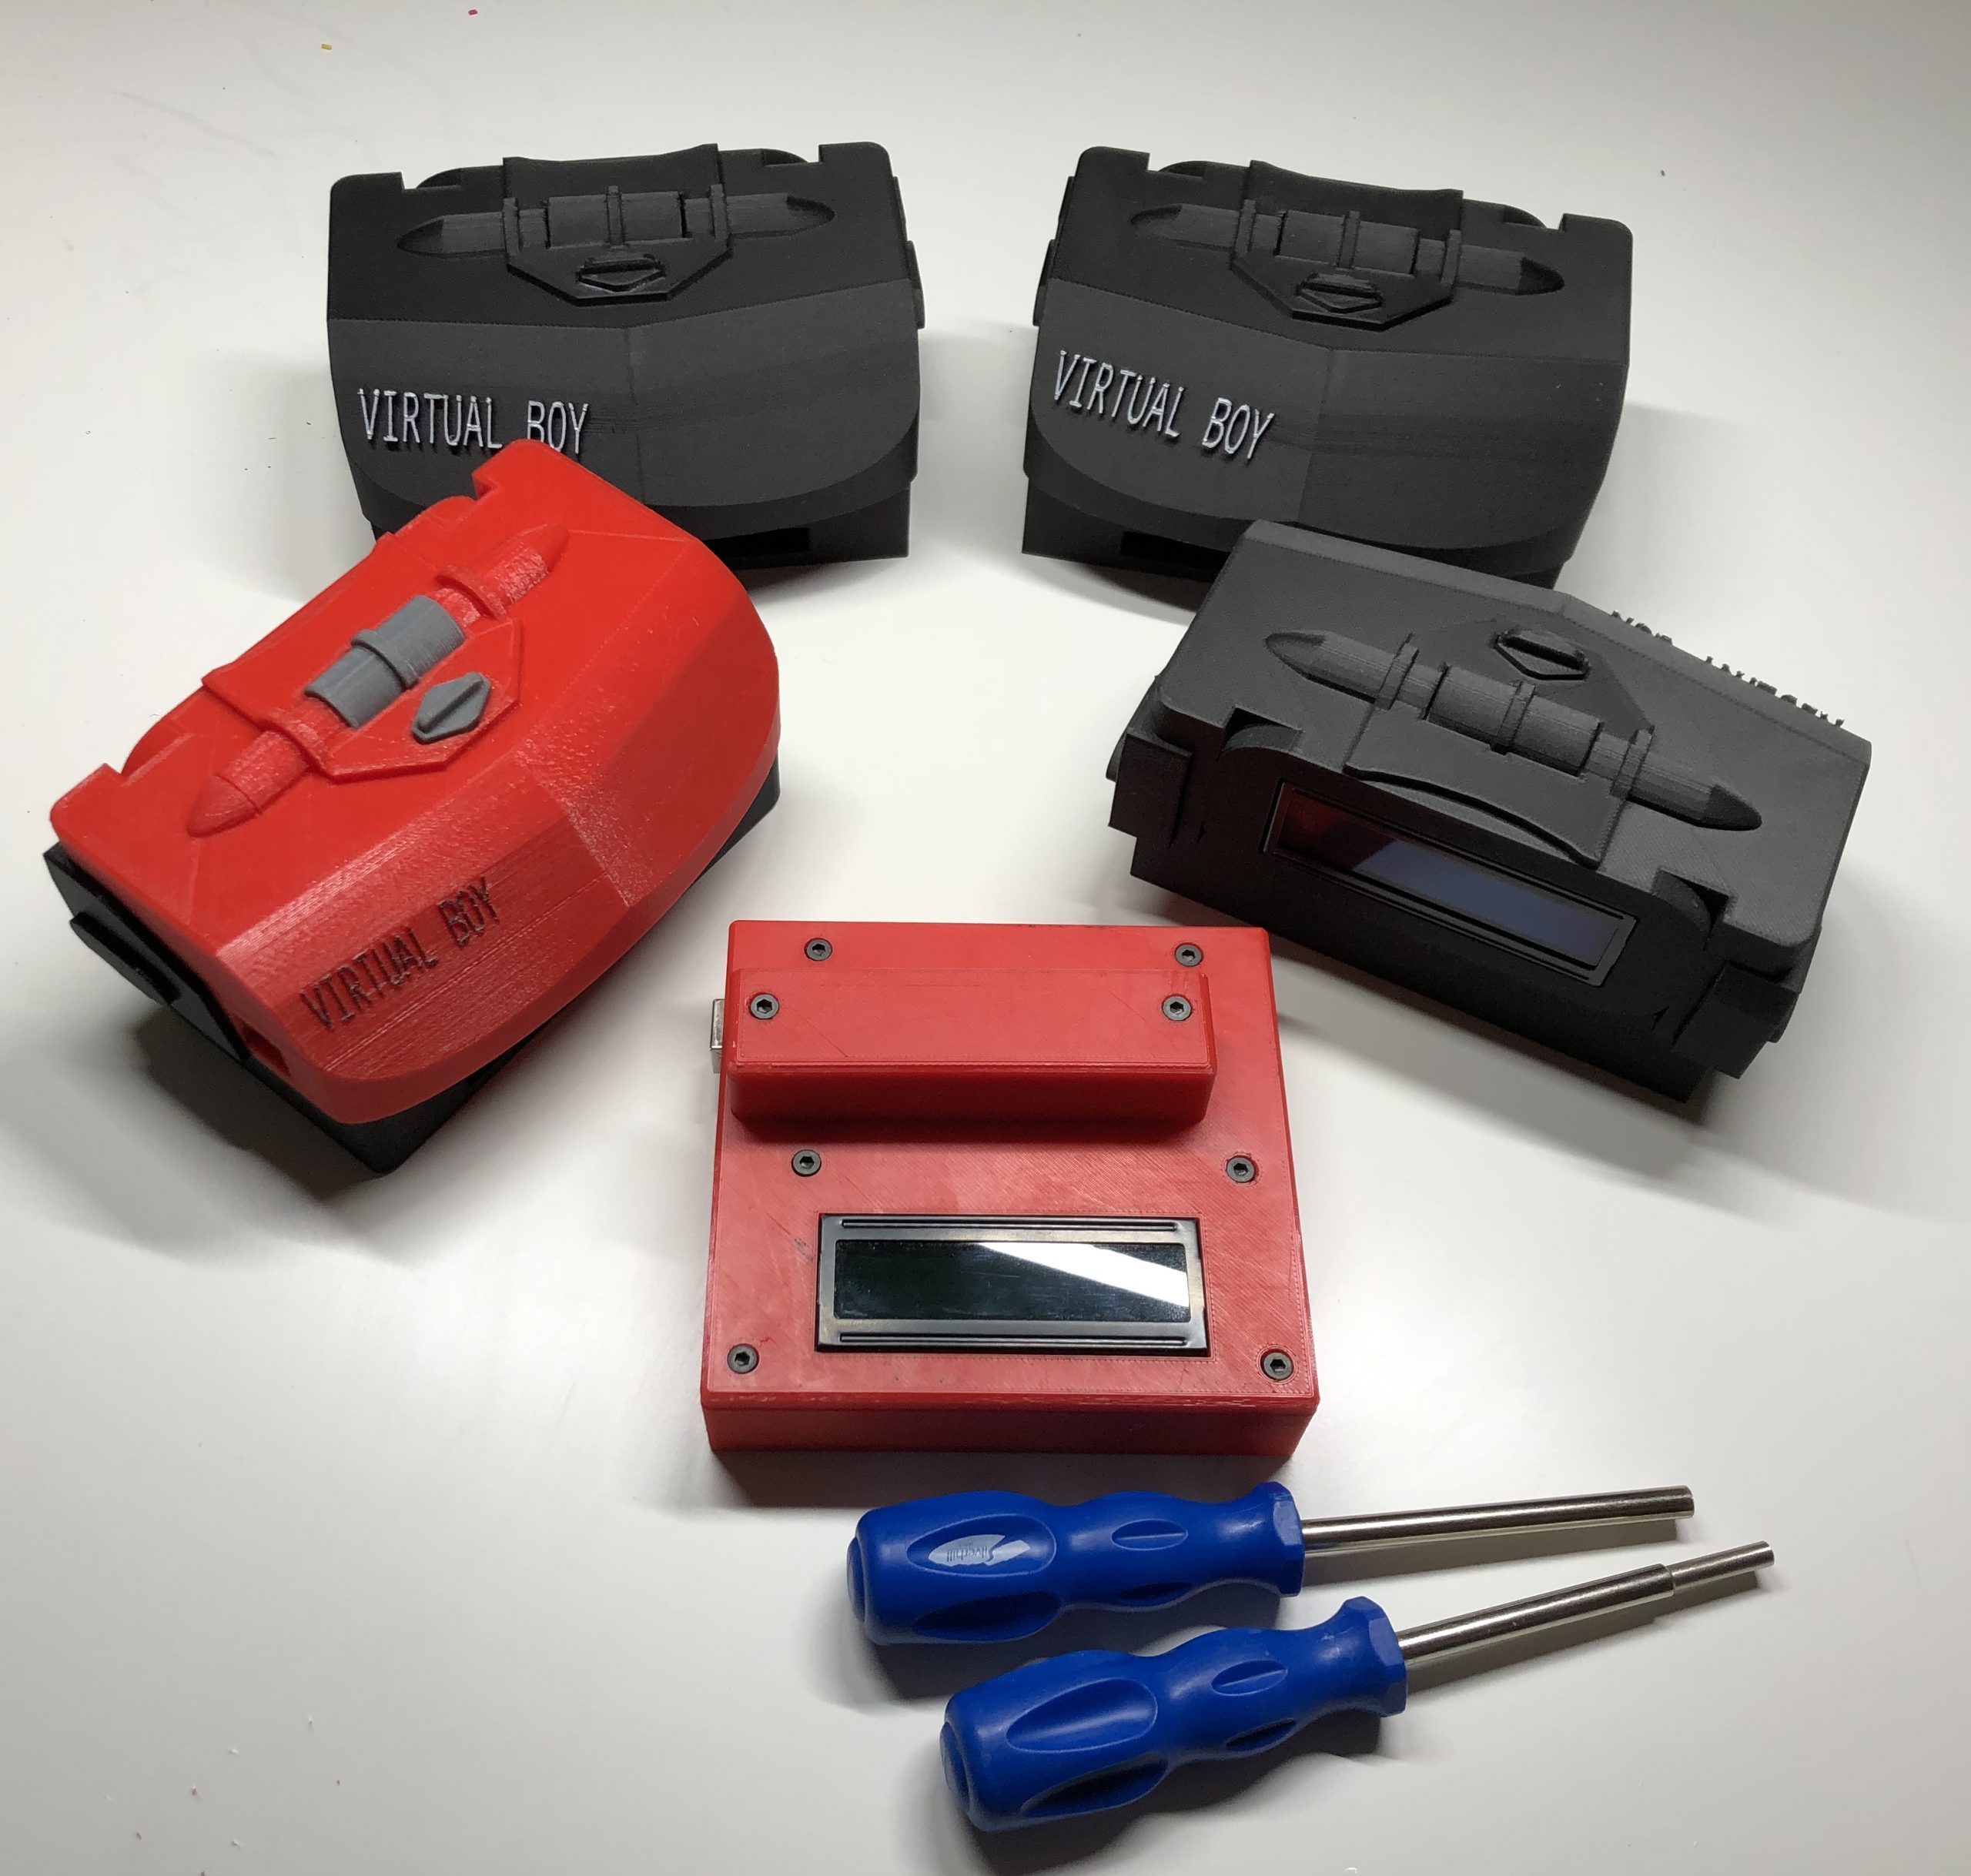
And a final glamor shot showing the original mechanical prototype with most of the versions. The last regular case Onyx enclosure is missing.
Overall it was a really good project and let me further my mechanical design experience for simple enclosures. Enclosure design was my last missing piece of the puzzle to design products at every stage myself. The project overall took longer than I originally planned due to the 7 revisions of enclosure. Once I got started on the VB mini design I wanted to make it as good as possible and so decided the extra time was worth it.
The hope is that the ~35 units out in the wild encourage VB game developers to break that 16Mbit game limit and build some awesome games.
 Mellott's VR