 Mellott's VR
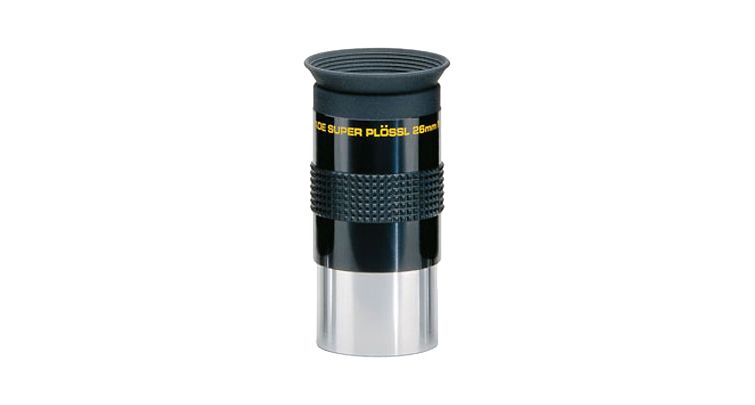
VFX1 Plossl Lens Upgrade
October 2002
The VFX-1 lenses can be upgraded to provide a more percise image with almost no effort. The orginal lenses are replaced with microscope eyepieces. The difference is quite noticable. The glare often seen with the factory lenses is eliminated. The picture is also more crisp and easier to look at. The only downfall I can see is that you have to keep your eyes centered in the lenses, more so then the factory lenses. Other then that, it is well worth the time and effort.
The eyepieces that I have used and several others is the Meade Series 4000 26mm Super Plossl lenses. I am told that the older style Japan models are the ones that you need. There are newer ones made in Taiwan but they have not been verified by anyone. Also the eyepieces without the eyecups are the best fit. These lenses can be found on Ebay for around 80 dollars a pair. The only modification needed with the lenses without the eyecup is to unscrew the chrome lower barrel. I purchased the ones with the eyecups and had to modify my lenses somewhat.
My modifications consisted off actually cutting off pieces of the barrel that hold the lenses in the eyepiece. This is because the new lenses are longer then the factory ones and made it slightly uncomfortable to wear. I cut off the aluminum retainer that the eyecups slip into on the end of the eyepieces. After cutting off the retainers to make the eyepiece barrel shorter, I put the eyecups back on the barrel and folded them over. This way my eyes are bumping against aluminum when I’m using the headset. The folded over eyecups act as a bumper. This made it more comfortable to wear the headset with the new lenses.
Another modification I had to do was cut the excess metal off of the retaining ring that holds the lenses in the eyepiece. When you remove the lower chrome barrel(This has to be done to use the eyepieces with the VFX-1) there is a retaining ring that screws into the eyepiece to hold the lenses. A piece of this ring extrudes past the remaining aluminum barrel. In order for my lenses to be in focus, I had to cut this ring in two. I cut the ring slightly above the threads leaving just enough space to cut grooves into, so I could put the ring back into the eyepieces. After I cut the excess off of the ring, I had to cut to small grooves in the ring, opposite of eachother, so that I could use a small screwdriver to thread the ring back into the eyepiece. I know this sounds alittle confusing but you’ll see what I’m talking about if you ever decide to try it out.
After all this is done, approximately 1.5 hours, then your ready to insert the eyepieces (lenses) into the VFX-1. There are two retaining allen screws holding the factory lenses into place. One above and one below the lenses. Loosen these and the lenses with come right out. Slide the new ones in and tighten the screws. You may have to adjust them slightly to get a better picture. I had to converge mine inwards slightly and the picture improved dramatically. Then just wrap a few rounds of black electrical tape around the eyepieces where the allen screw make contact and your done. A VFX-1 with high quality upgraded lenses.
