 Mellott's VR
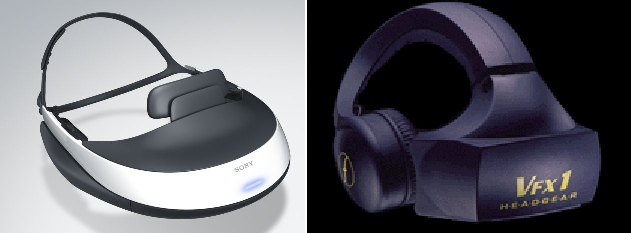
Sony HMZ-T1 in a VFX1 Shell
June 2013
I love the Sony HMZ-T1 OLED displays. The colors are beautiful with deep black. At 1280×720 the resolution isn’t half bad either. FOV is acceptable at 45 degrees horizontal. However the fit of the Sony HMZ-T1 leaves something to be desired. That led me to mount a Sony HMZ-T1 into a VFX1 shell for a really nice HMD. The fit is now really comfortable and the visor of the VFX1 shell allows me to get the Sony eyepieces much closer to my eyes. This allows me to view all four corners of the displays with very little blurring.
 |
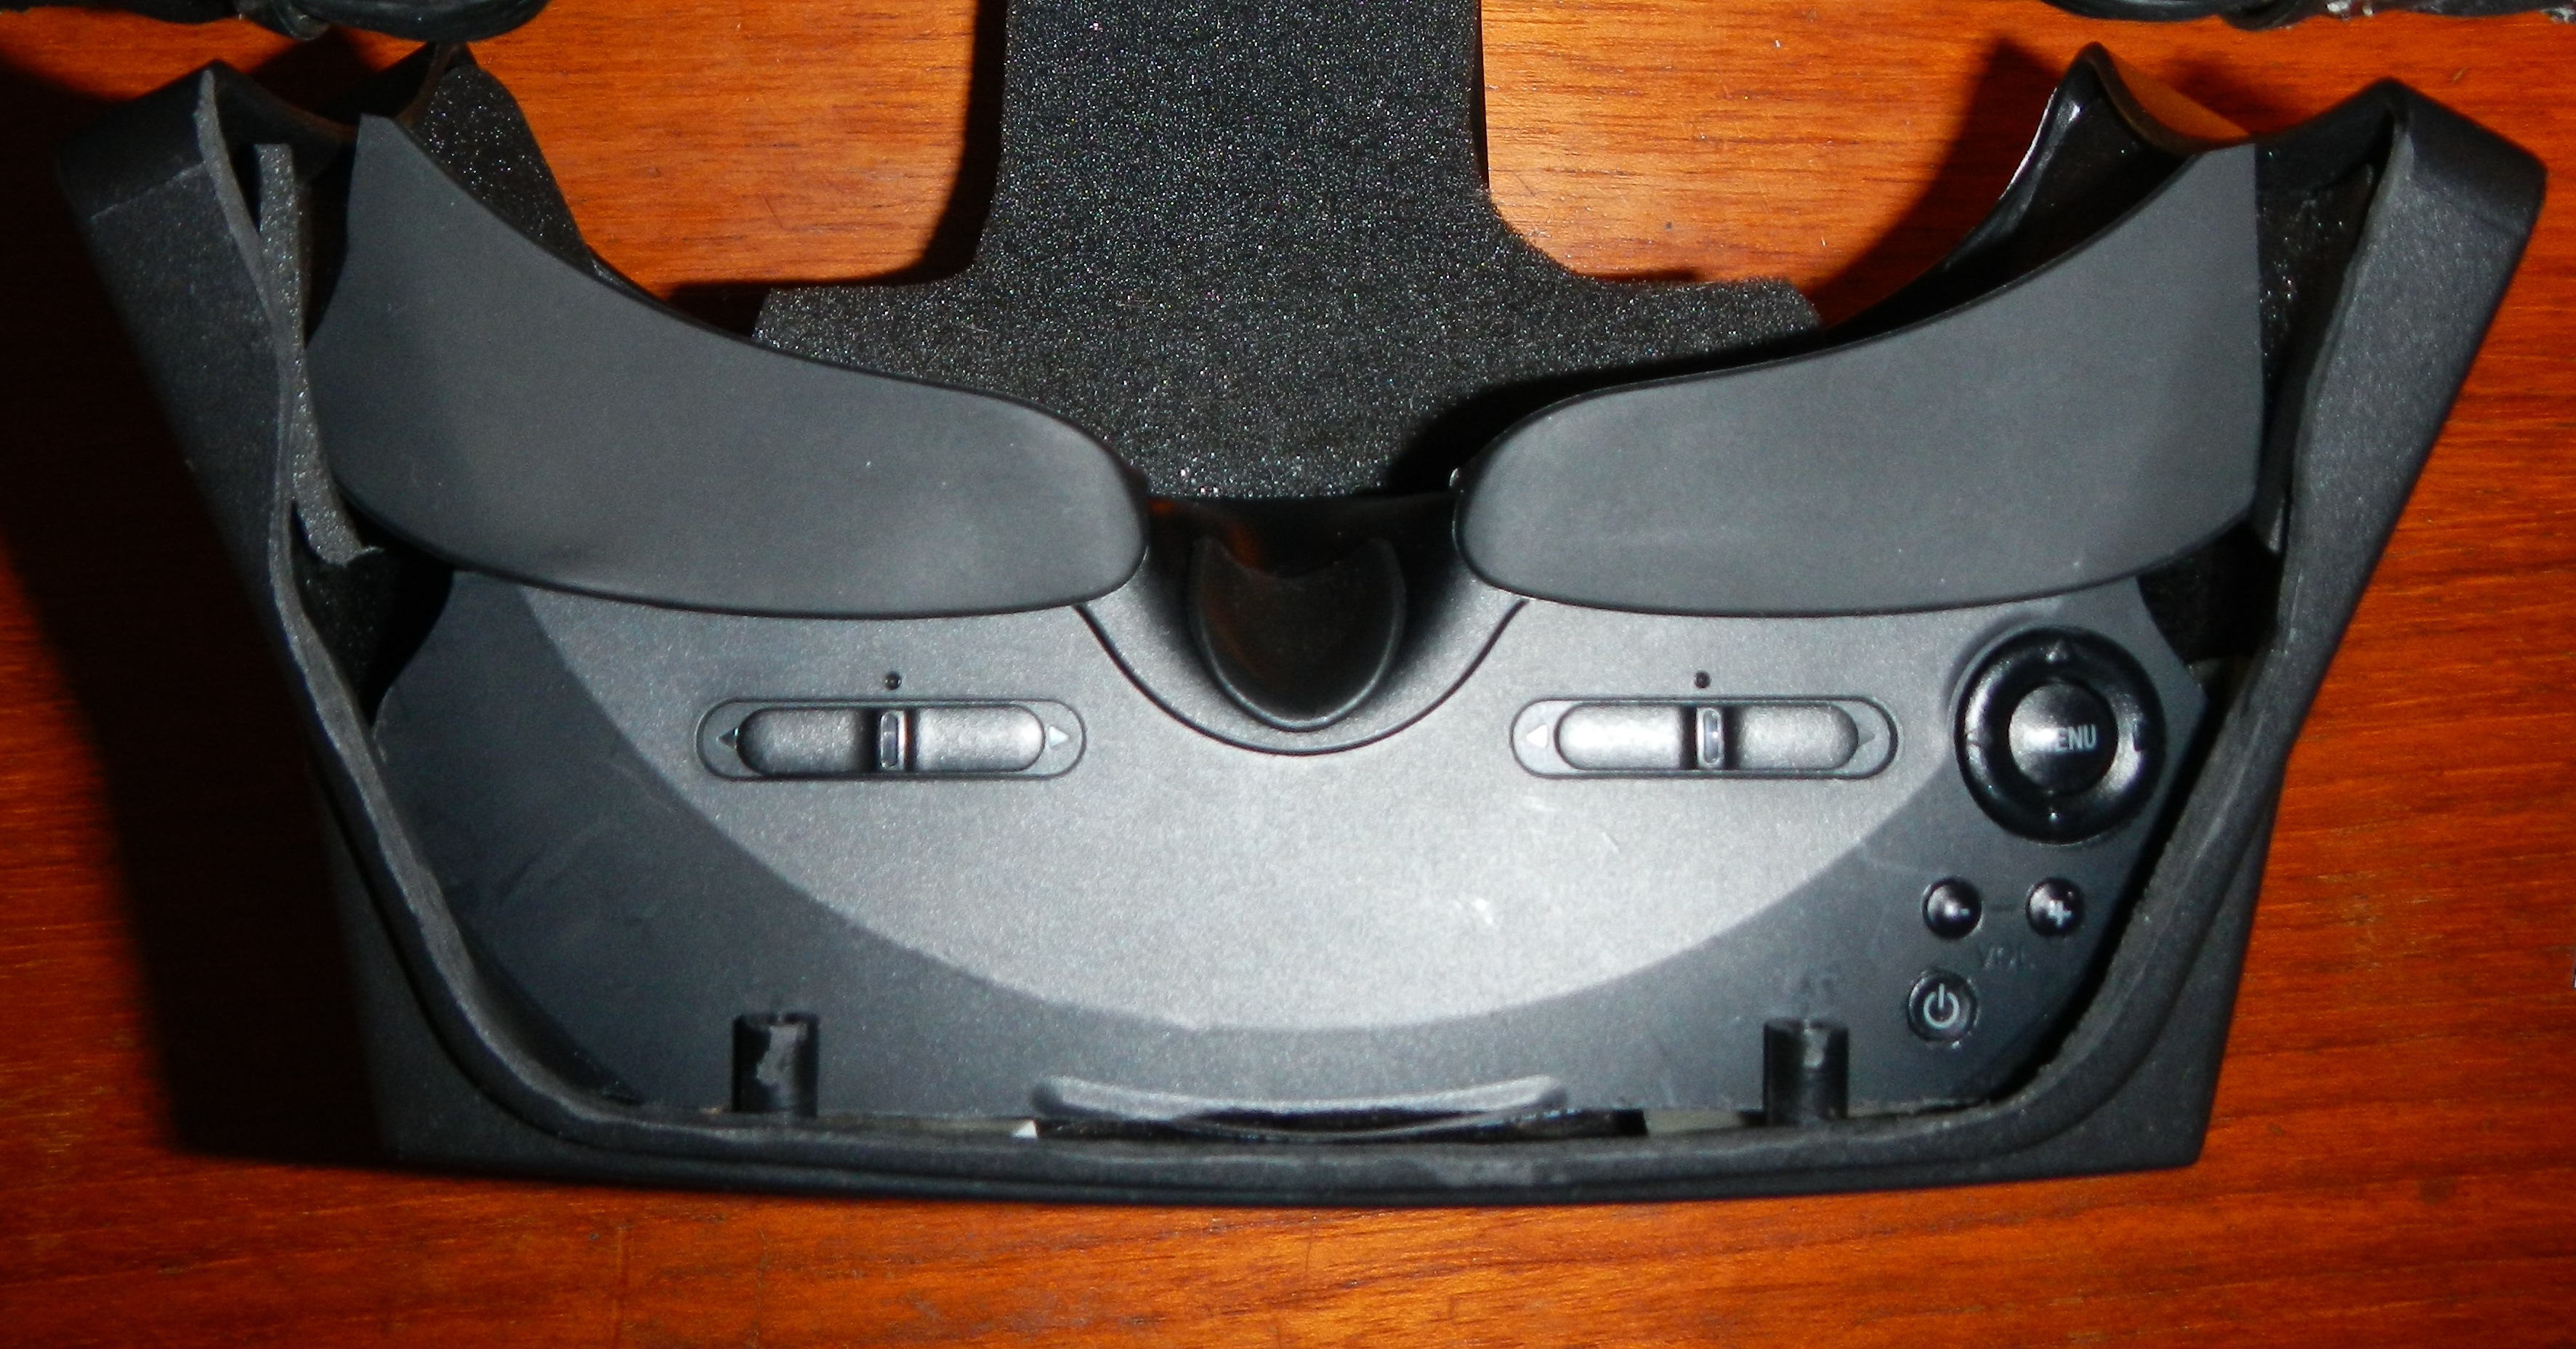 |
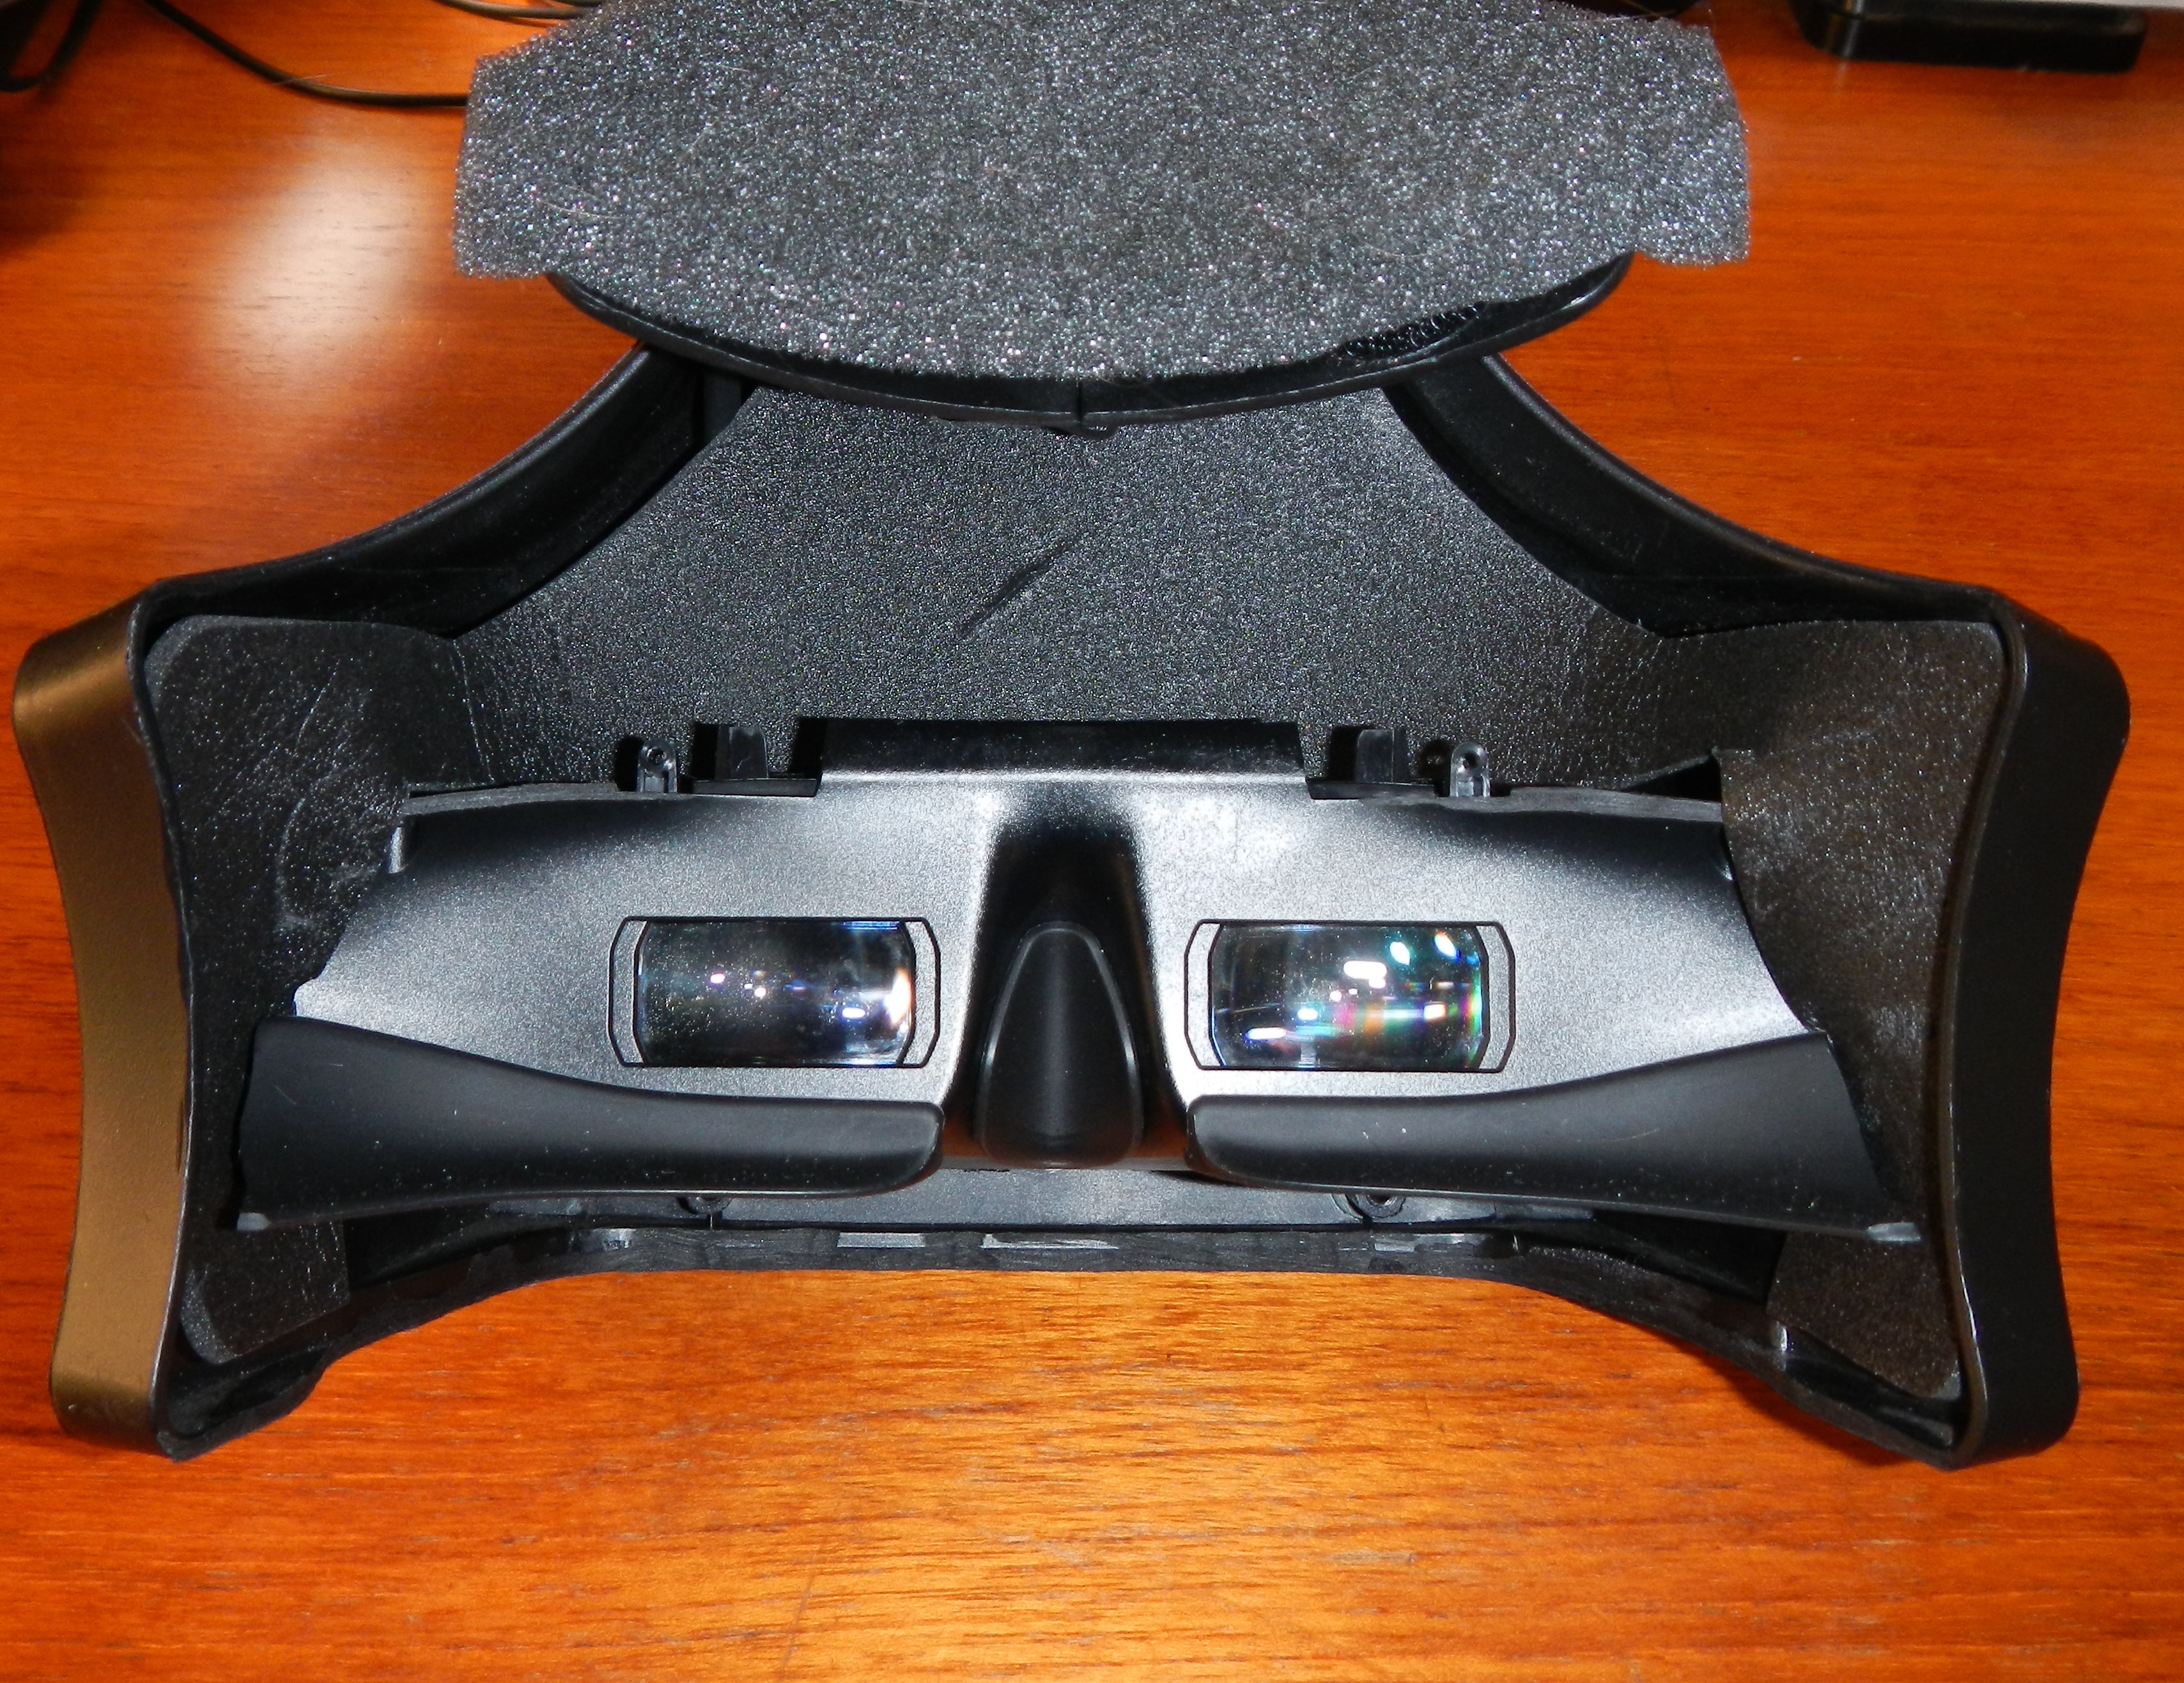
I disassembled the Sony HMZ-T1 to remove the IPD gear that links the left and right eyes. Removing this gear allows independent IPD adjustment. I also removed the headphones and the head strap. In order to make it fit into the VFX1 shell, I also cut off most of the plastic on the front end so that it didn’t extend very far beyond the Sony PCB itself. I kept the top and bottom plastic panels to help house the IPD adjustments, video buttons, and support the eyepieces. You will have to tape down the head pad switch because the head pad will no longer be there.
A diagram below shows some of the modifications. You may need to right click and download the image to see the text depending on your browser settings. When I build the second unit I’ll provide more images with a step by step instruction set. For now please see the general disassembly video at the bottom of this page to understand how the Sony HMZ-T1 comes apart (not my video).
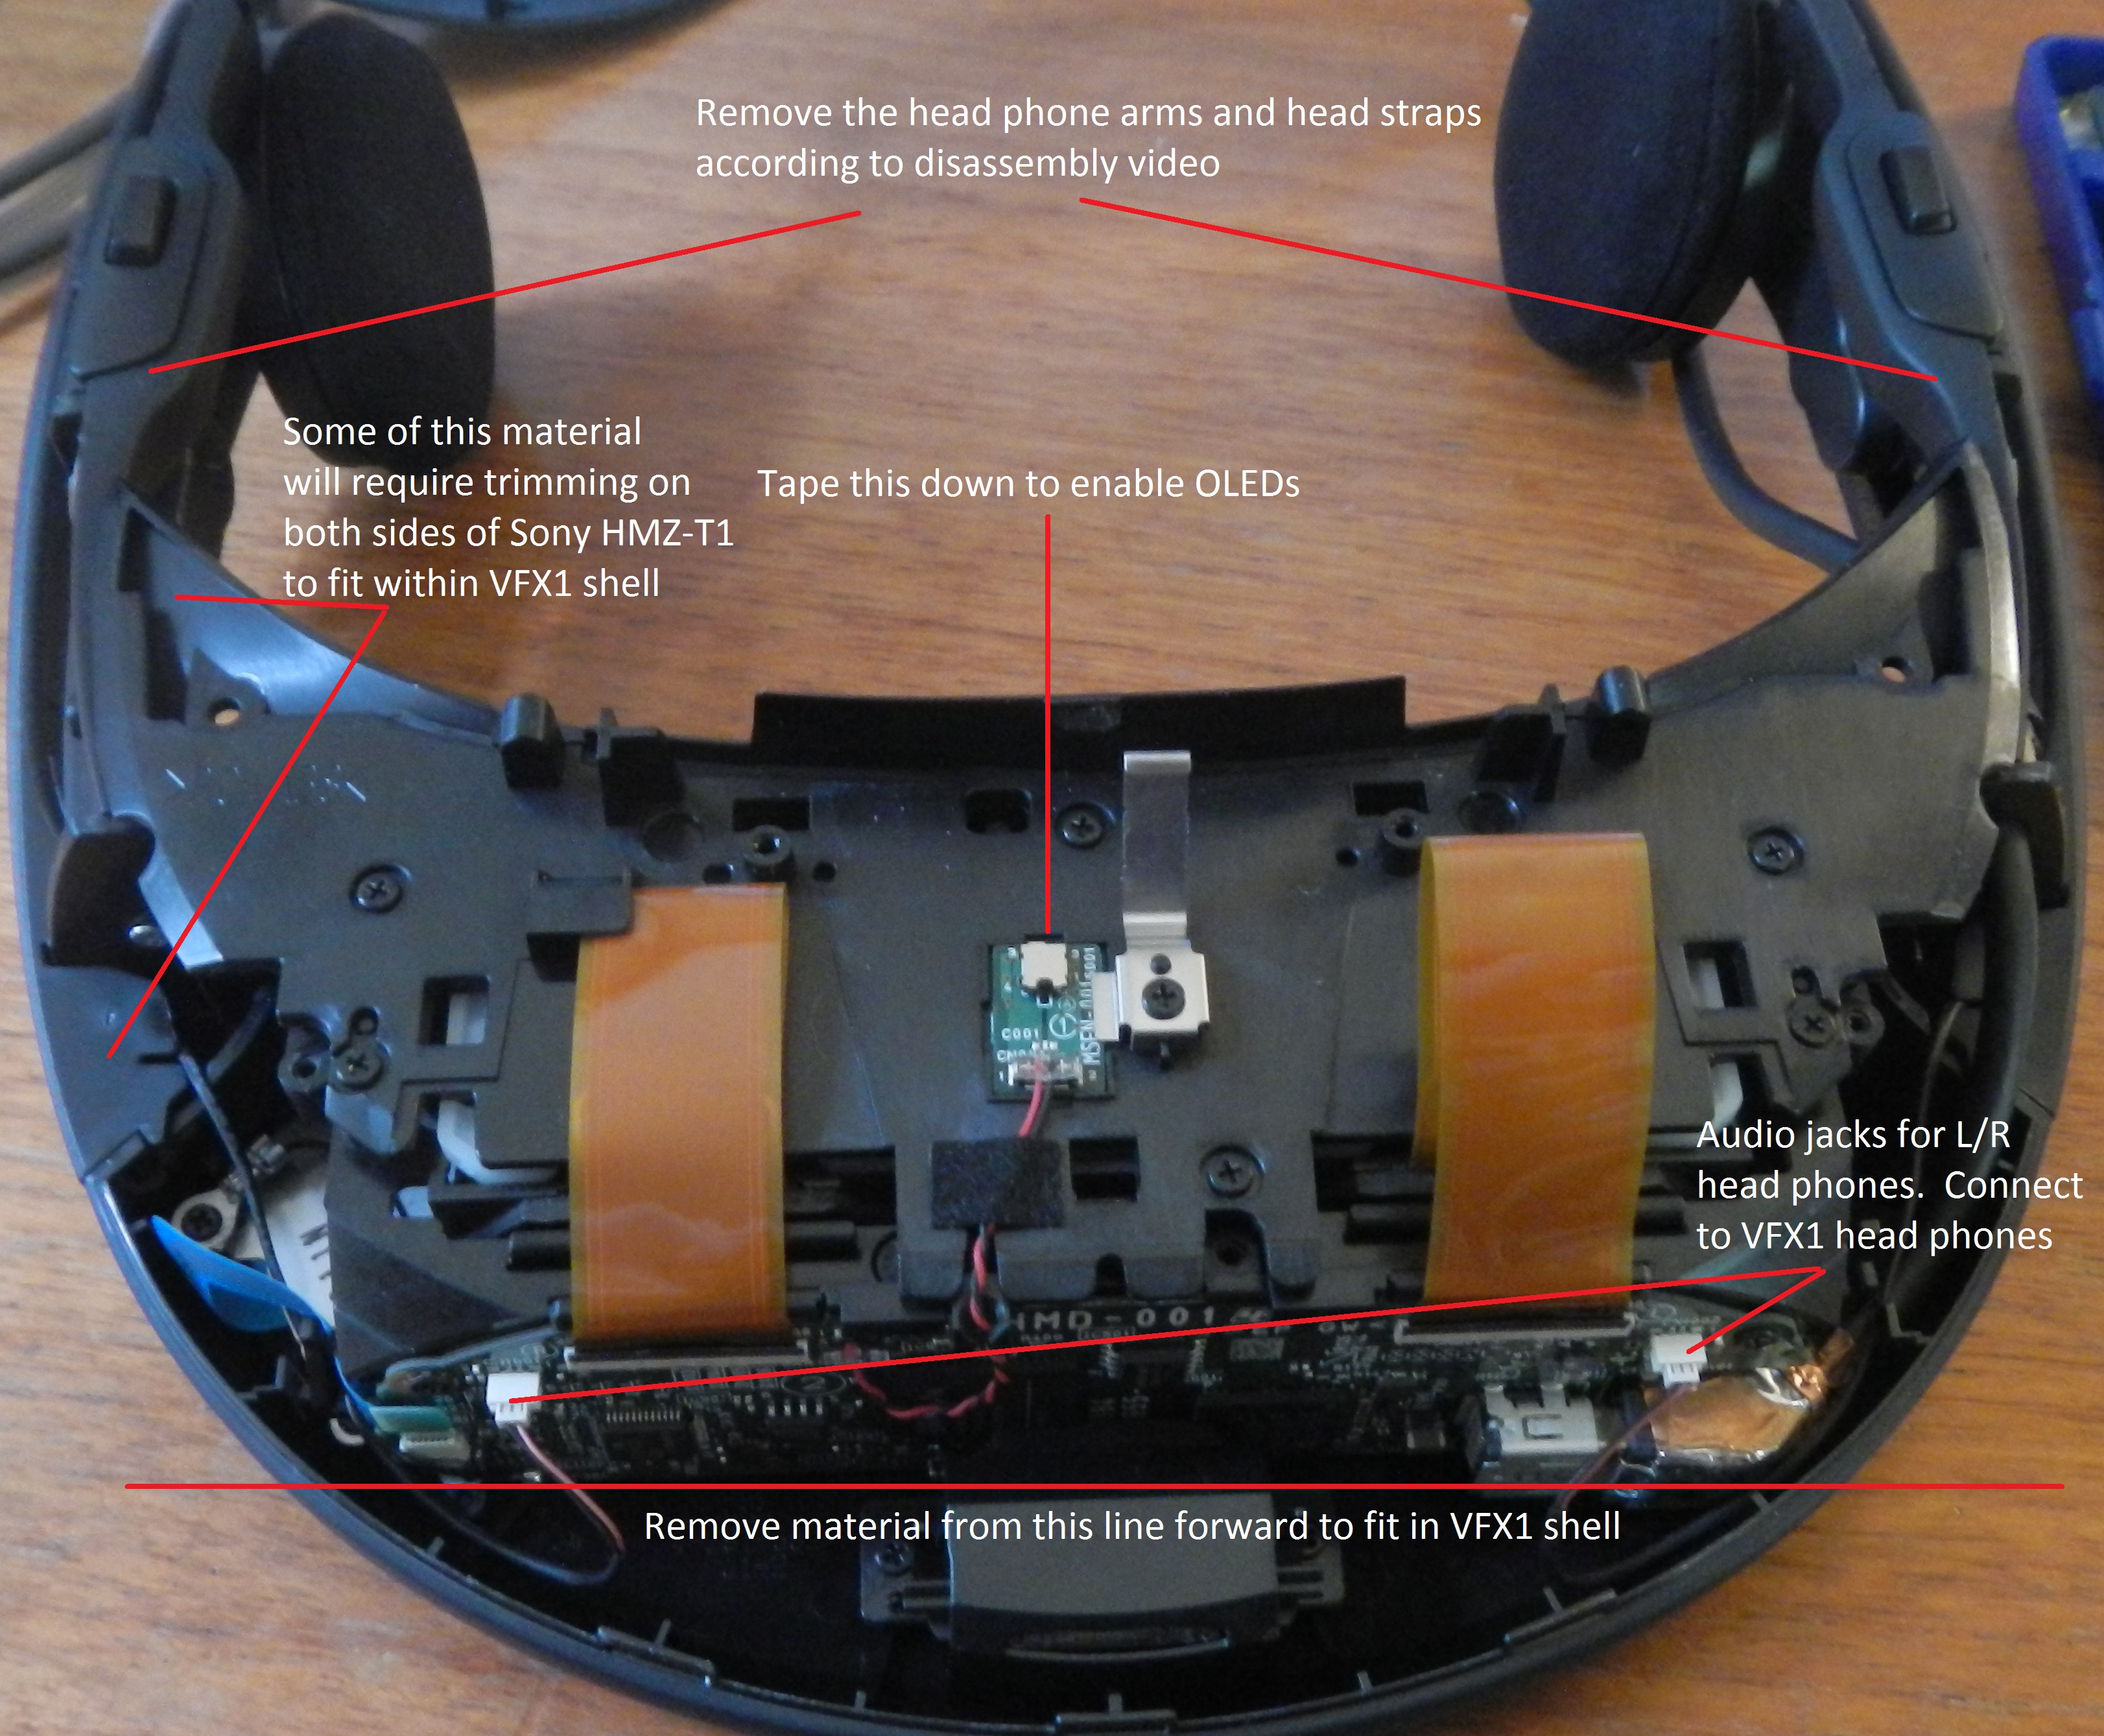
From there I solder the audio jack wires from the Sony HMZ-T1 to the VFX1 head phones. I currently attach the Sony HMZ-T1 into the VFX1 visor shell using double sided tape. The mounting holes are still available and I will be building a bracket in the future that attaches to the top of the Sony HMZ-T1 and mounts to the VFX1 visor mounting holes. I use a dremel to remove material from the bottom of the VFX1 visor so that the Sony HMZ-T1 buttons are still accessible. You may need to trim some of the plastic on the sides of the HMD and remove corners that may stick out. You’ll understand when you try to fit them together.
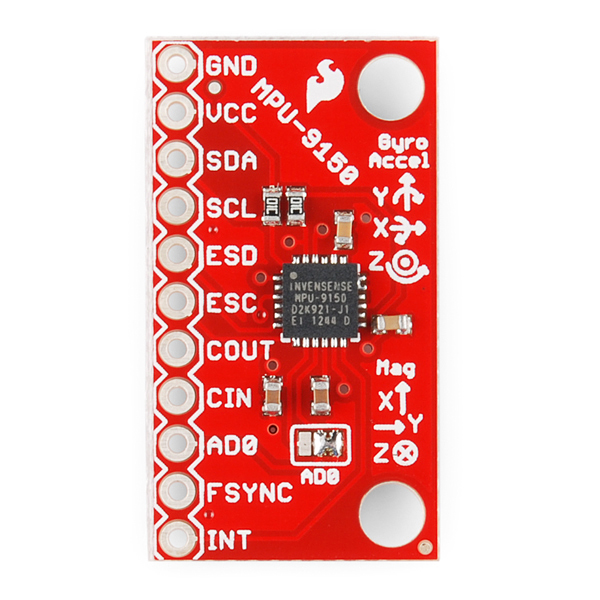
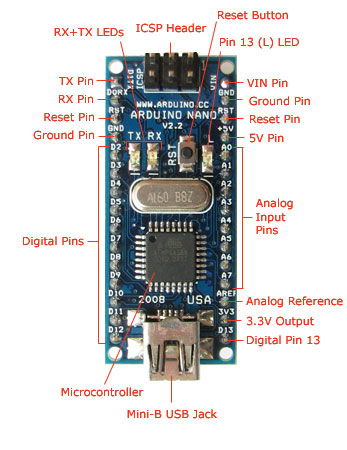
Once that is in place I also mount a MPU9150 board from Sparkfun into the VFX1 shell where the old tracker board was placed. Then a Arduino Nano board is used to process the data. I use the Pansenti MPU9150Lib to put the MPU9150 and nano board into IMU mode. I found the IMU mode to be very stable and works better in games when the magnetometer is not used. You’ll need to test this as requirements change depending on the environment, application, and particular sensor. The MPU9150 board and Arduino board are shown below.
Then the cables can be routed out the back of the VFX1 where the older DB-26 connection used to be. I no longer have the old VFX1 drive board in the back of the helmet. I only use the mounting plate to hold the plastic together with the 4 screws. I also replace the foam pad in the VFX1 shell with pads I got cut at a foam shop. Most of the VFX1 shell pads are falling apart these days and need to be replaced.
 |
 |
Once the HMD is assembled I use the Vireio Perception to inject head tracking data into games. I’ve custom modified the open source Vireio Perception code to accept the ASCII tracking stream that is compatible with the Pololu minIMU-9 V2 output. All my head trackers are modified to do this so I only need one type of tracking support in the Vireio Perception code. With the Sony HMZ-T1 you can also use side-by-side stereo mode using the Vireio Perception program.
However, if you have an Nvidia card it’s better to use the built in stereo 3D capability. The frame rates will be higher. You may need to install the 3DTV play Nvidia software to get Sony HMZ-T1 support. Using the Nvidia stereo 3D drivers, just press numkey 0 when Skyrim launches to turn off the Vireio Perception stereo but keep the head tracking support. I launch Vireio, put it in side-by-side stereo format, choose my head tracker from the drop down list, and then launch my game.
I play Skyrim with my Sony HMZ-T1 in my VFX1 shell along with head tracking. It’s absolutely amazing. The head tracking is very smooth if the frame rates are above 60fps. I turn Vsync ON because I don’t like to see frame tearing. You’ll need to play with the settings to see what’s the best combination of resolution, frame rate, and smooth head tracking. I love to jump off some cliffs and dive into the water with head tracking. It’s so real!! You can see an image of Skyrim on the Sony HMZ-T1 below.
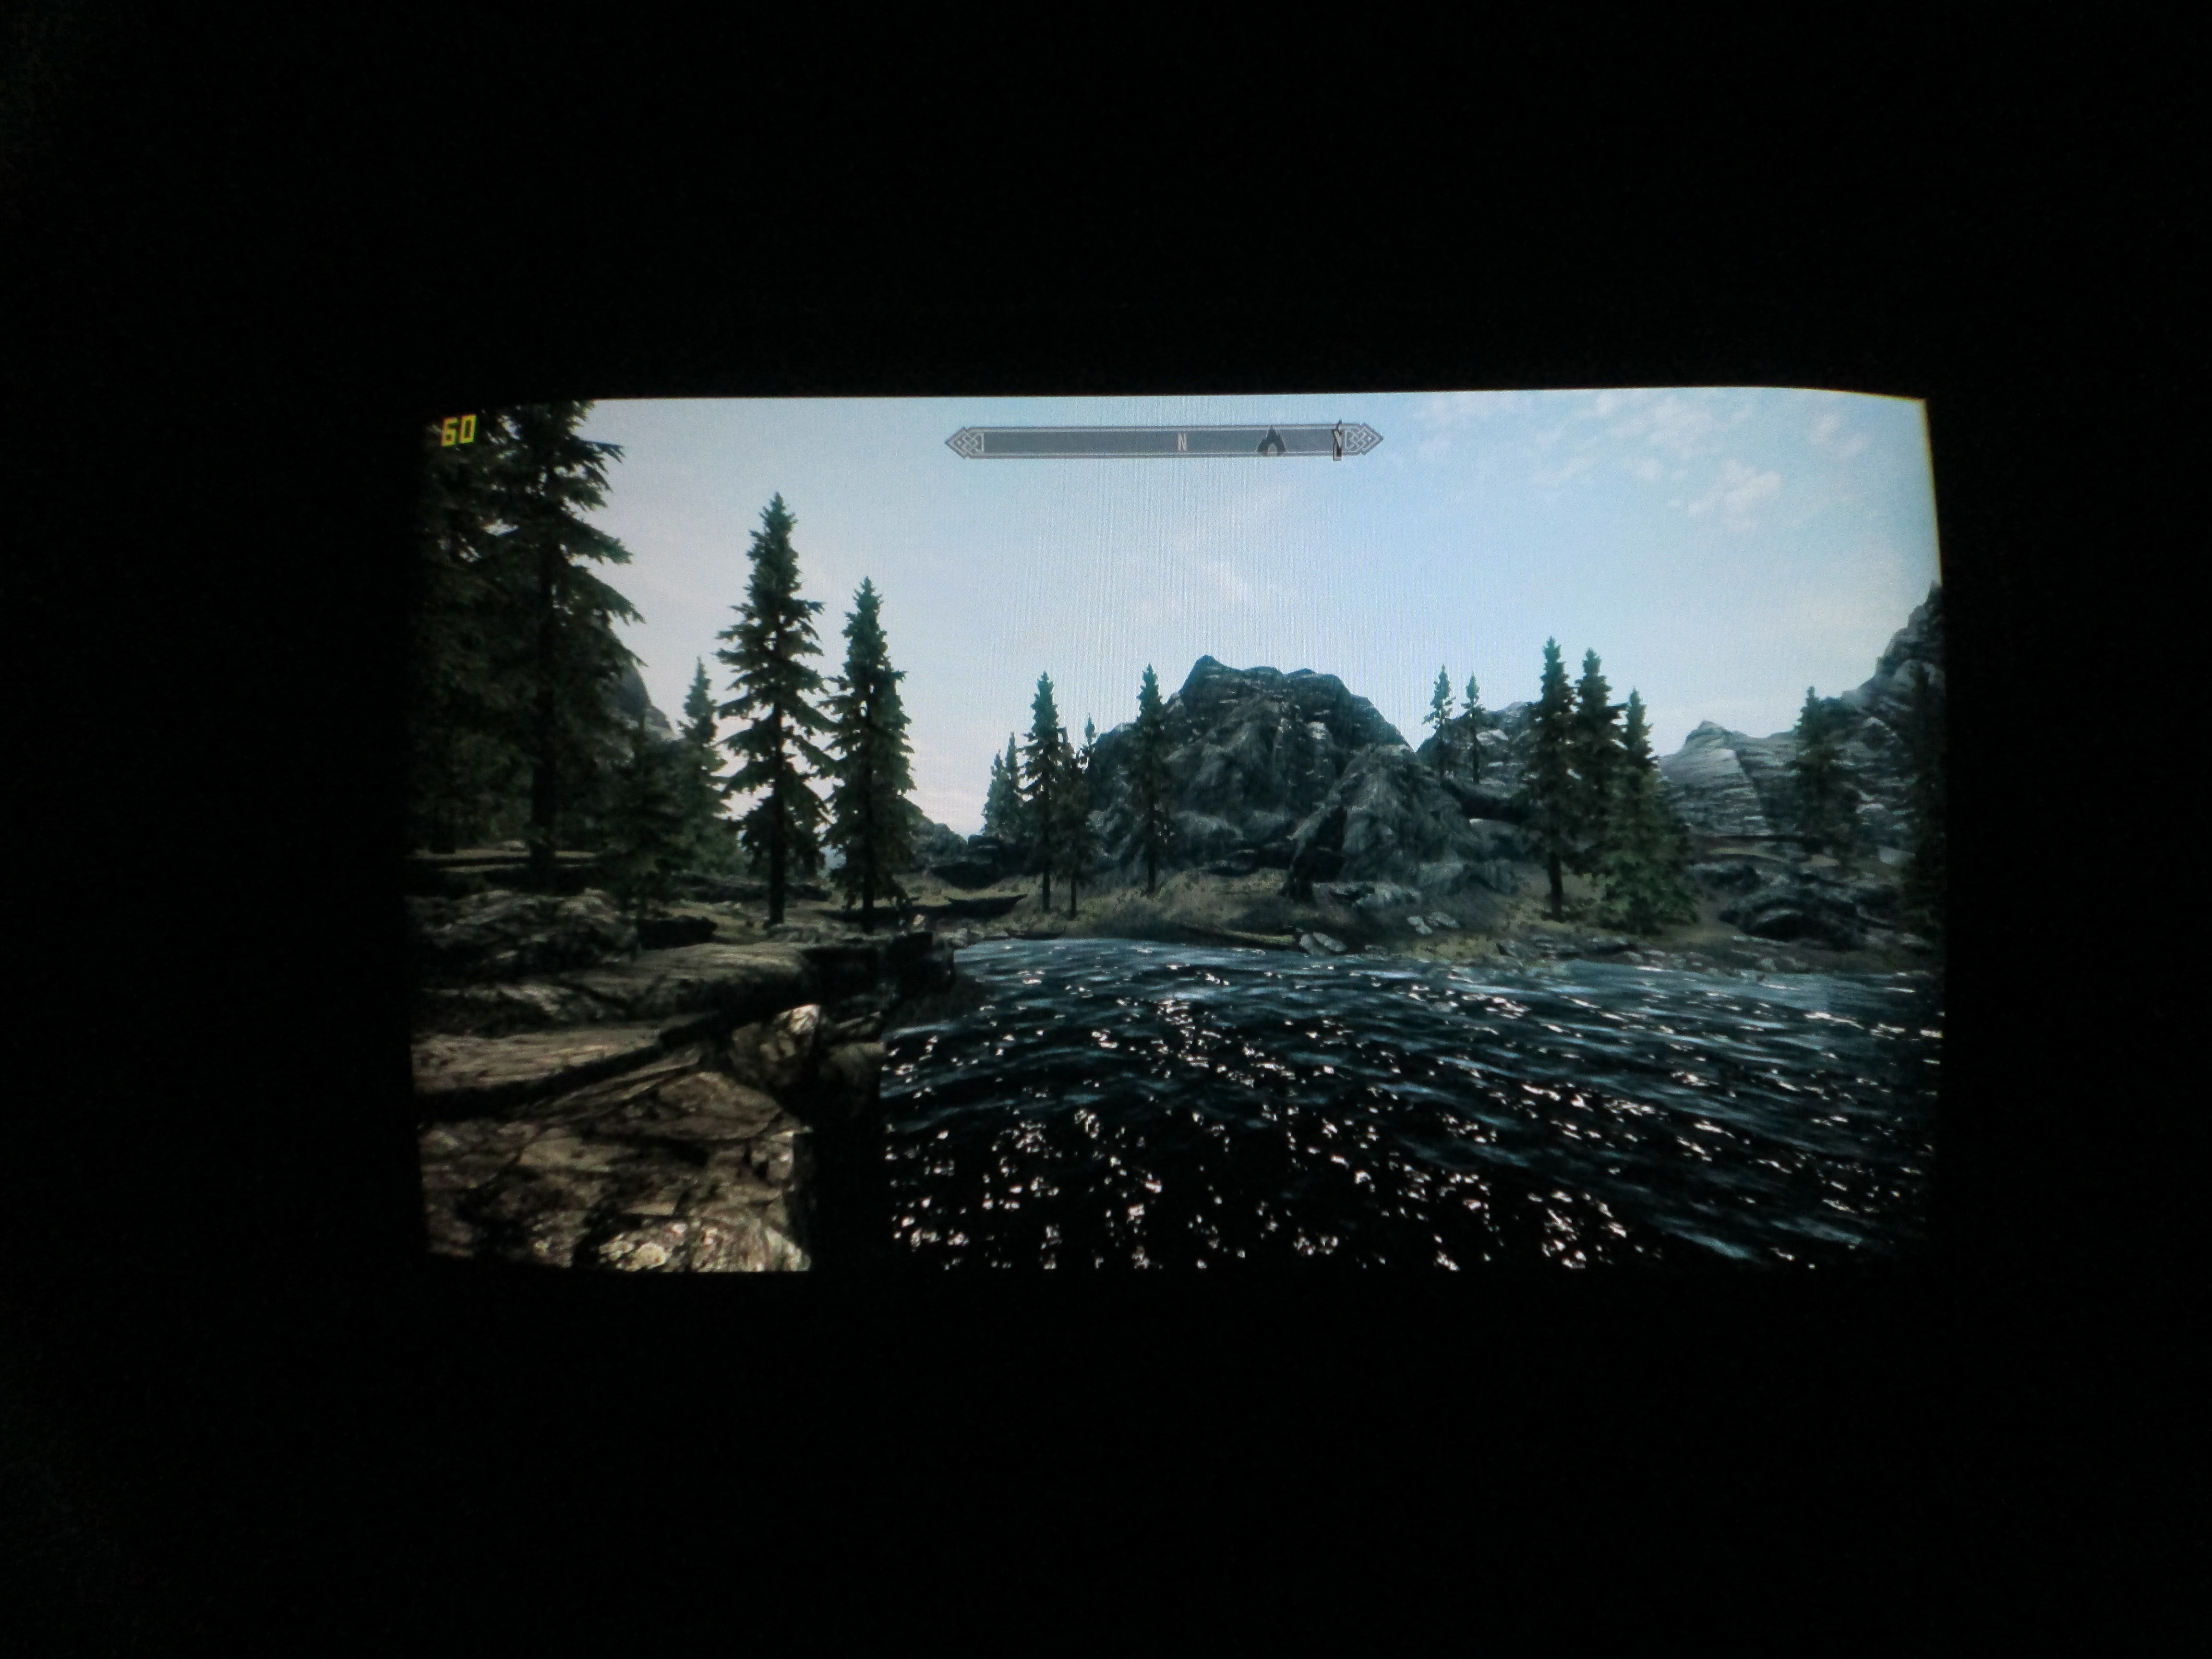
Sony HMZ-T1. 1280×720 pixels. 45 deg. H.FOV. 2.11 arcmin/pixel |
You can see a Sony HMZ-T1 disassembly video someone else put together below.
Click on the link below to watch my quick YouTube video on the Sony HMZ-T1 VFX1 mod. I apologize the video is a bit dark.
