USB Link cable for Virtual Boy
Originally Sep. 2017
Updated 1/27/2018
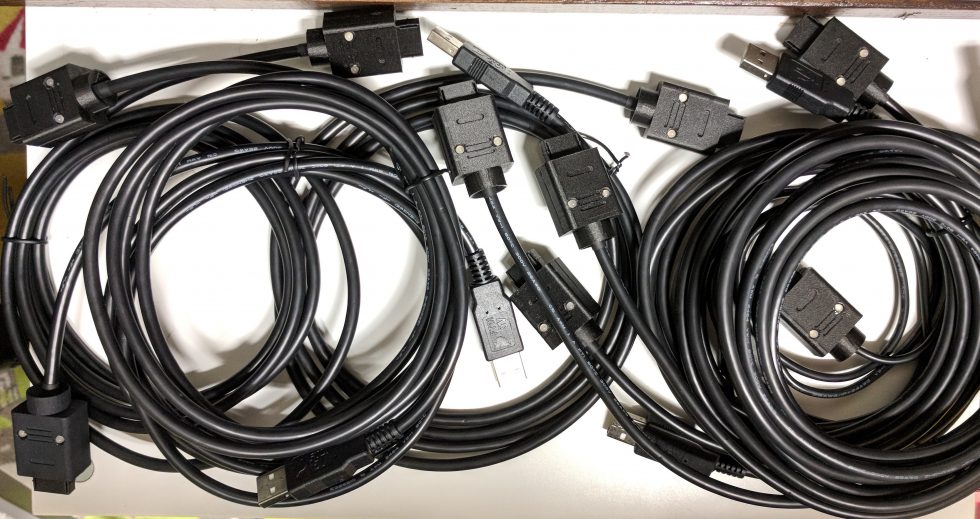
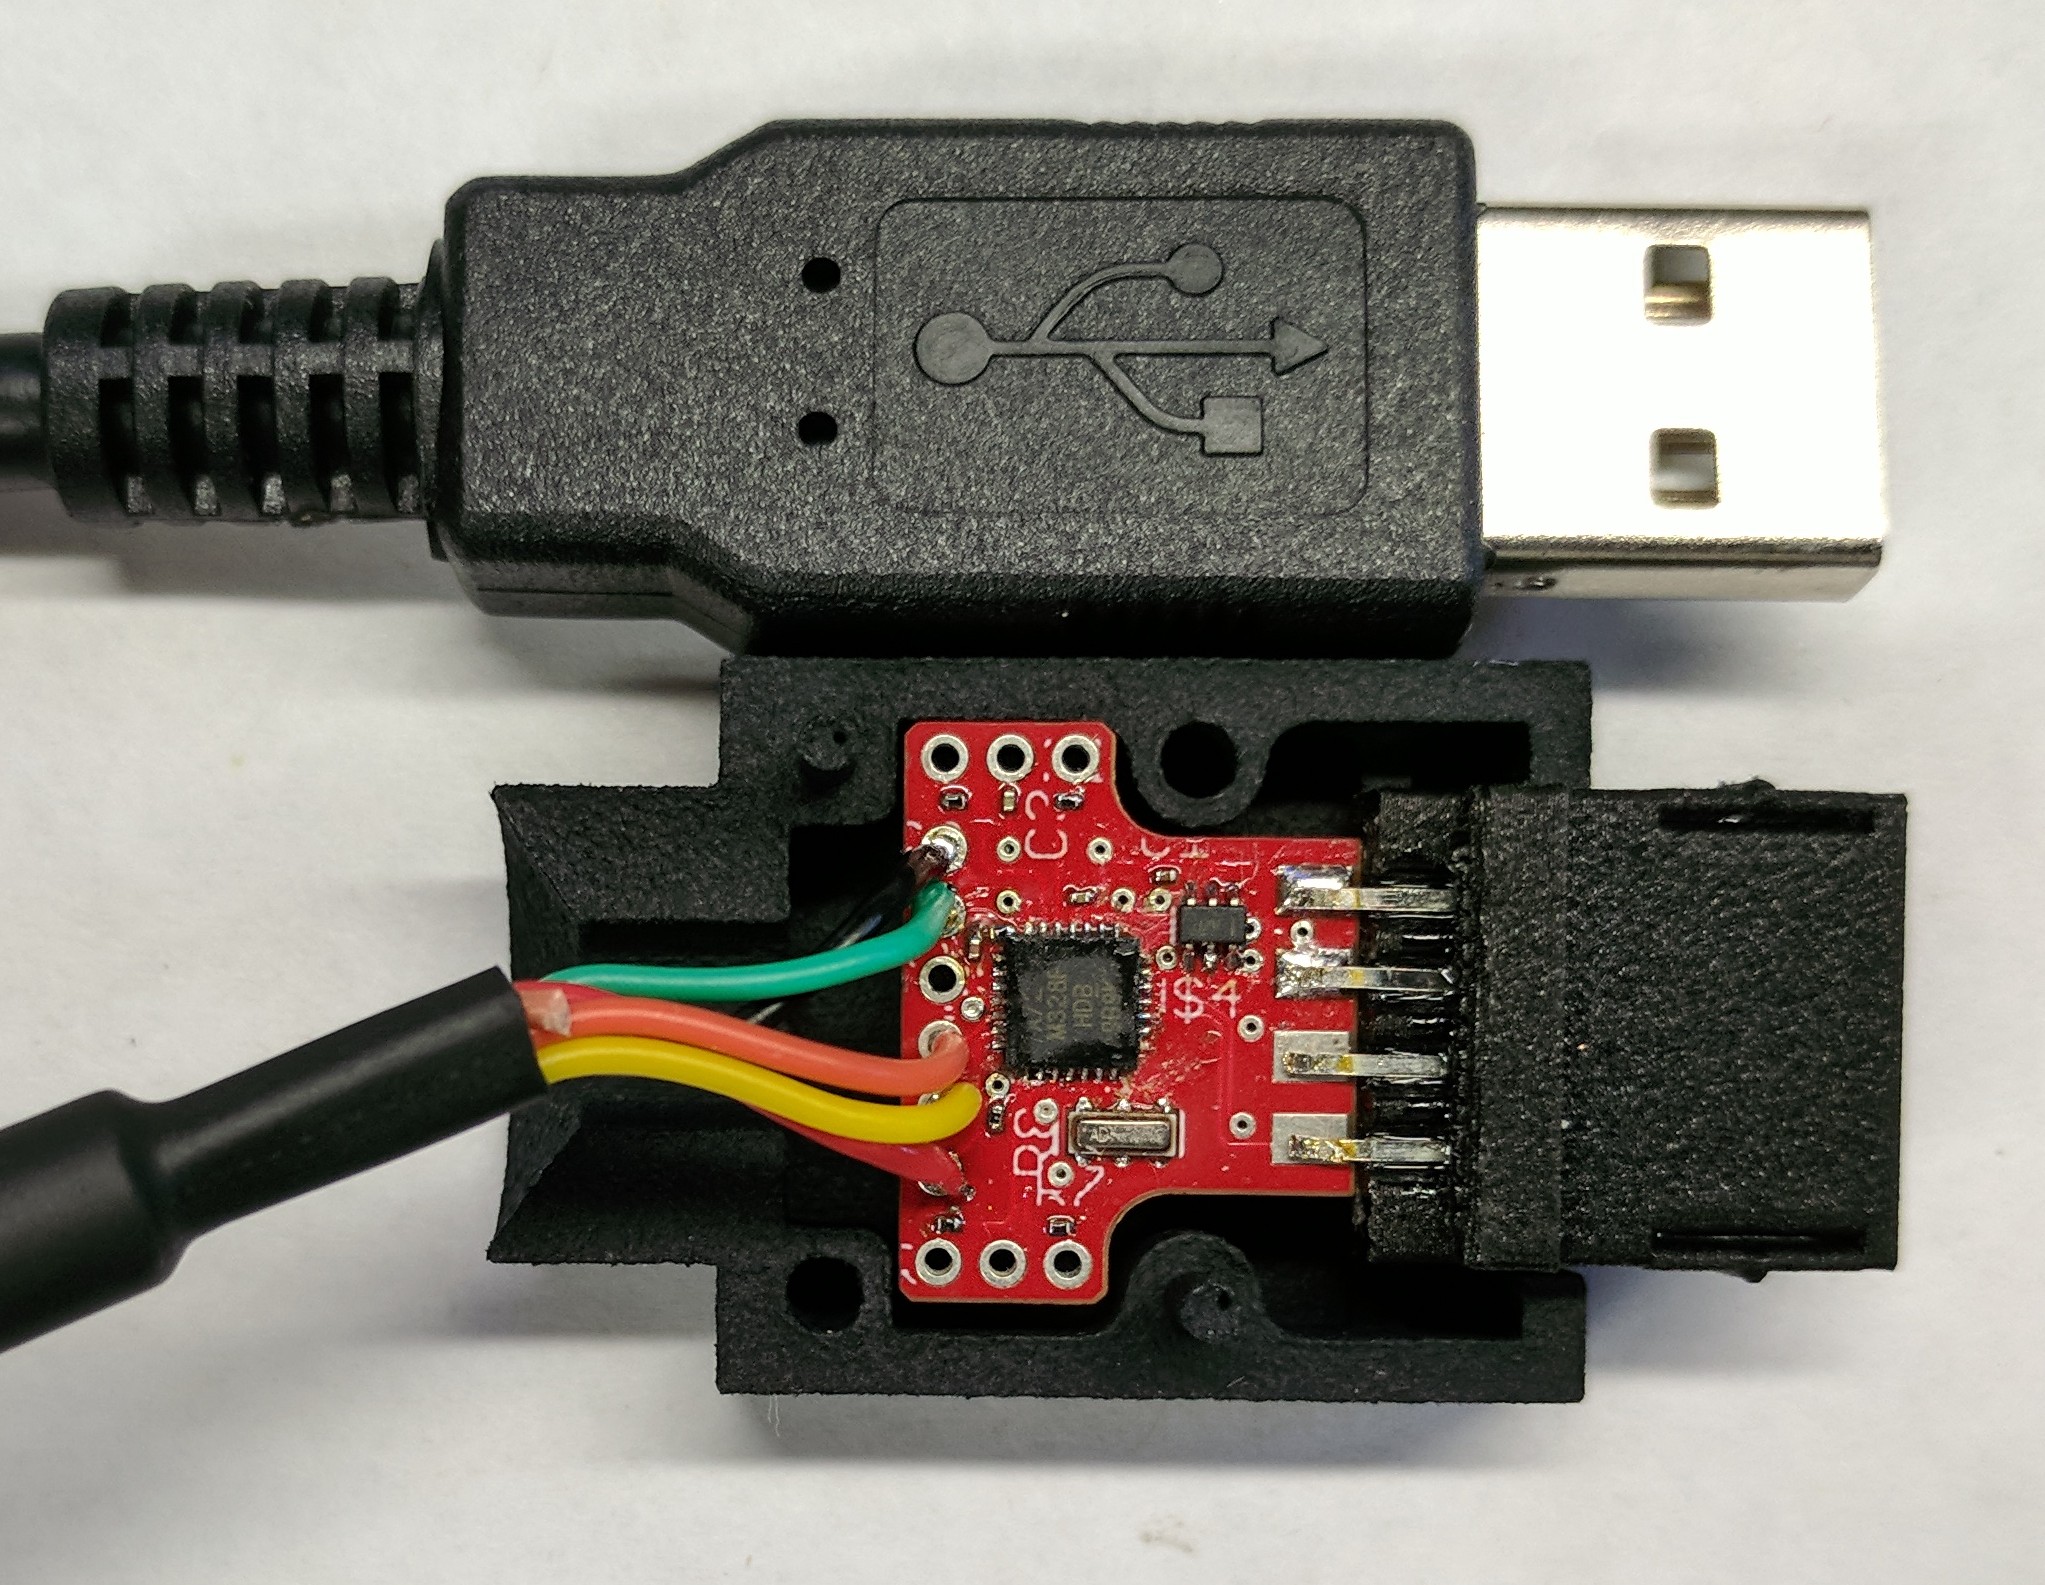
I’ve created a PCB to support a USB to link cable design for the Virtual Boy. The PCB fits in the connector housing of my original wired link cable. This will be used to bring functionality like networked multiplayer gaming to the Nintendo Virtual Boy system nearly 20 years after its release. These cables are meant for early adopters and developers as there are currently no games that support networked VB play. However, I decided to spend my time and effort to seed these cables to developers so they could start creating VB multiplayer games. I hope we see them later this year. My first PCB inside my custom designed link port VB connector is shown below.
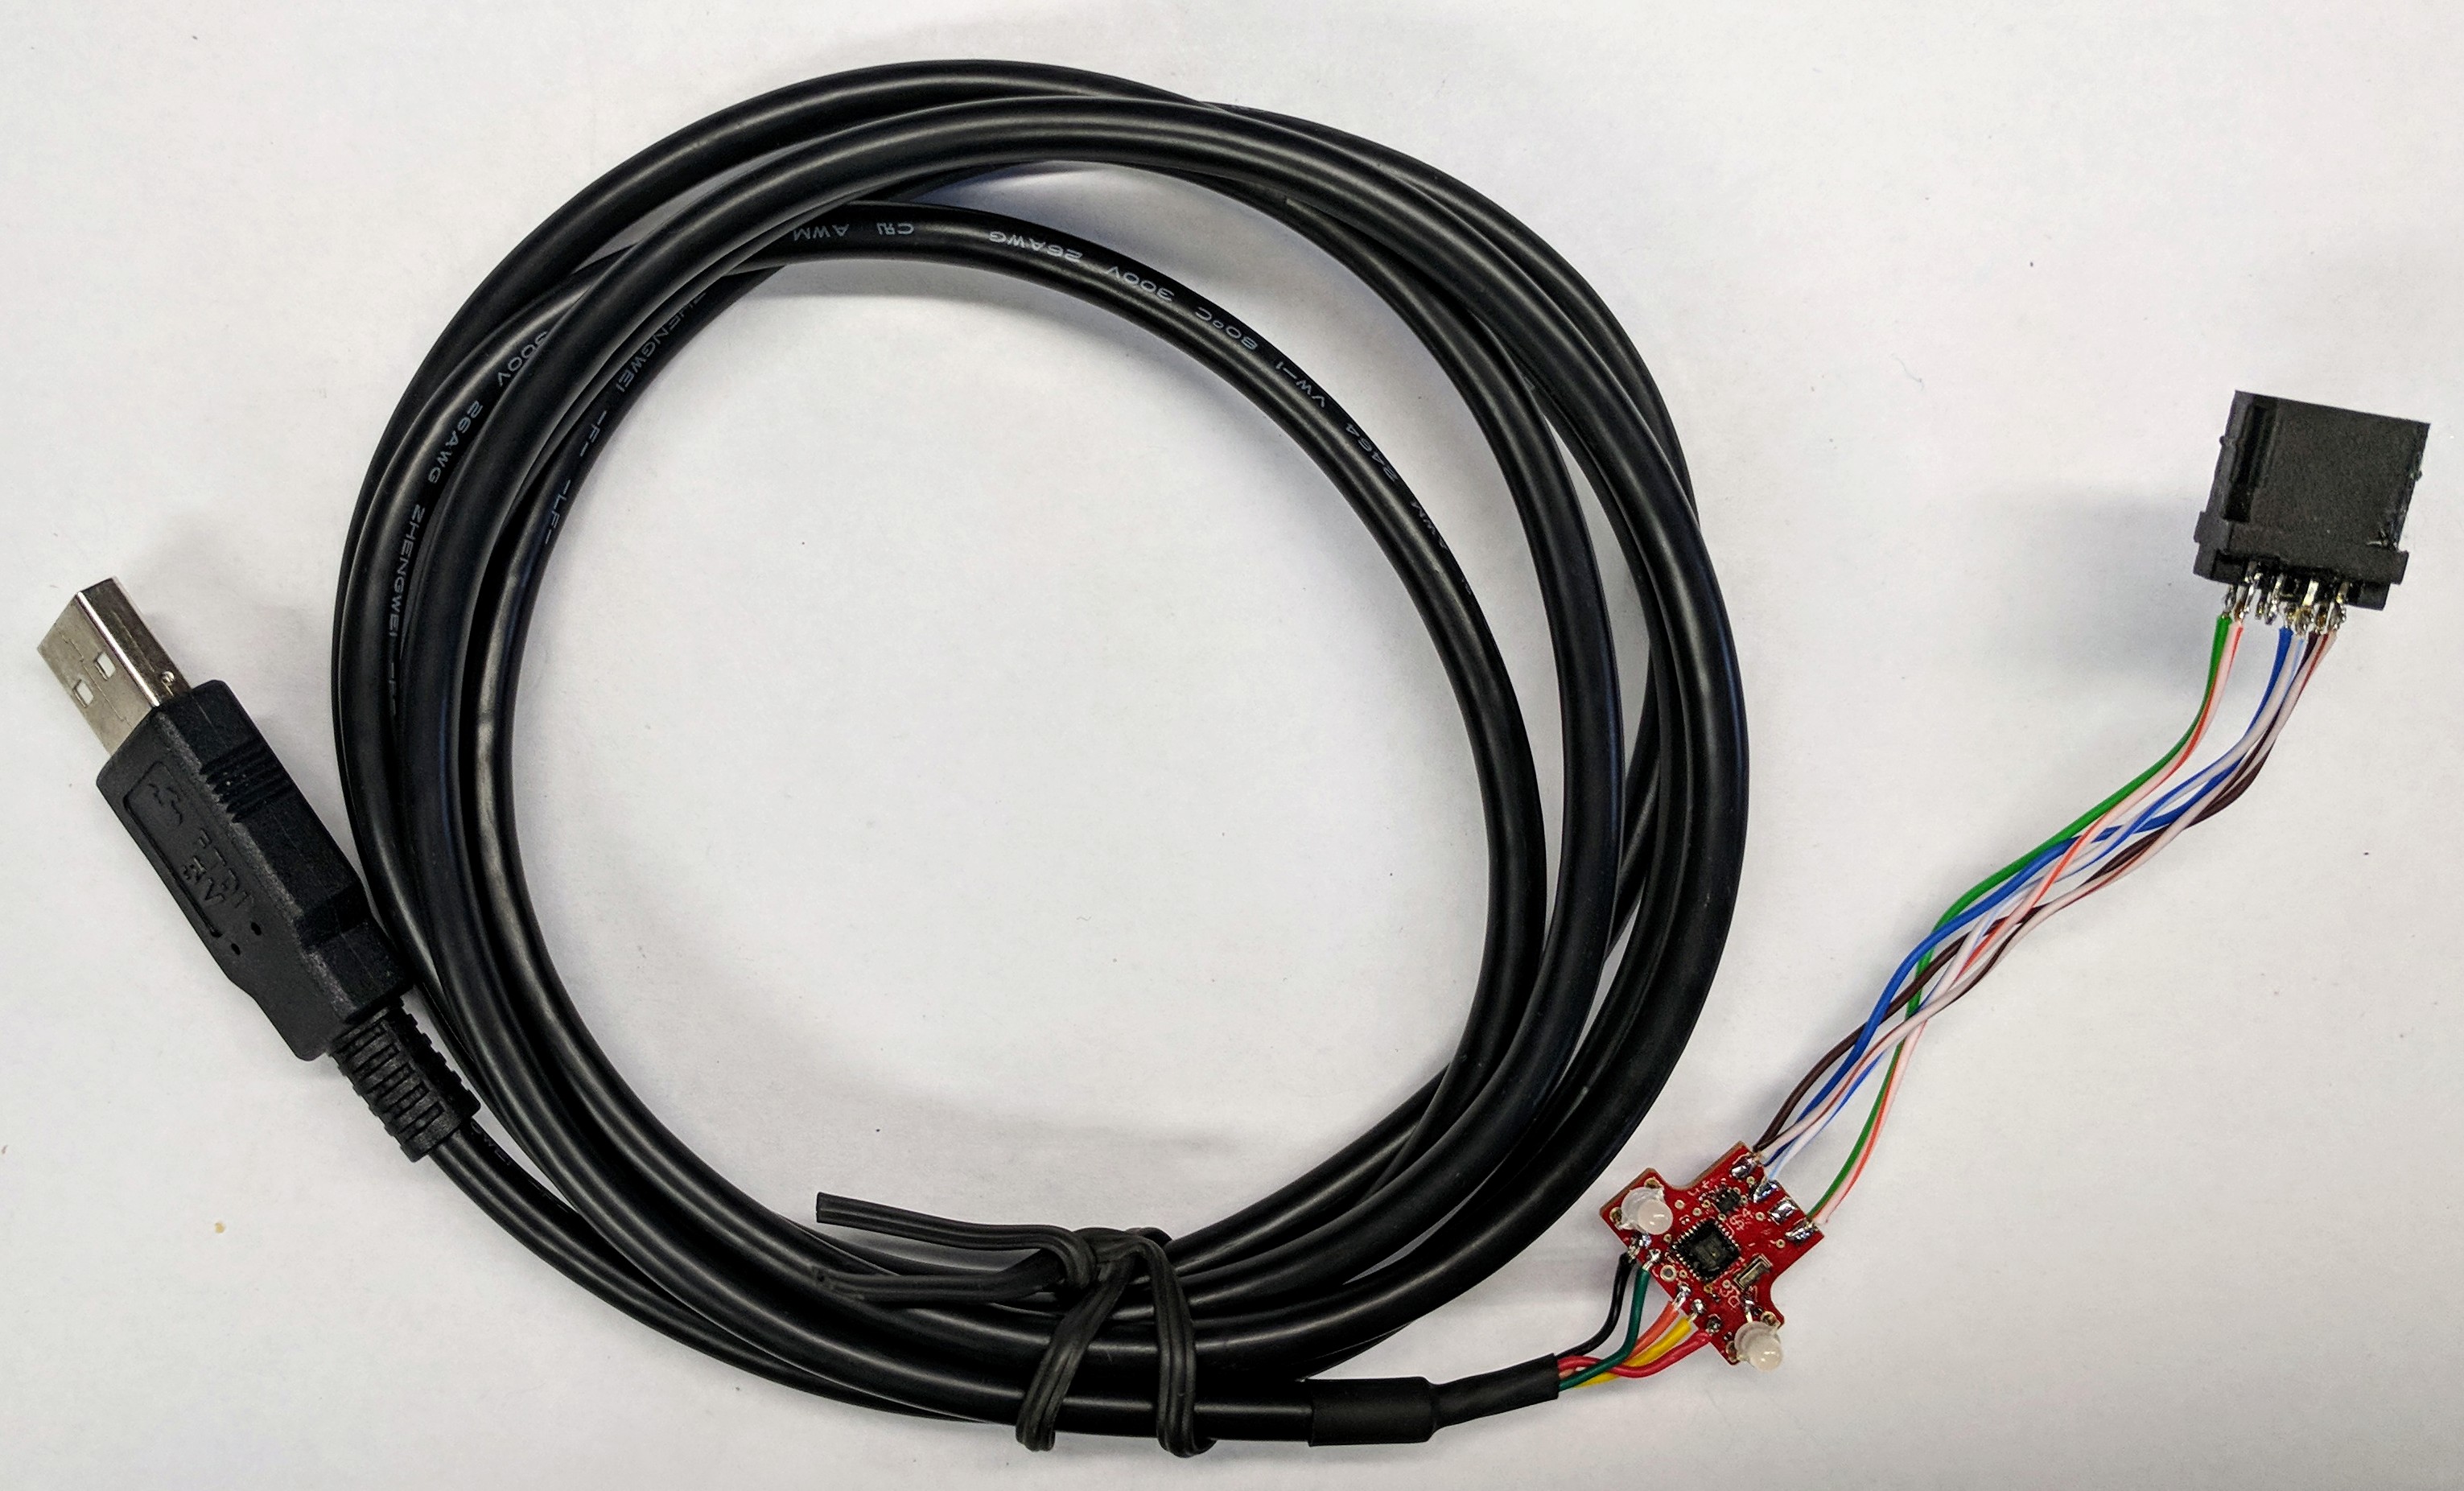
My initial REV1 prototype cable is shown below. There are two of these that exist. It has some long wires due to some pin reversals. I’ve since fixed that as you’ll see below.
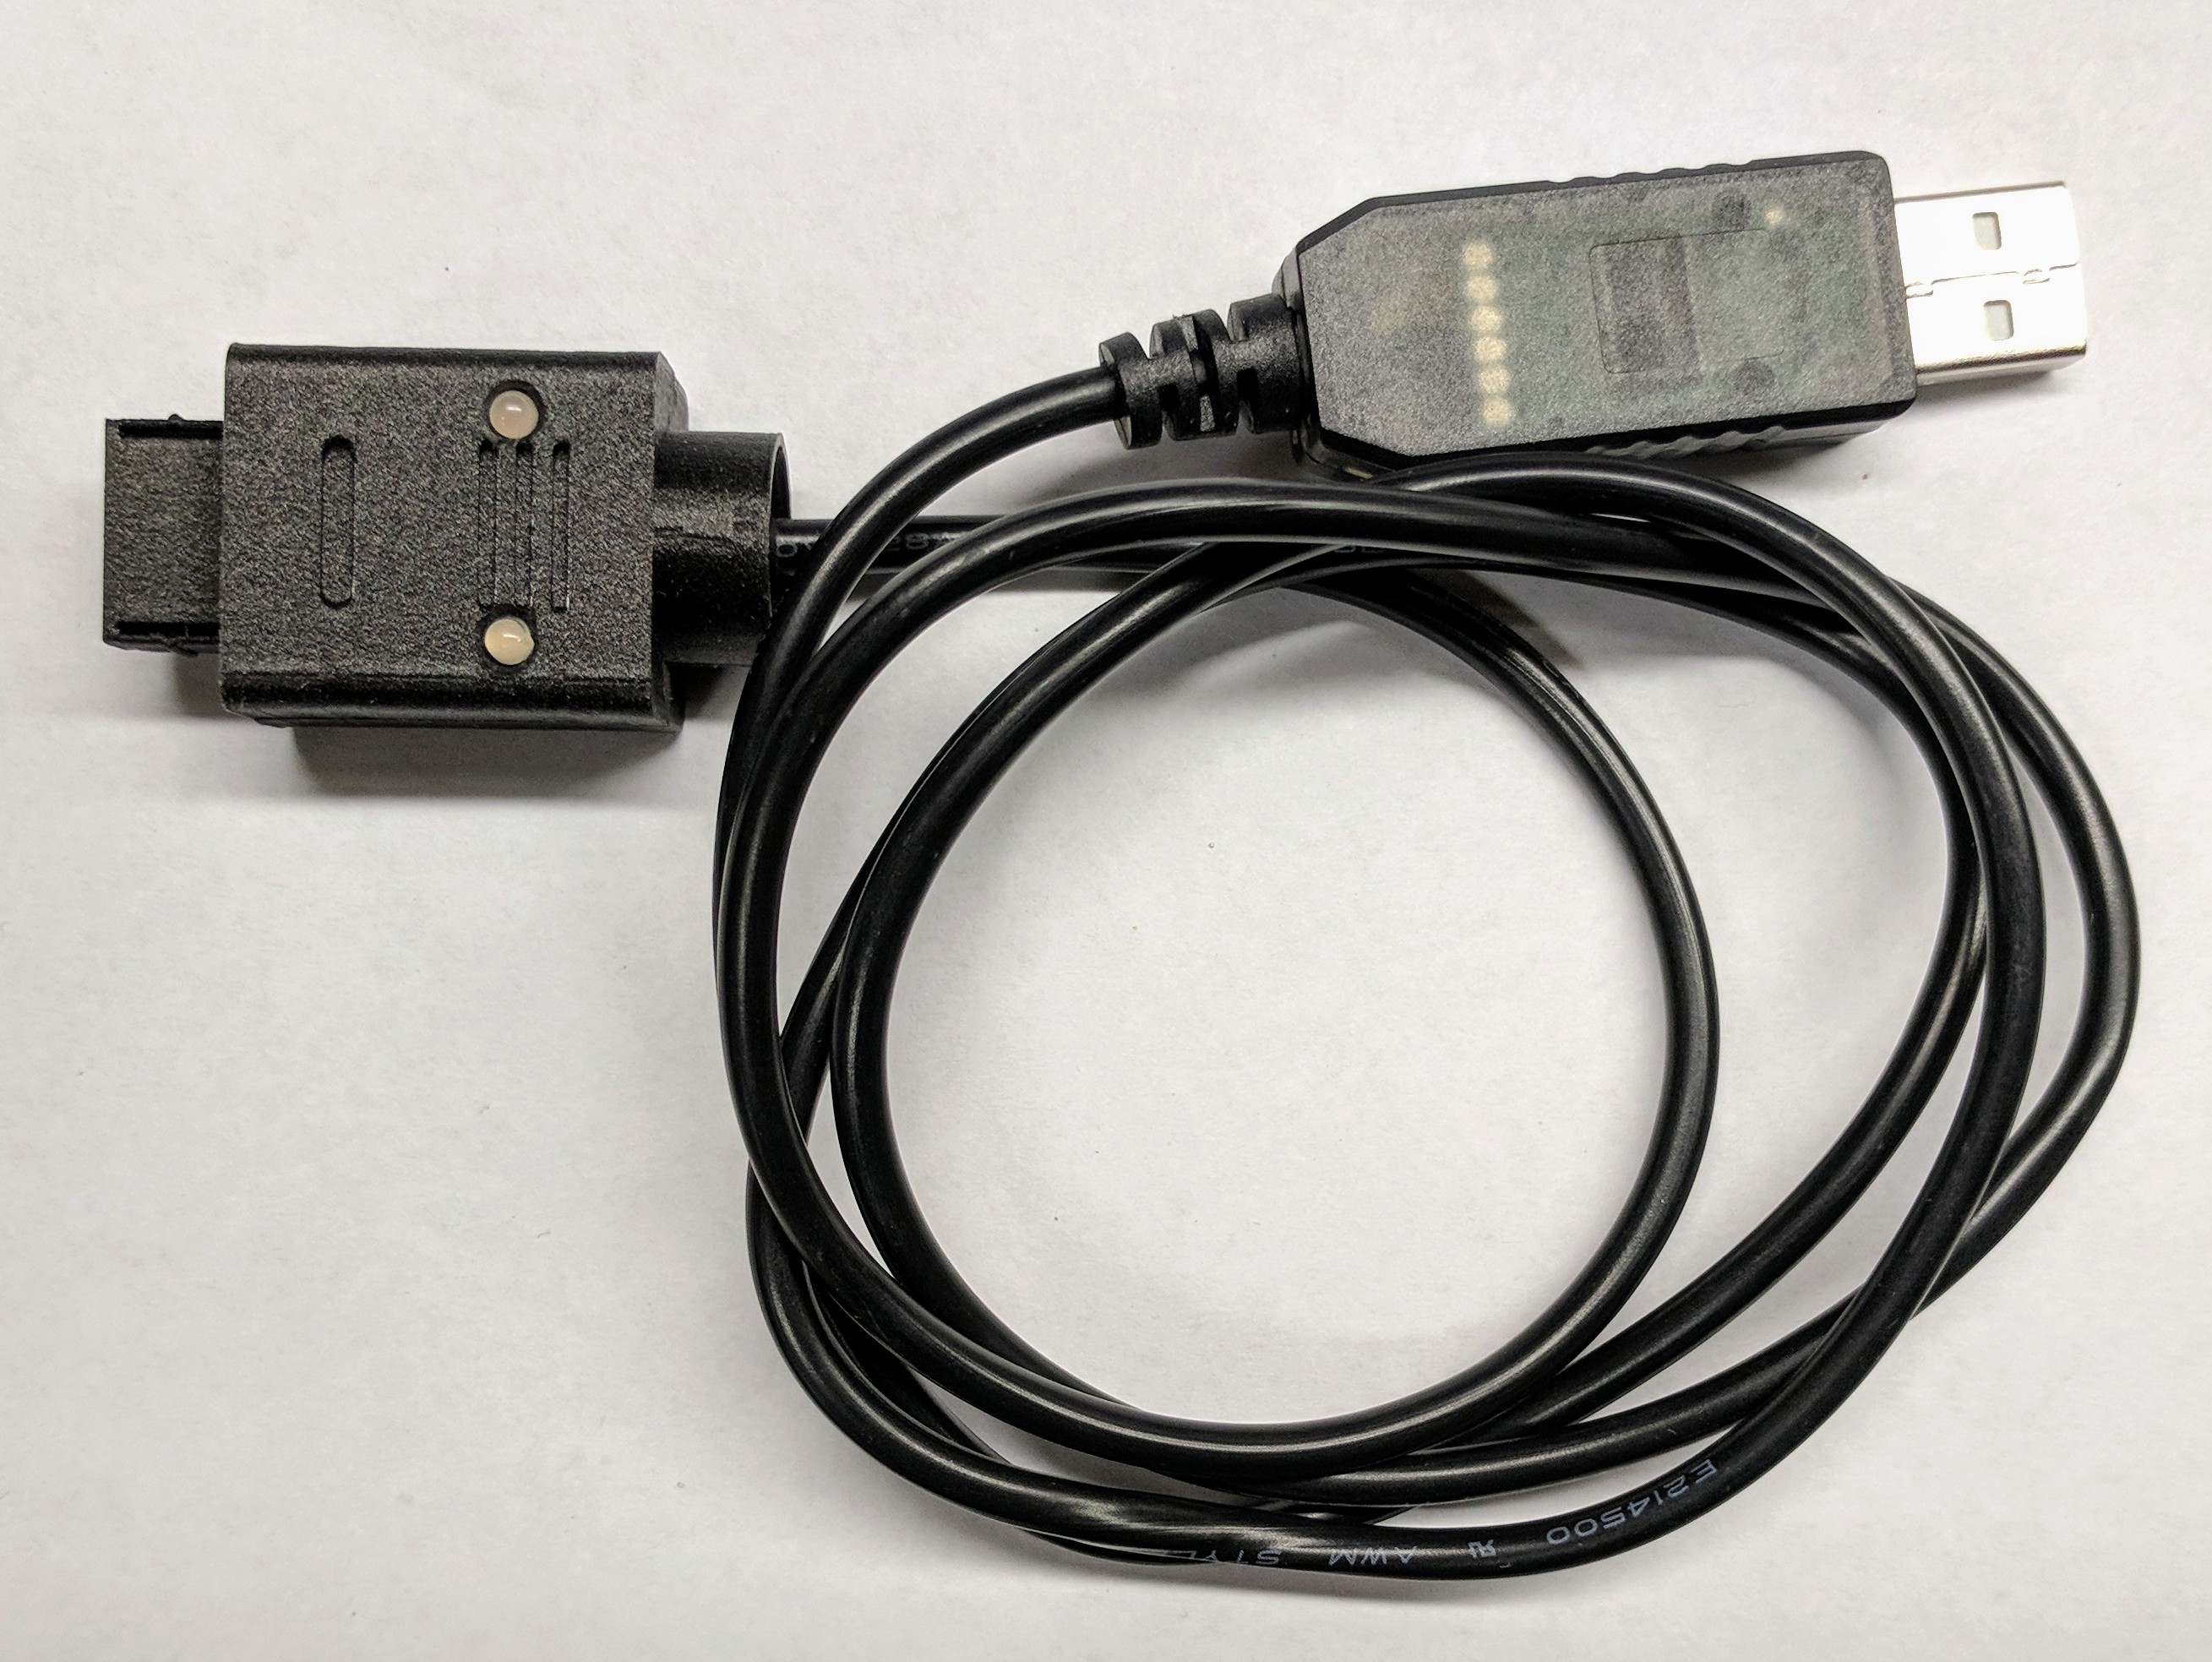
Here’s the first corrected REV2 fully assembled early adopter unit! This was shipped to user CMills on PlanetVB. I’ve since shipped to many other PlanetVB members including a bunch of free developer units. The early adopter units use a 6′ FTDI cable where as the developer units use a shorter Chinese replica cable. There are 18 total REV2 USB cables out there was of the last update on this page. I won’t be building more until some game support occurs. Once that happens I’ll design a cheaper REV3 version of the cable.
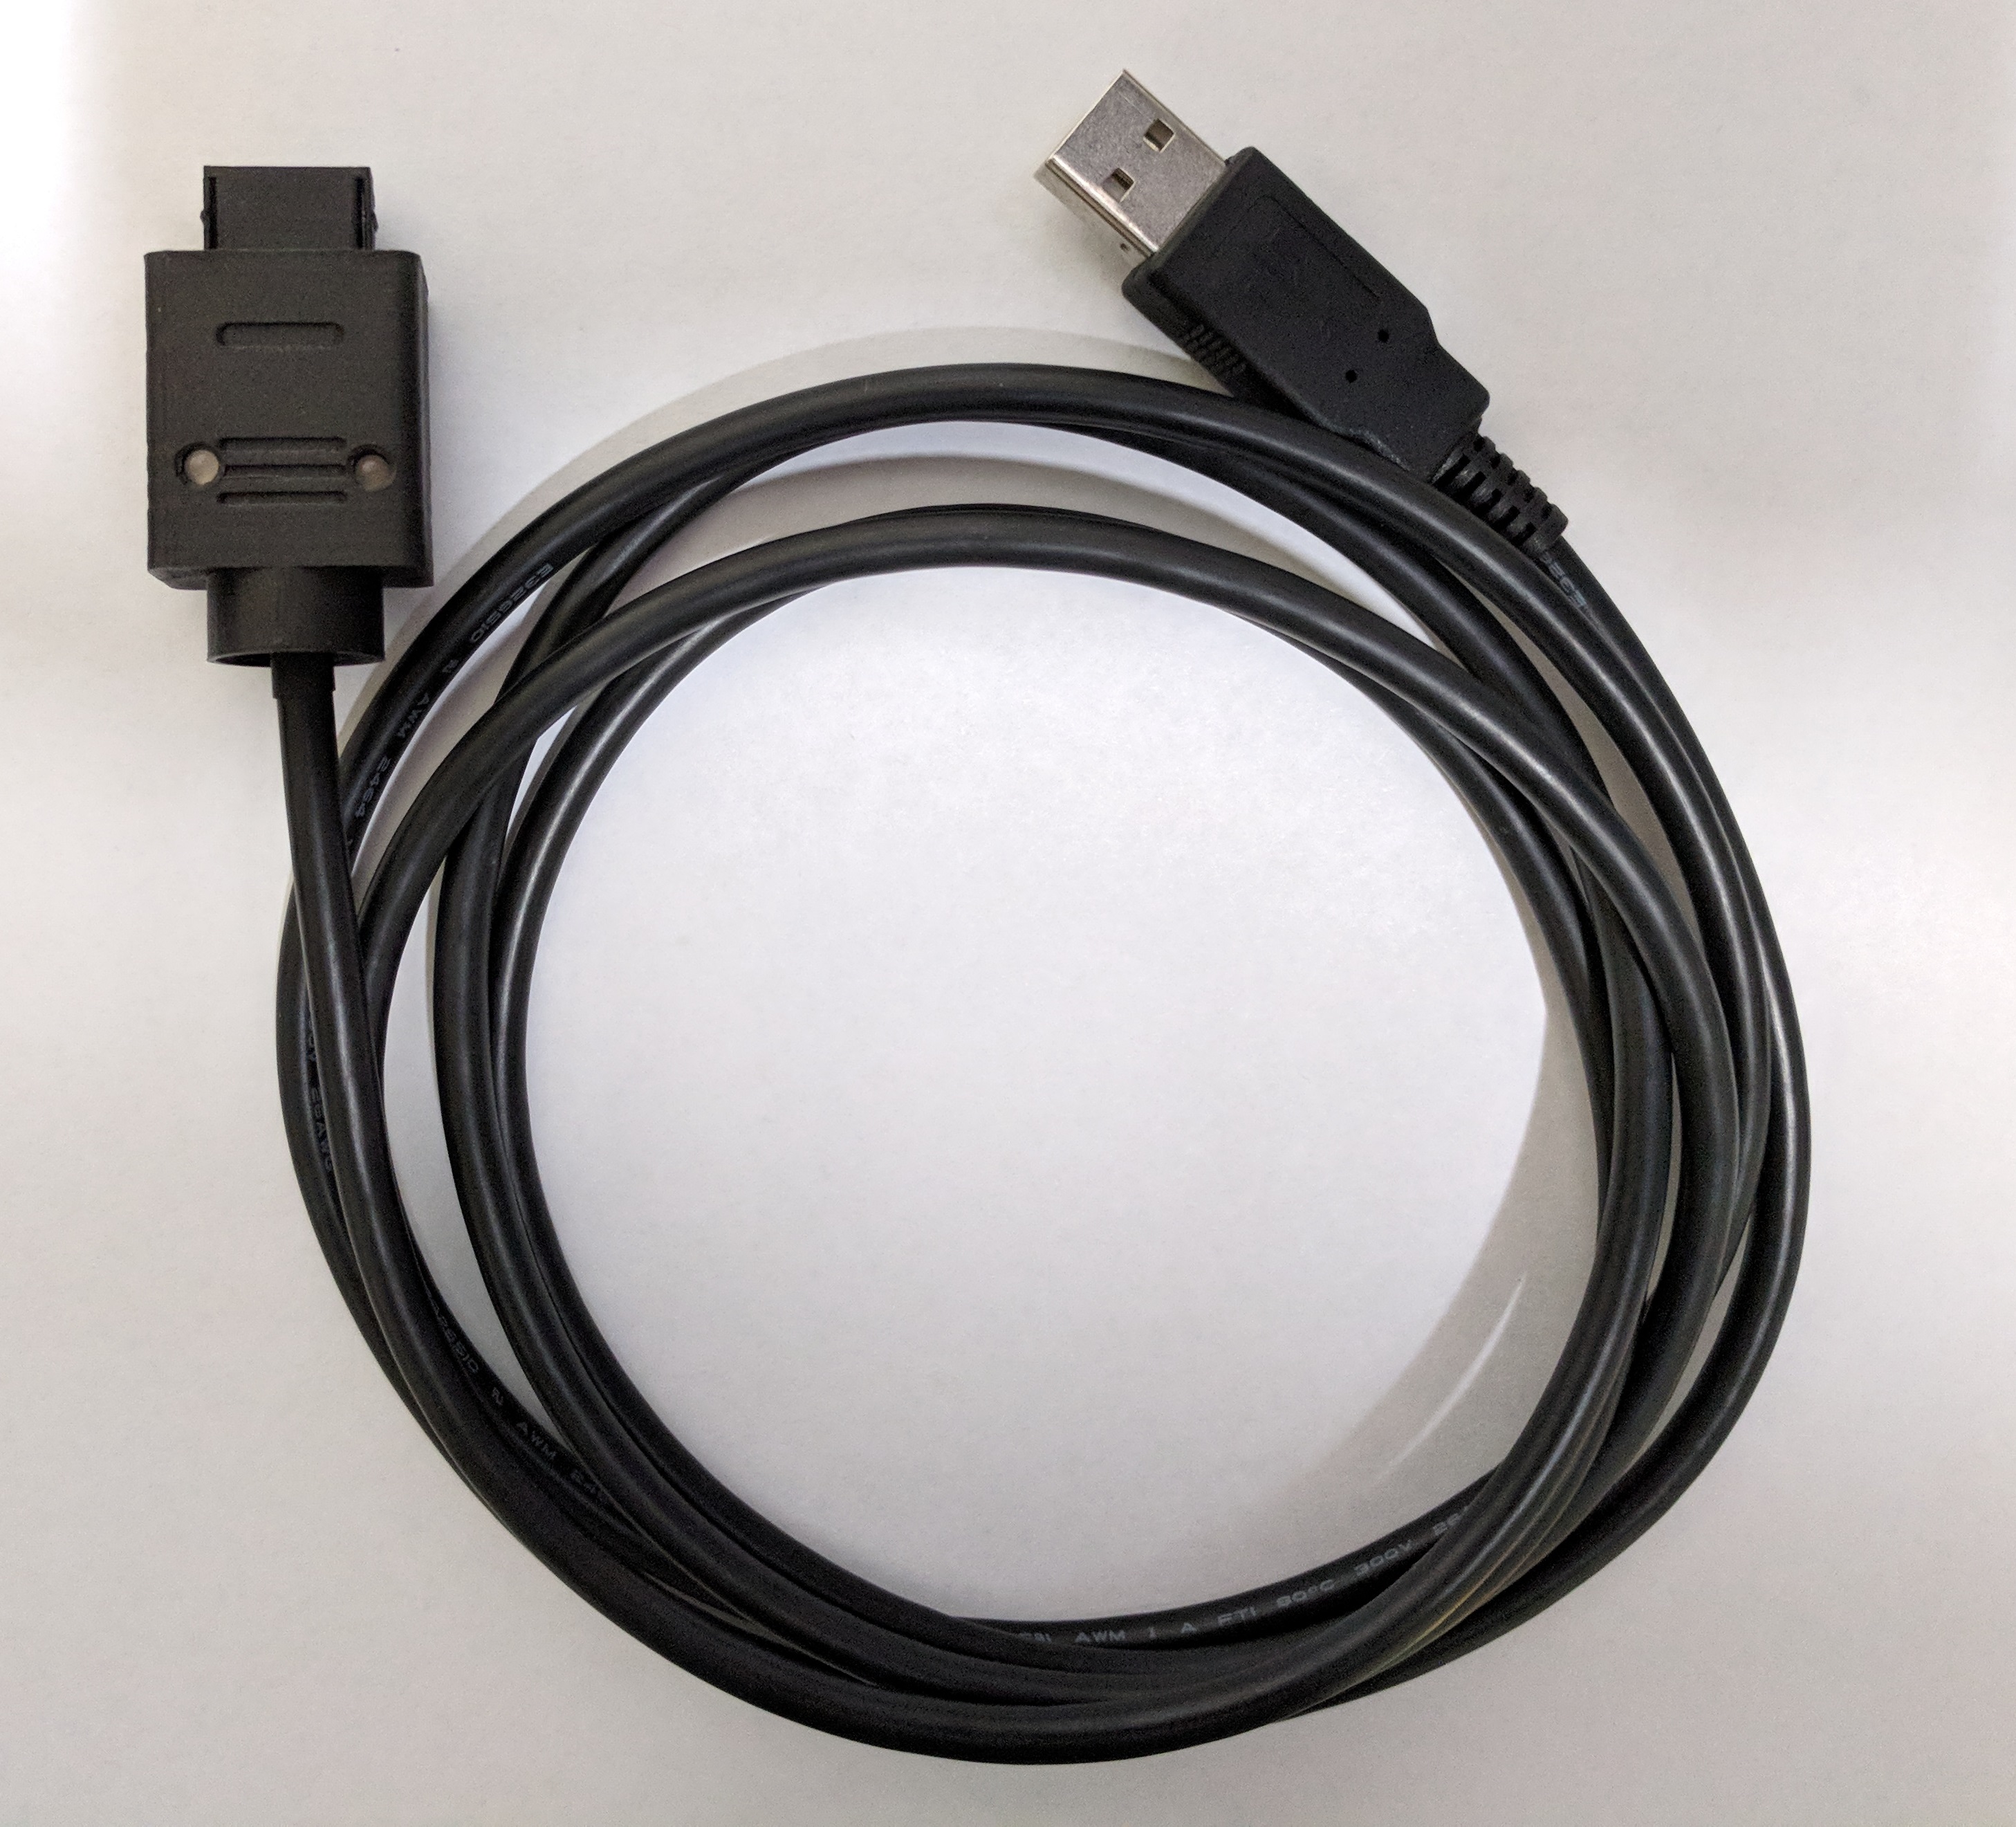
Here’s the REV2 developer units that went out. They have a shorter 3.5′ imitation FTDI cable. These units have LED indicators on the USB end that mimic the ones up on the VB connector.
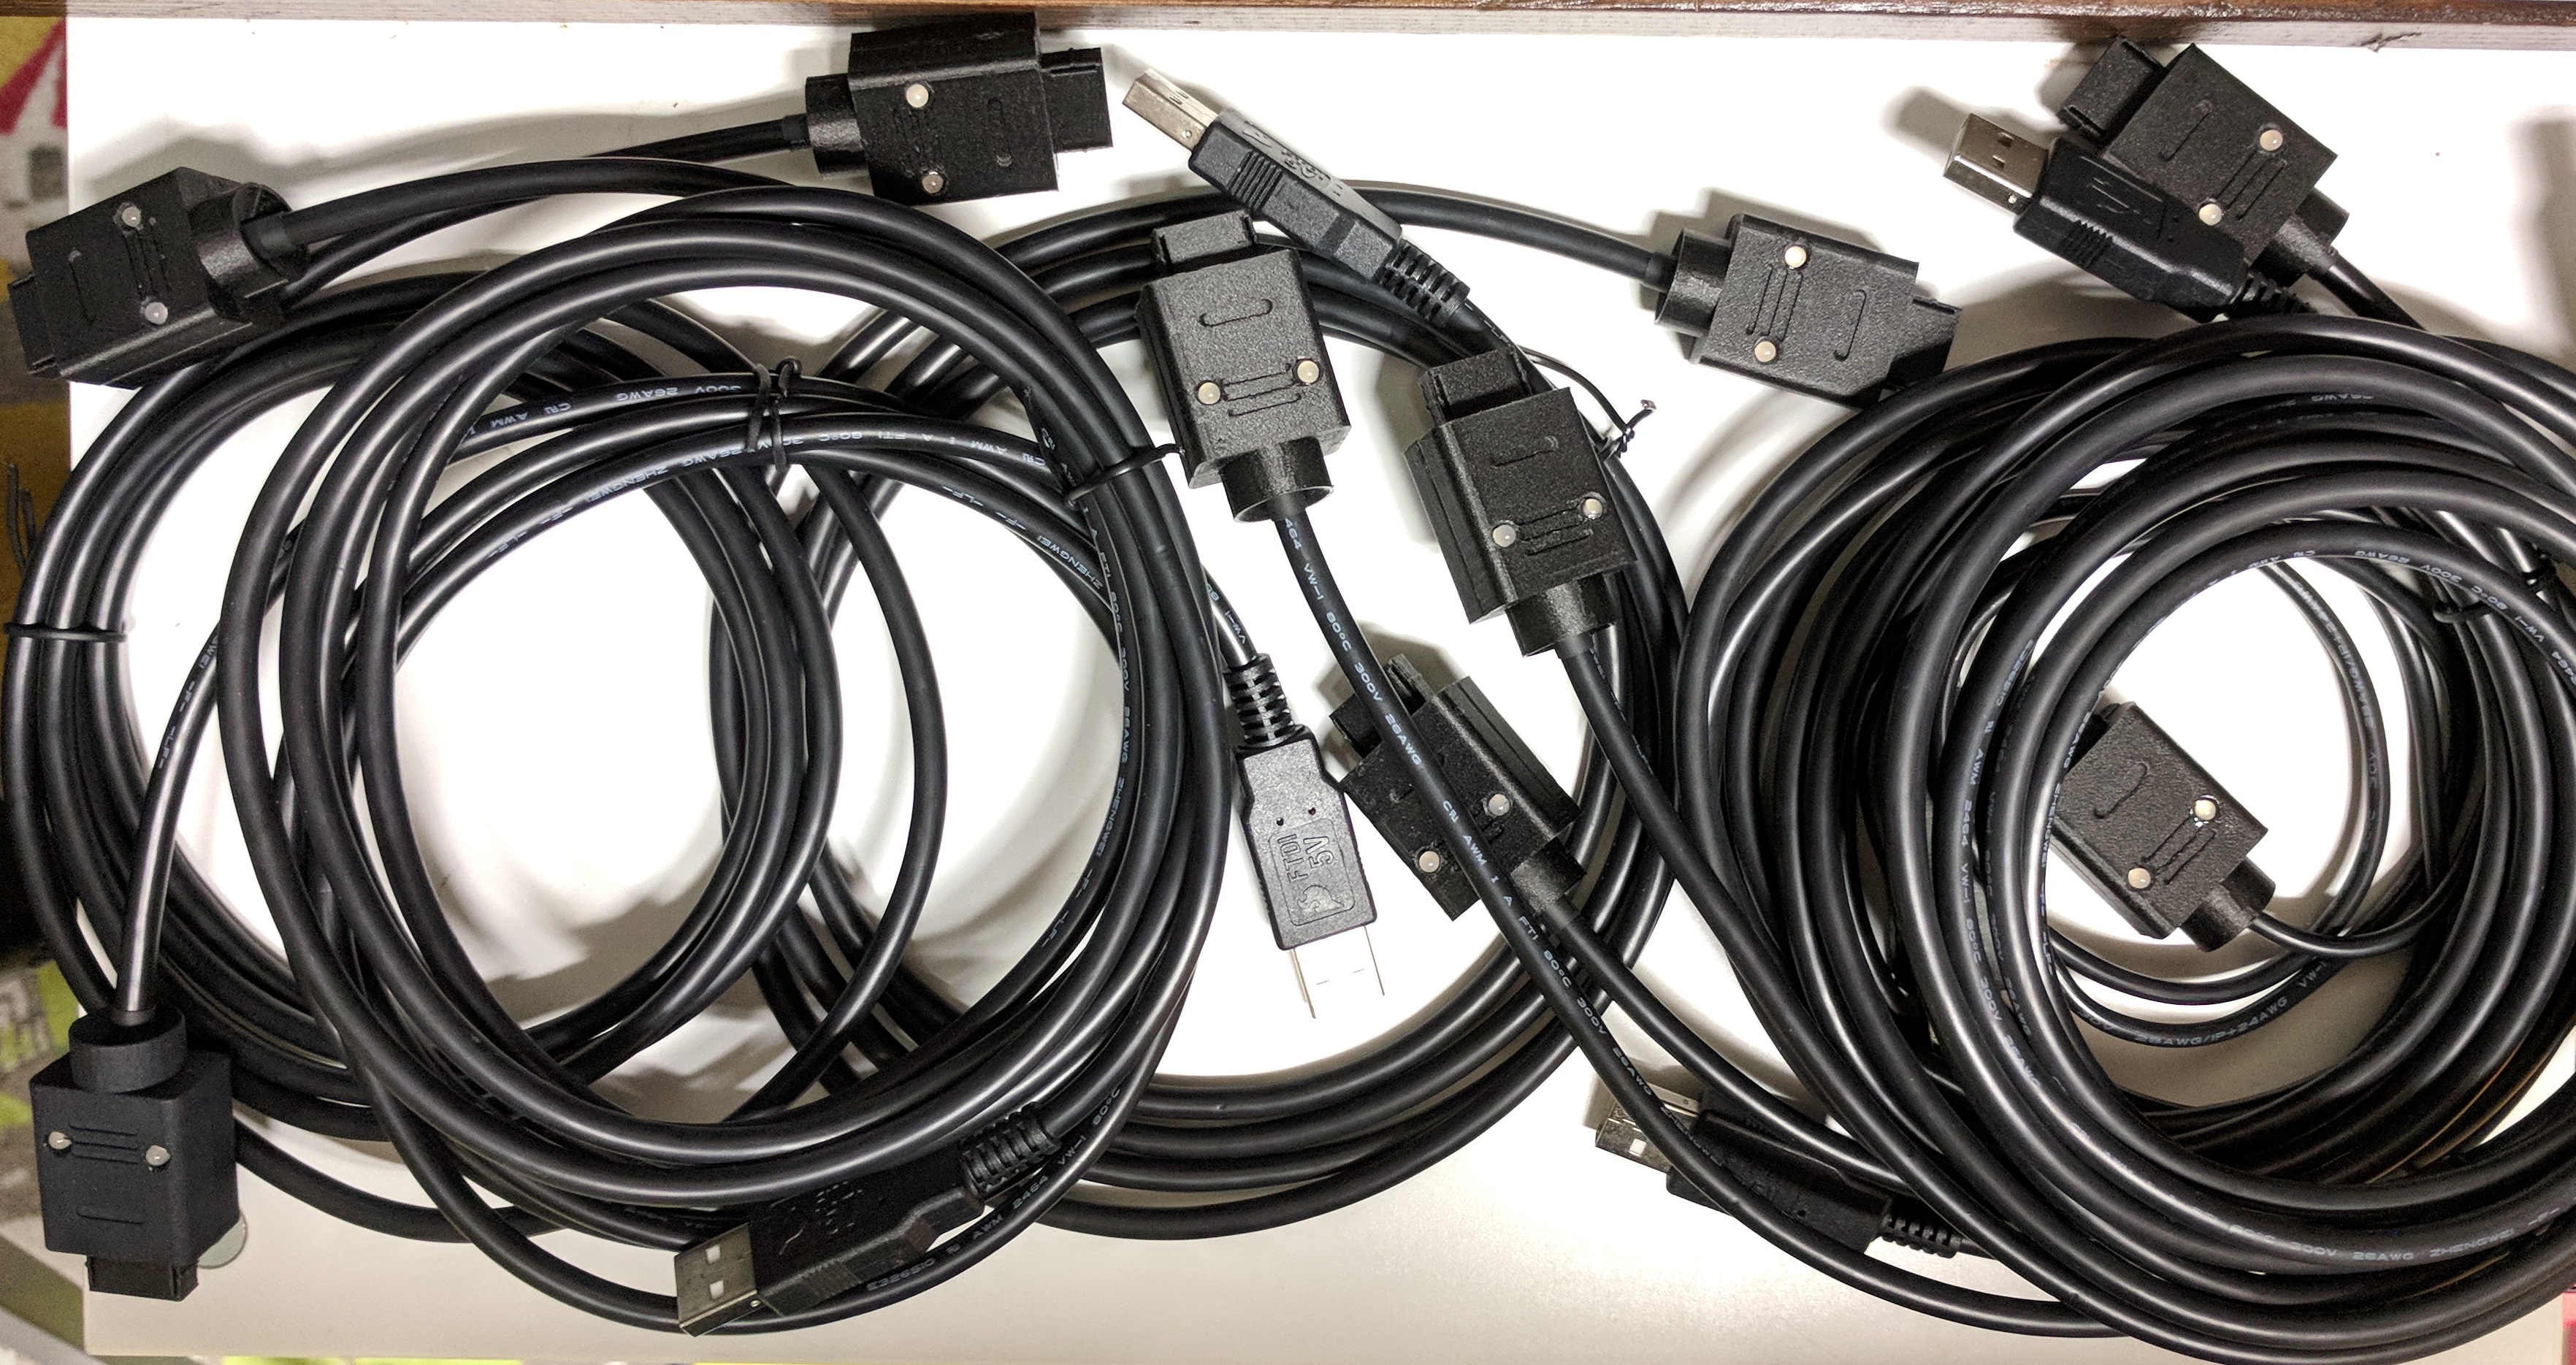
And here’s an image of the second batch of REV2 FTDI units to go out to early adopters. Just as many free units went to developers.
Using the USB link cable
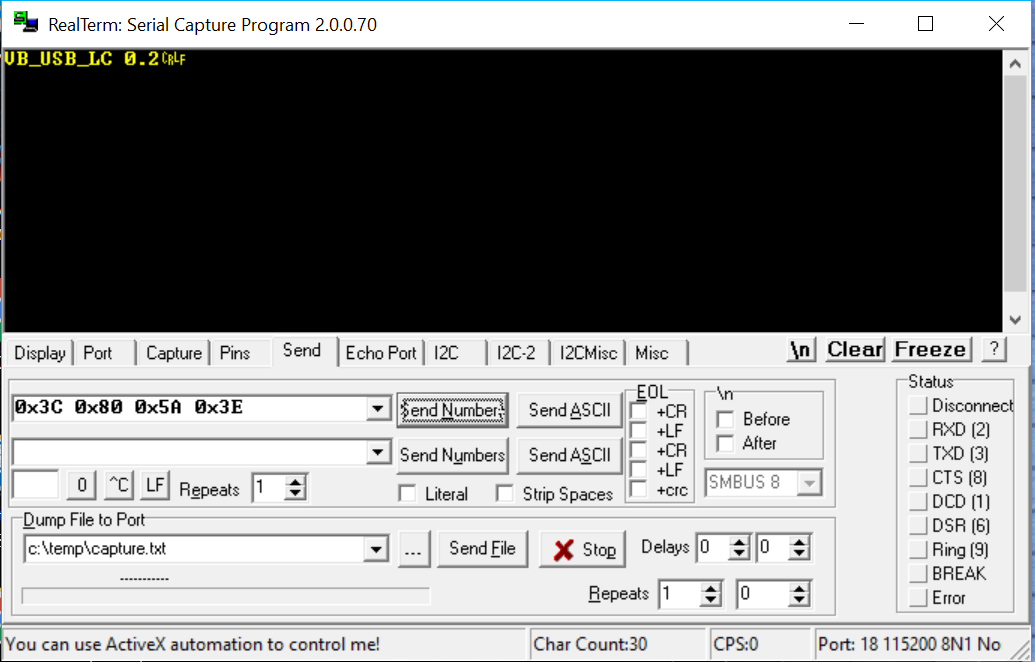
Connecting the USB link cable to your computer is fairly straight forward. Once plugged into a computer it should install FTDI drivers for the cable and then create a COM port number. You’ll want to take note of that COM number for setup discussed below. In Windows 10, that is all automatically done for you. I haven’t tested on any other OS. To initially test the cable you’ll need a terminal software such as RealTerm. The image below shows the port settings in RealTerm.
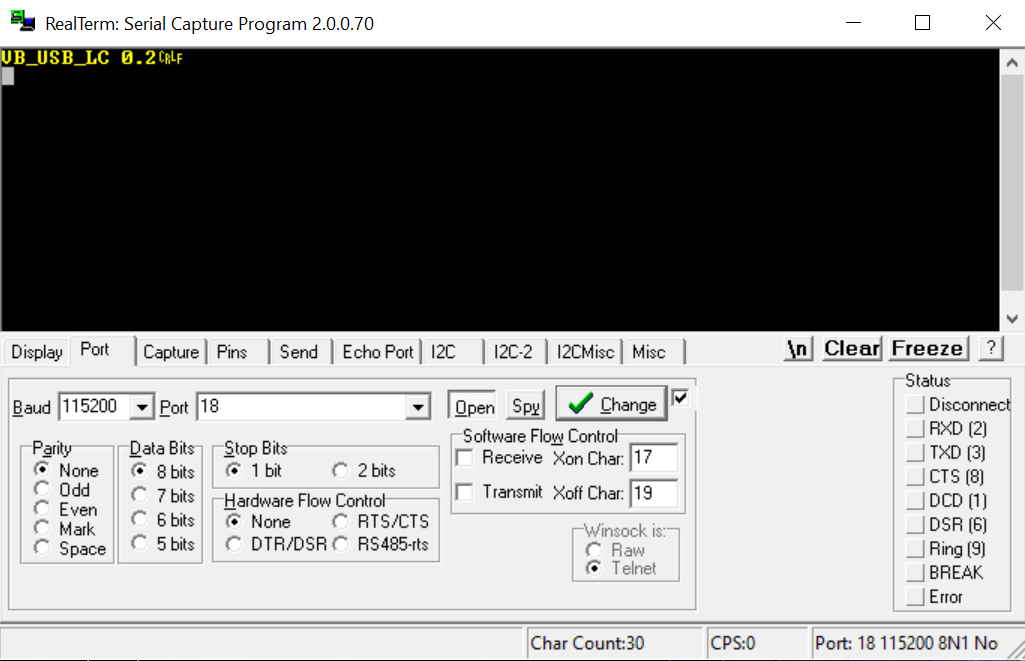
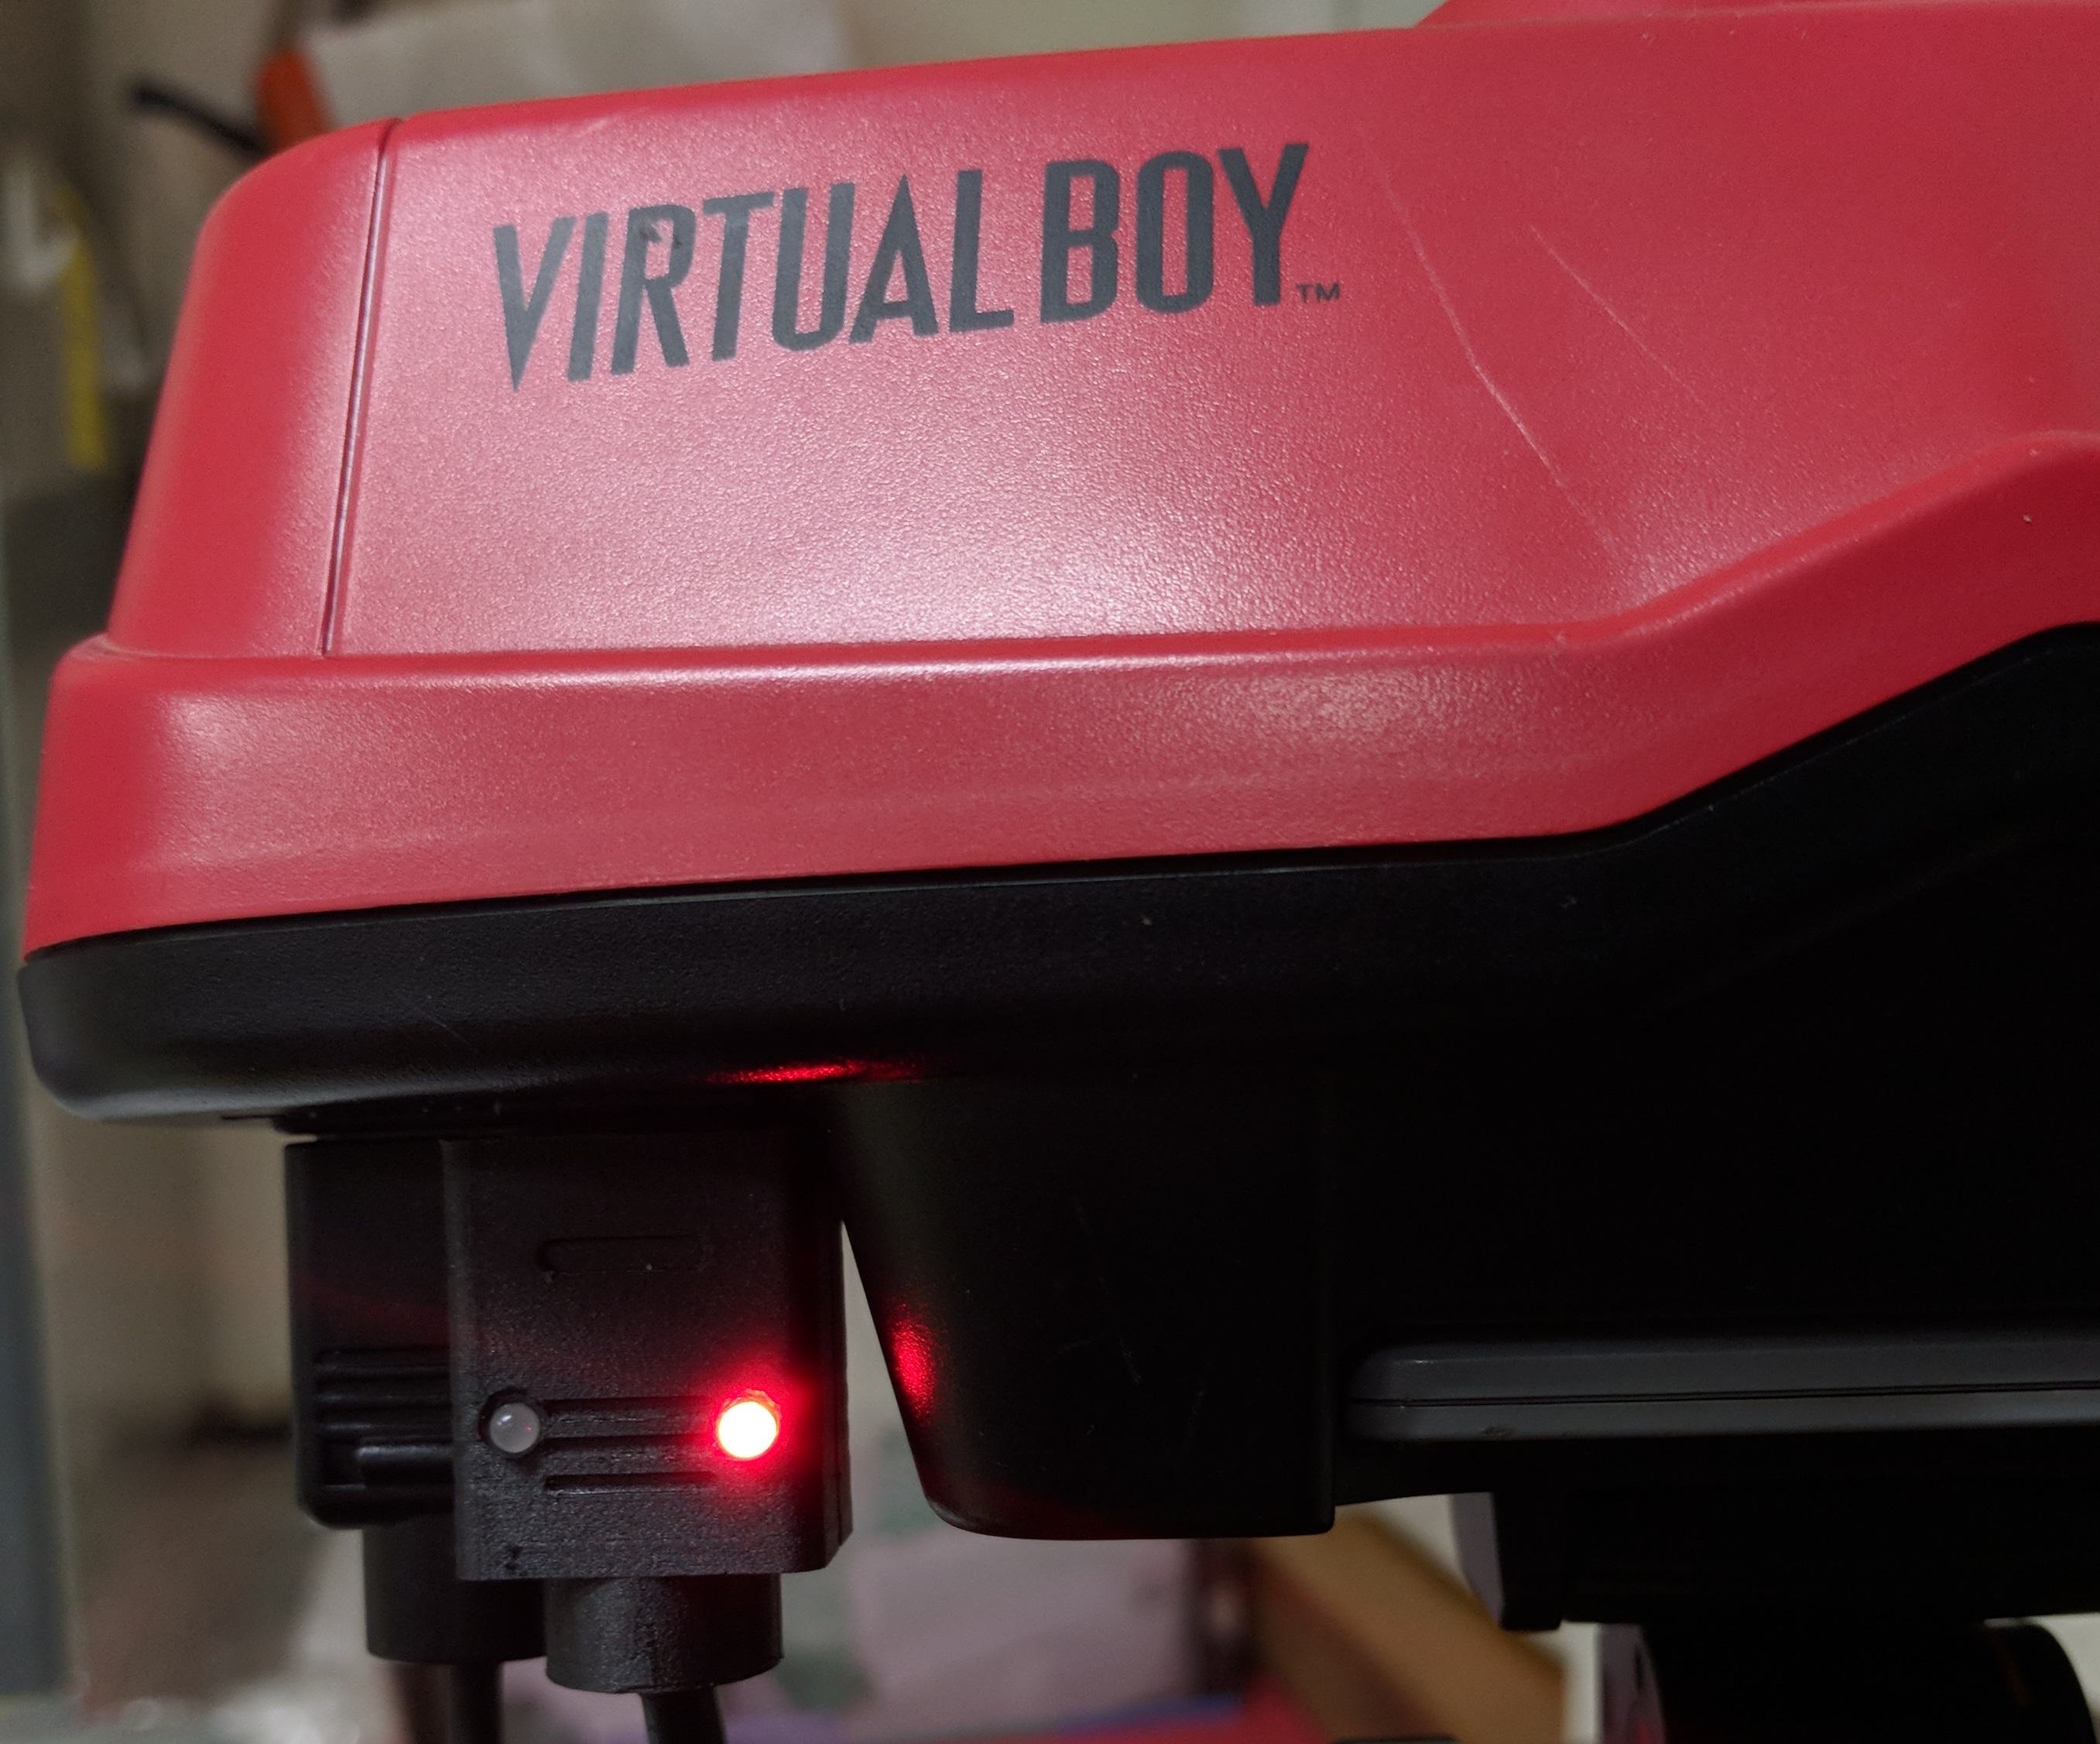
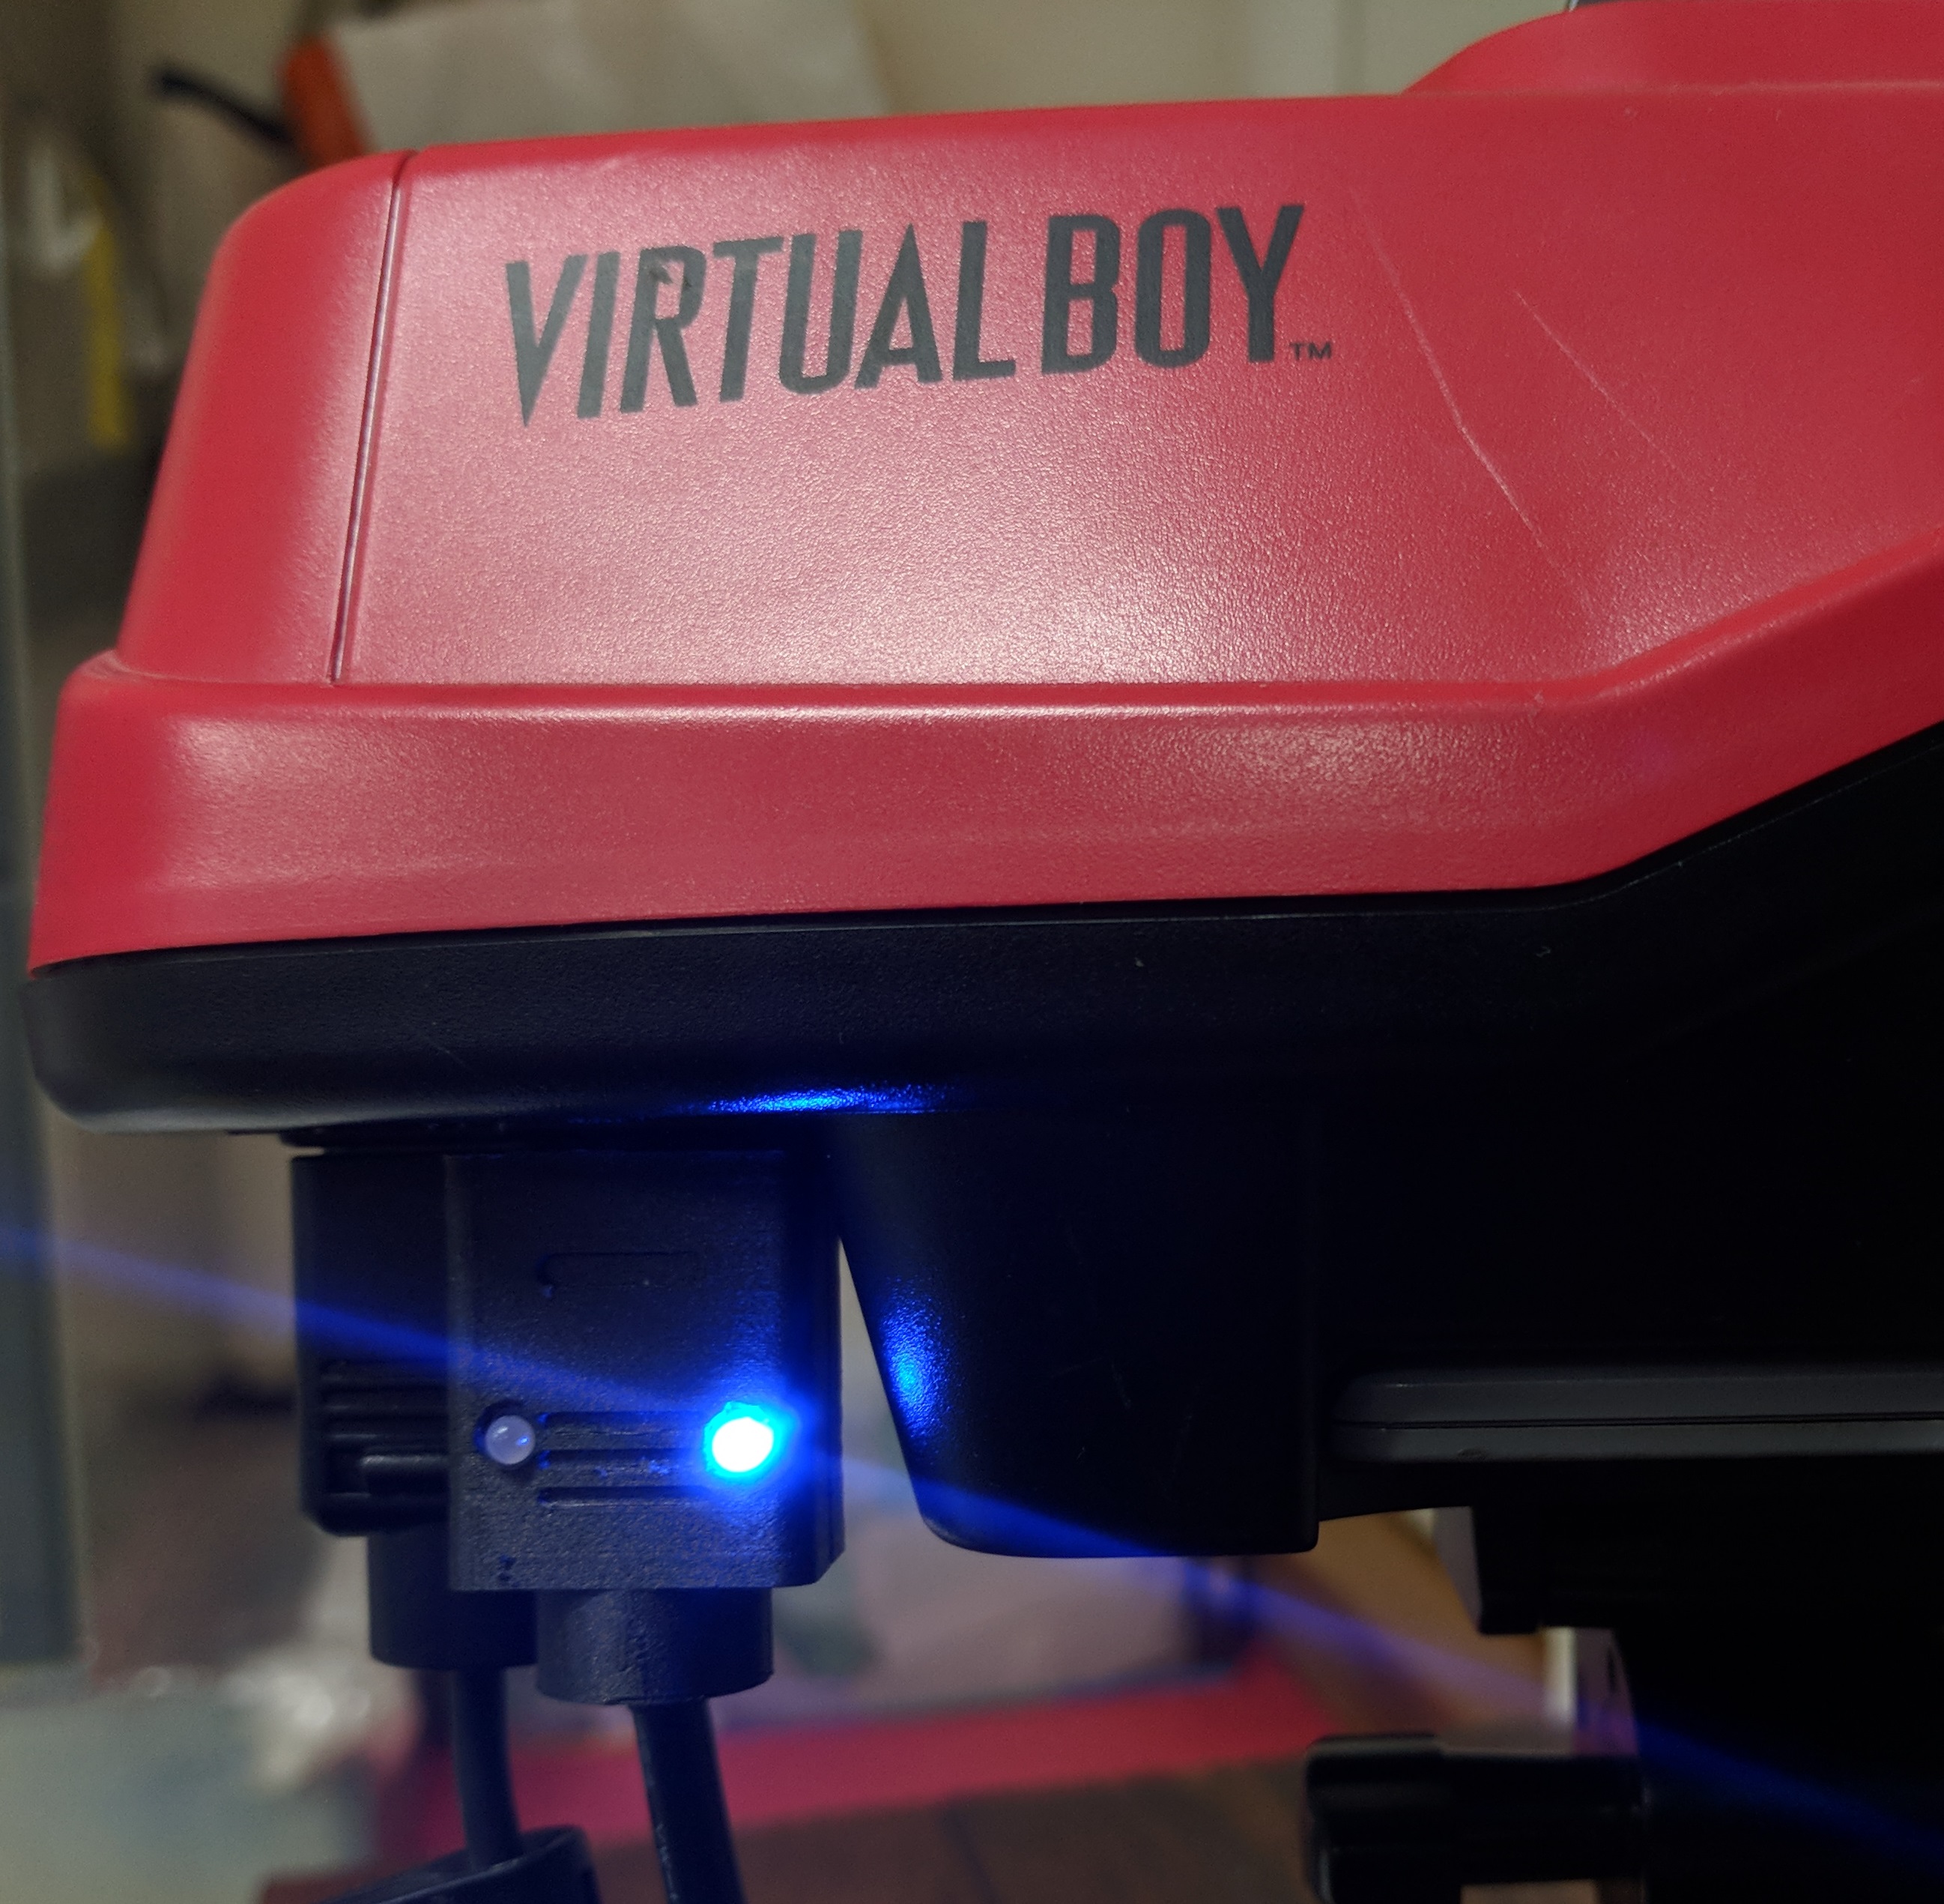
The settings to talk to the cable are 115200,8,N,1 with no parity at your installed COM port number. You will have noticed that when the cable was plugged into a USB port that a RED LED lights up signifying that the USB link cable is in Master mode and expects the Virtual Boy game to be in Slave mode. For the end user this might correspond to Player 1 and Player 2, but doesn’t have to and will depend on the game implementation. Developers will also have access to the firmware so they could change that behavior in the future as well. For now, that particular LED will light RED for Master and BLUE for slave depending on the mode. The other LED is currently an activity LED which will light GREEN or AMBER depending on direction of data going over the link cable. The image below shows the link cable in master and slave mode, respectively.
To actually talk to the USB link cable requires a specific message format. The cable expects the first character to be a hex 0x3C and the last character to be a hex 0x3E. These characters correspond to ASCII < and >. In between this header character (0x3C) and closing character (0x3E), two bytes are expected. The first byte is a command and status byte which will in most cases be 0x80. The next byte is the data byte, which for testing purposes can be 0x5A. If this message is passed to another link cable via some sort of serial tunneling or serial to Ethernet -> Ethernet to serial loop, one cable can talk to another. I’ve tested two VB’s connected over Ethernet this way to test a basic network connection between to VB’s. An example message would be 4 bytes of (in hex) 0x3C 0x80 0x5A 0x3E. Here’s a RealTerm snap shot of that message in the Send tab.
Command Byte
The command byte upper bit signifies the state of the connected Virtual Boy COMINT line, or Control line. If the upper bit is 1 then the VB Control line is high. In normal operation this would appear as a 0x80. If the VB control line bit is low then you would see 0x00, normally. The lower bits of the command byte also signify commands to the link cable, or modes. Hence the name command byte. There are 5 commands currently in the initial USB link cable firmware. The lowest 2 bits control these commands. These commands are: 0-> normal data mode, 1-> USB link cable in Master mode, 2-> USB link cable in Slave mode, and 3-> USB link cable in Master mode with VB servicing triggered by the VB pulling Control line low, and 4-> Print Firmware Version.
With the lowest 3 bits set to zero, the cable keeps operating in its current mode and data is read and written when it’s received. When data is received on the serial port, it is put into the USB link cable data register to write out immediately if in Master mode, or waits until the VB is ready to read it, if in Slave mode. Data received from the VB will be written out to the serial port of the USB link cable immediately if the cable is in Slave mode. Data received from the VB is written out to the serial port when the cable writes to the VB if its in Master mode.
The message 0x3C 0x81 0x00 0x3E would put the USB link cable in Master mode and the LED would go RED if another color. The 3rd byte, the data byte, doesn’t really matter for this operation. This 0x81 only needs written once and should be switched back to 0x80 on the next message. The message 0x3C 0x82 0x00 0x3E would put the USB link cable in Slave mode and the LED would go BLUE. 0x3C 0x83 0x00 0x3E would put it in Master mode which is serviced when the VB Control line goes low.
Data Byte
The 3rd byte in the message is the data byte and can be anything the game expects. It should NOT be 0x3C or 0x3E however otherwise the framing of the message will be confused. So avoid those two hex numbers and everything else if fair game. I recommended leaving 0x00 as a “no data” message. But really this is up to developers. What ever makes sense. I’ve used the data byte 0x5A above and in testing because there’s a test ROM from DogP that uses this data byte as the test message. It’s called linktest.vb. I’d recommend using it with your two Virtual Boys for testing. I’ve created physical carts but you can also do it if you have two Flashboy+ devices. For testing purposes if you can manually emulate responses using RealTerm, then only a single ROM is needed. This is what I’ve done for initial cable tests.
Forwarding Serial Data
Now you’re able to get data in and out of a VB via a computer serial port. To actually do something useful with it, like send messages over the internet for networked play, you’ll need to send this serial data somewhere. I’ve used a number of serial port to Ethernet software packages that do just that. These same packages can typically take Ethernet and send it back over serial to create a complete loop. Here’s a picture of that first successful loop back test.

If you feel like modifying the link cable behavior via the Arduino IDE, then here’s the linkCableUSB file you’ll need. Have fun!
 Mellott's VR