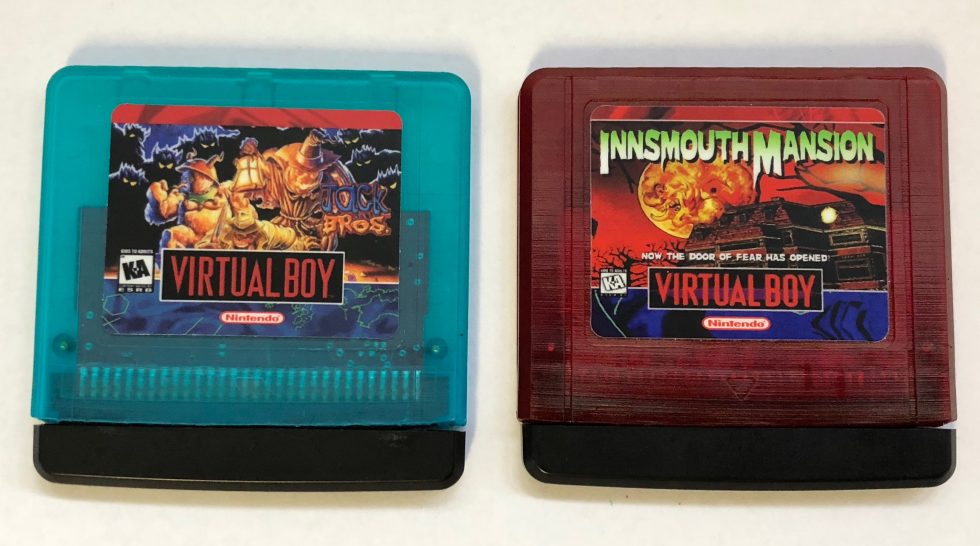
Custom Virtual Boy Cart Cases
Originally 5/19/2018
Updated 12/28/2019
12/28/2019: I’ve made my first injection molded cases. See bottom of this page.
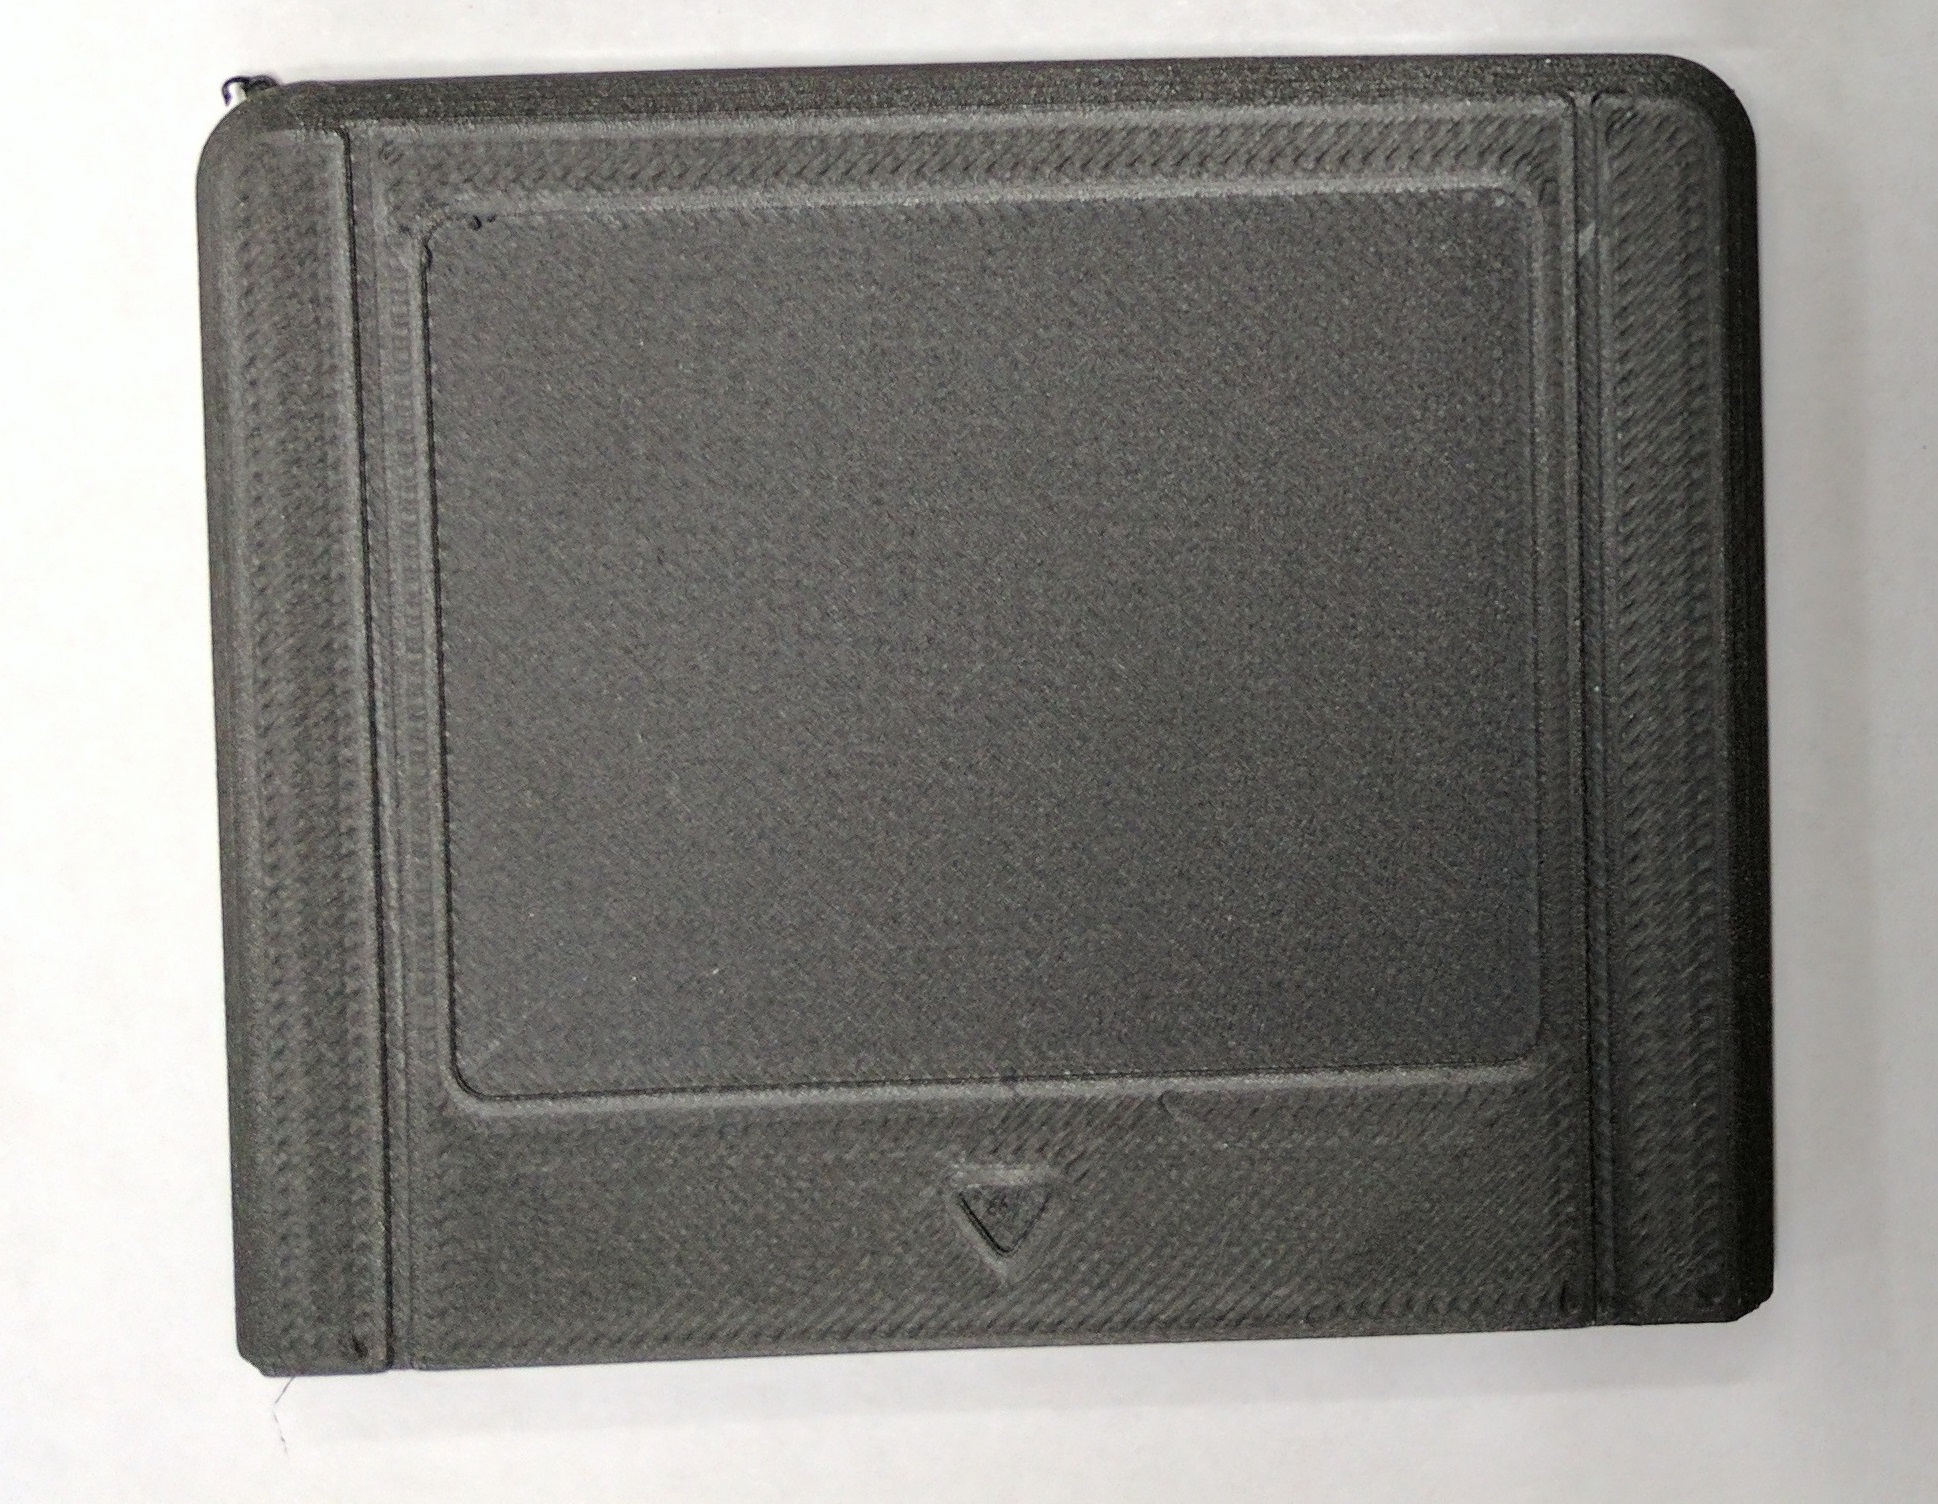
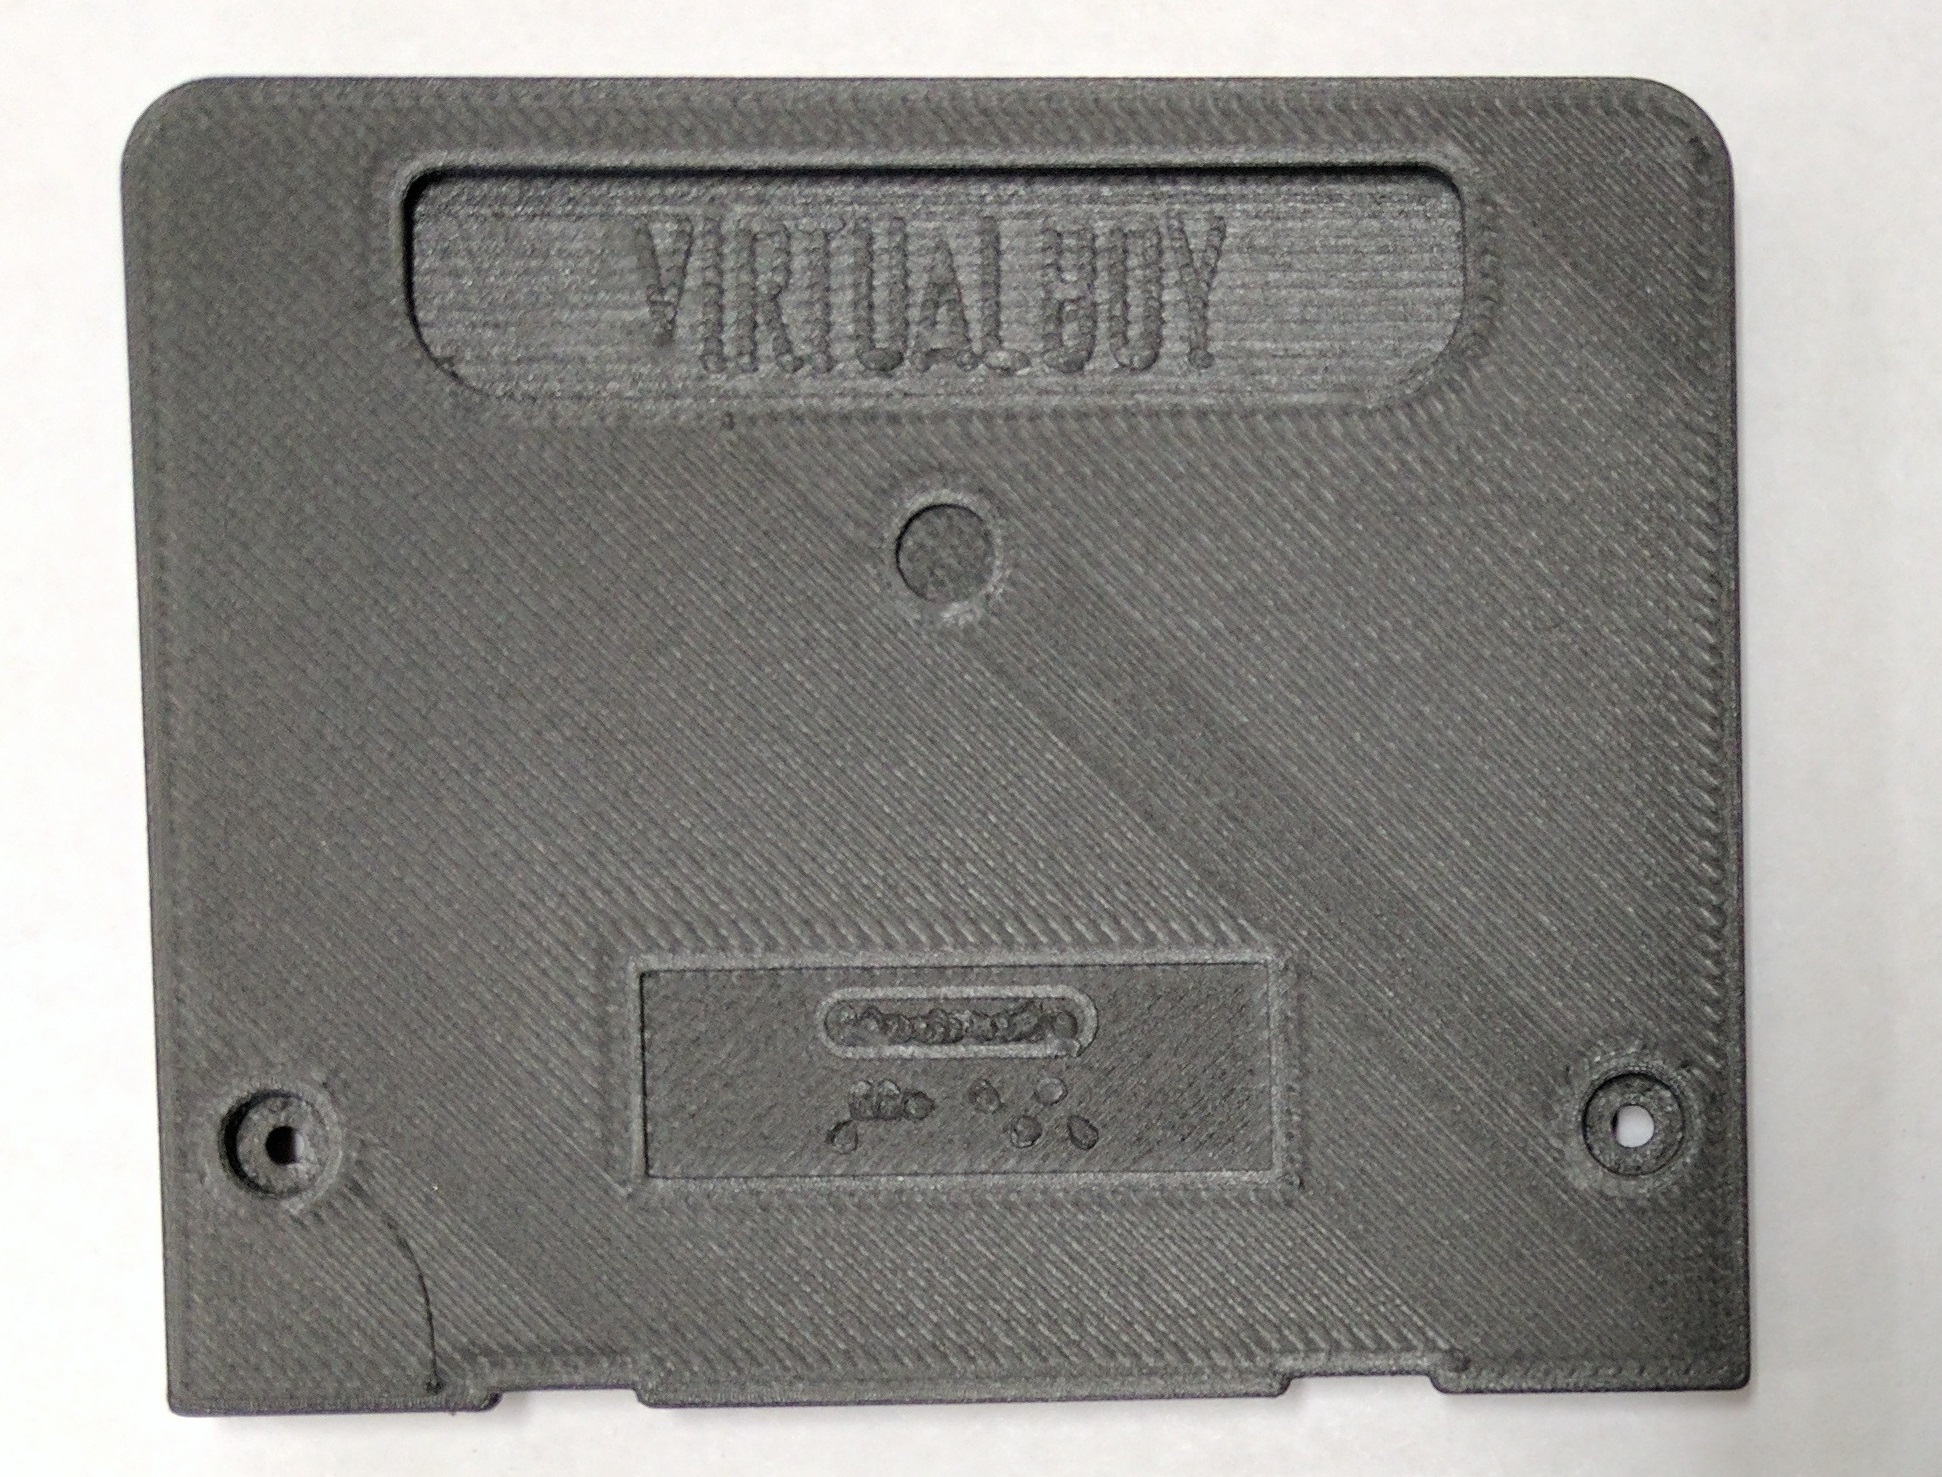
I’ve had several different iterations of custom Virtual Boy cartridge cases made recently. The idea here was to create custom cases that were good enough to replace VB donor cart cases. I initially started out with some carbon fiber cases that I had FDM printed in Onyx carbon fiber and SLS carbon fiber. The initial prints didn’t come out so well due to the the not-so-great surface finish expected from FDM prints. The Markforged Onyx print is shown first which came out the worst of the bunch.
|
|
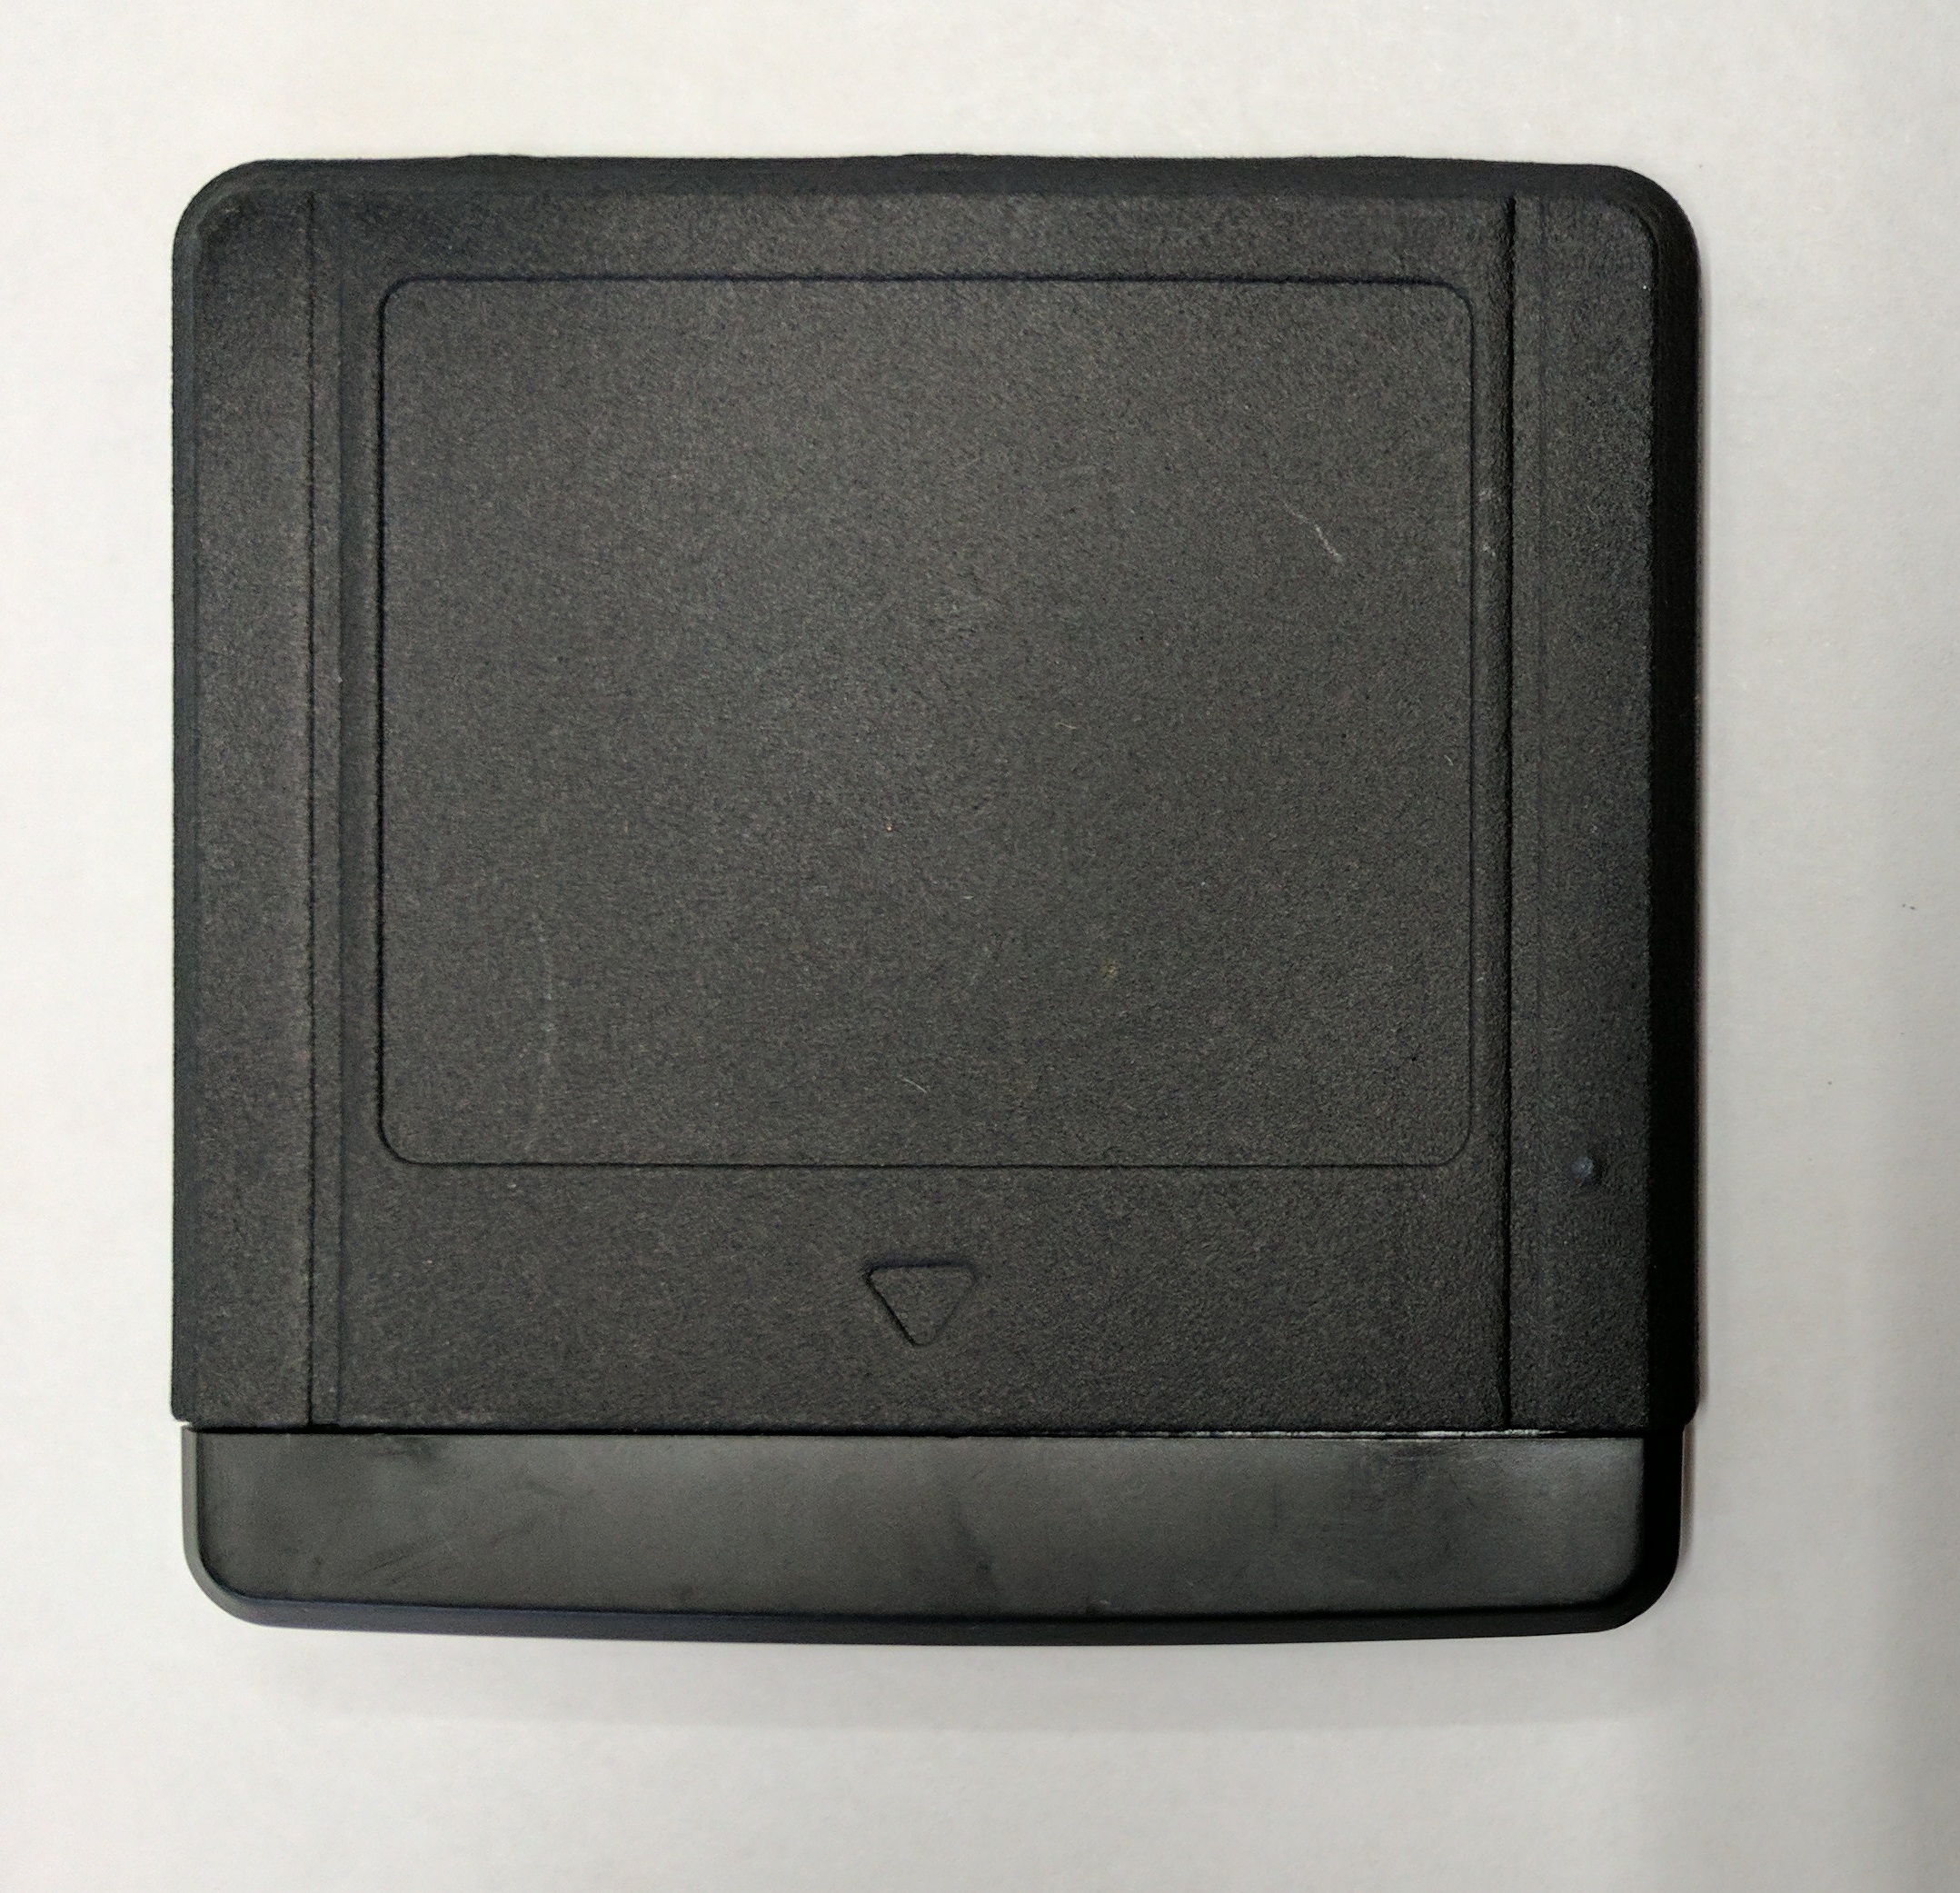
I had some SLS prints done as well which came out better but still weren’t good enough to replace a donor case.
|
|
The SLS prints weren’t bad but they have a rough surface finish expected of SLS prints. They also scratch fairly easily.
Shortly after these prints I gained access to a Formlabs 2 SLA printer. SLA is generally one of the better 3D print solutions for creating great surface finish. However, they are generally resin based which can be brittle and break when dropped. That obviously doesn’t fair well for a cartridge case for a gaming system. However, Formlabs has some interesting engineering resins called Tough, Durable, High Temp, Rigid, and Grey Pro. I’ve had the chance to try Tough as well as Durable and will show some results below. I’ve even dyed them RED.
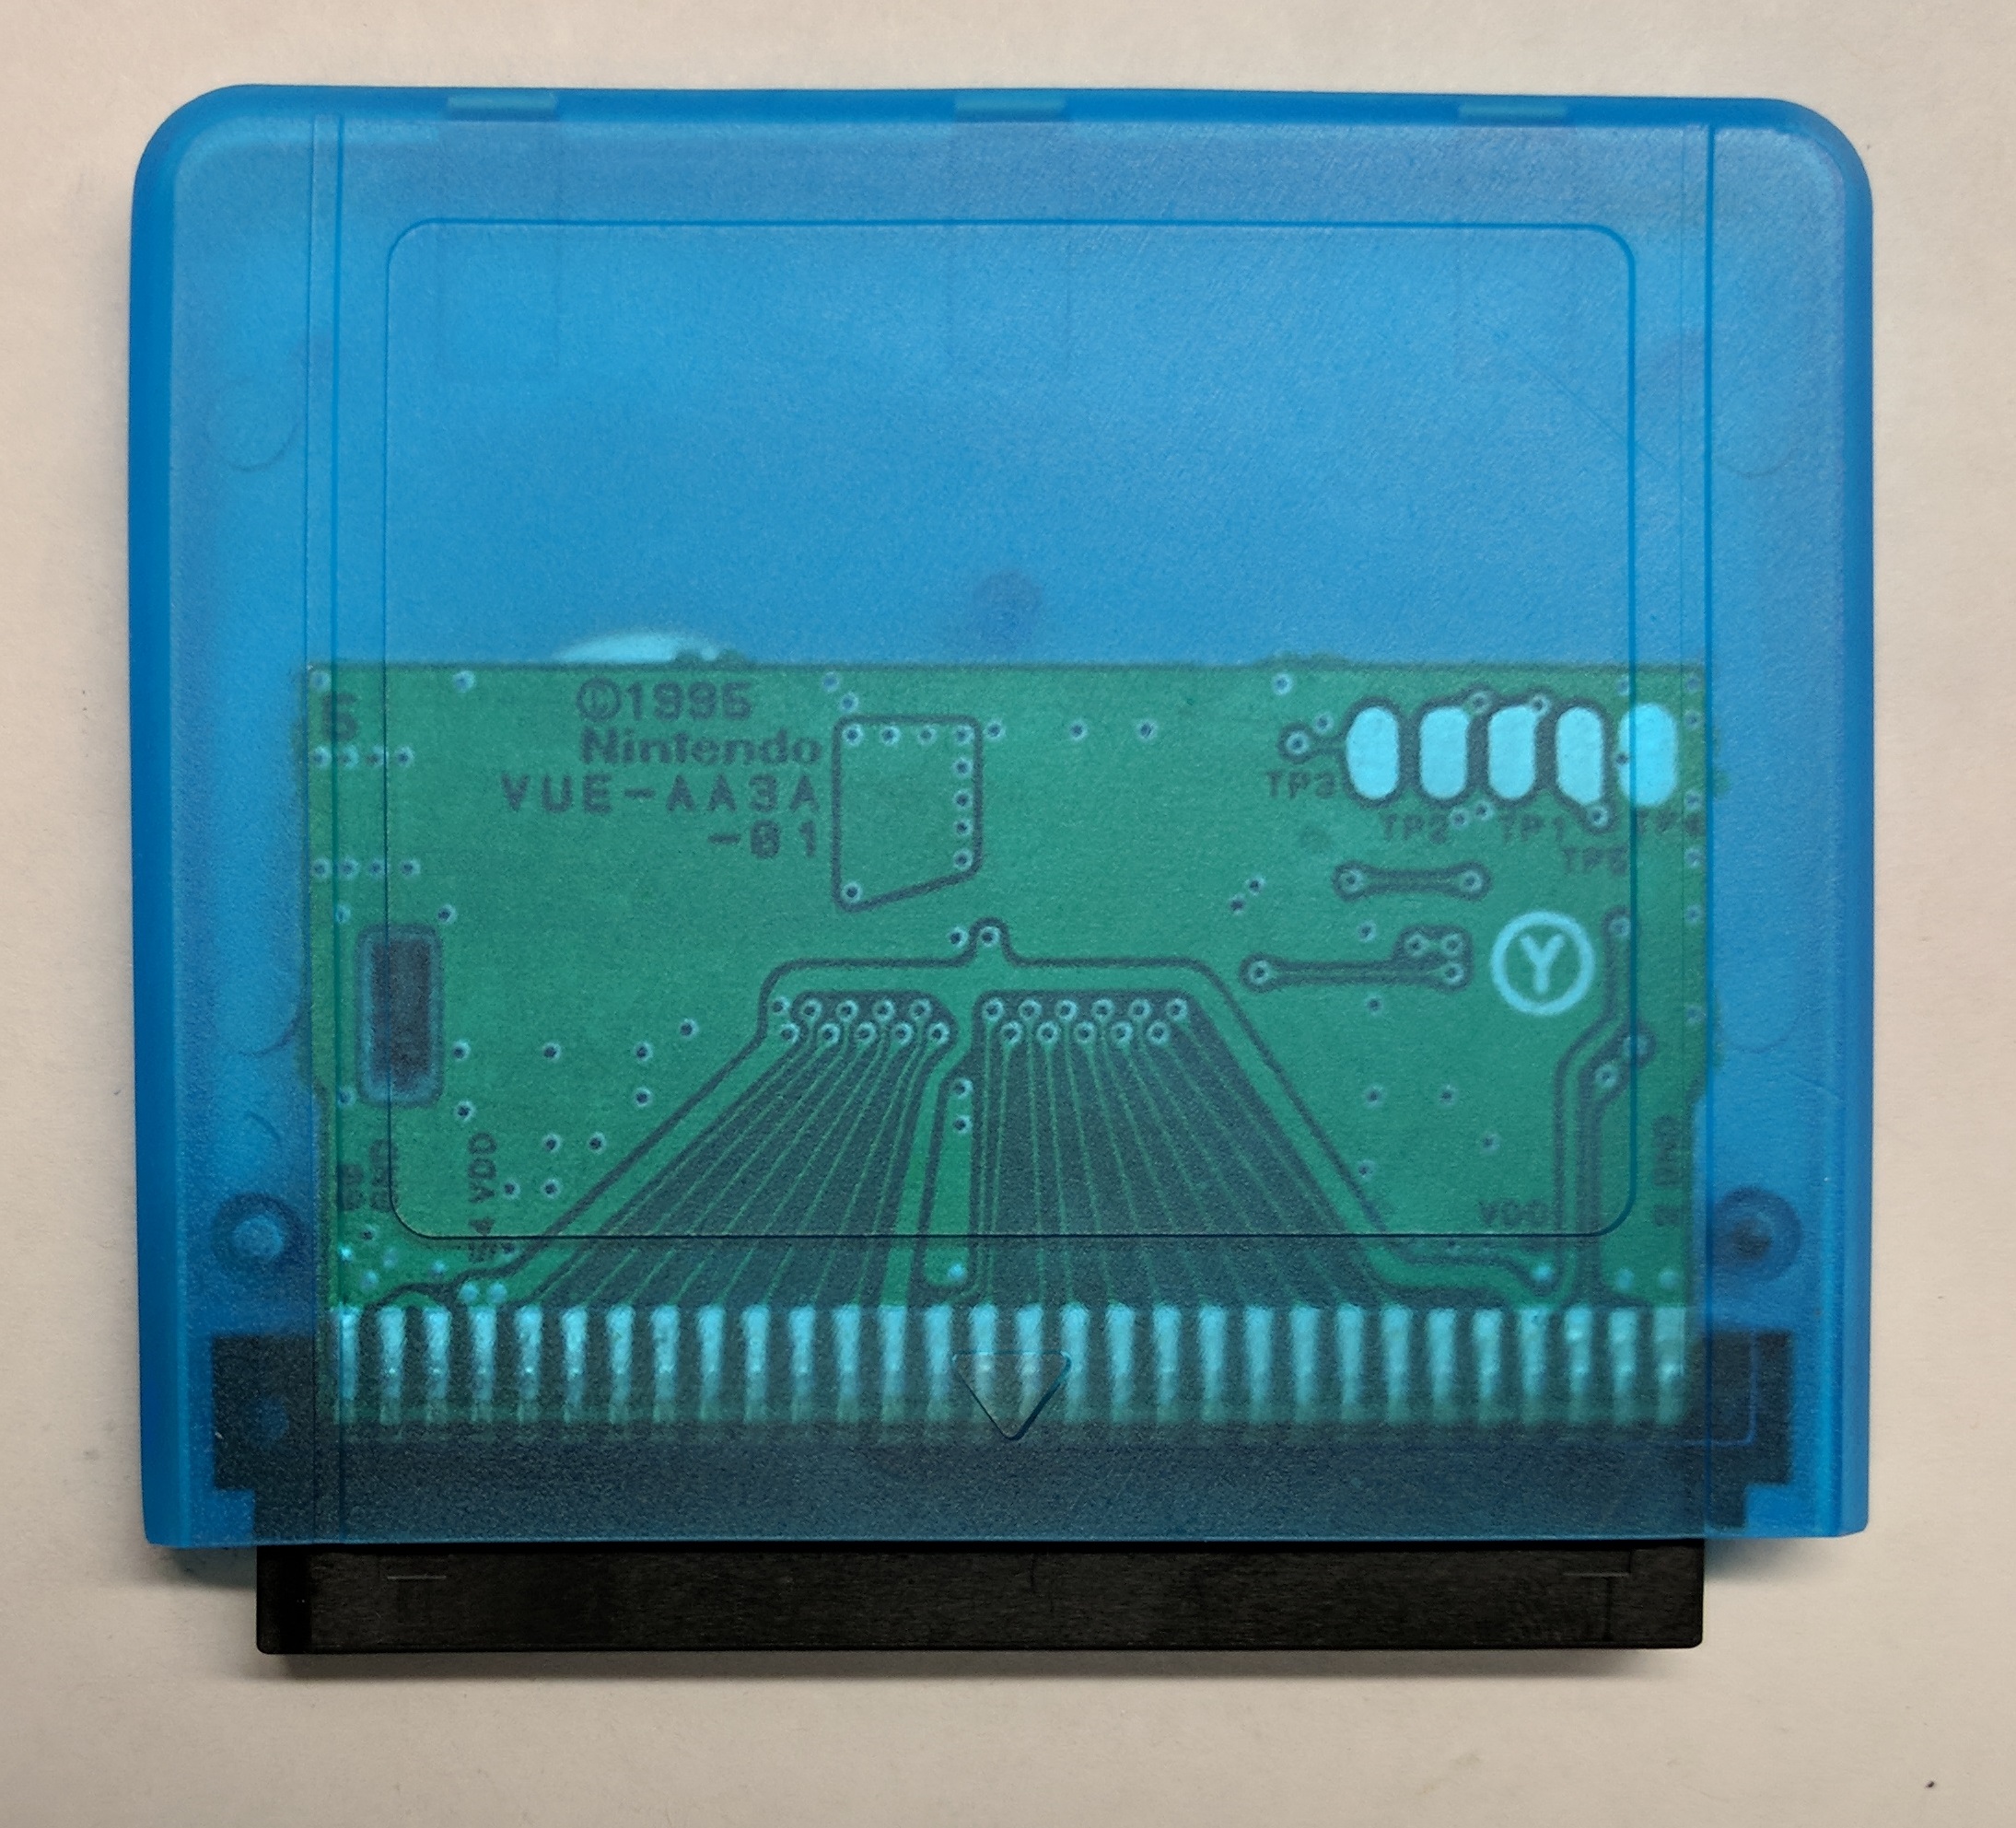
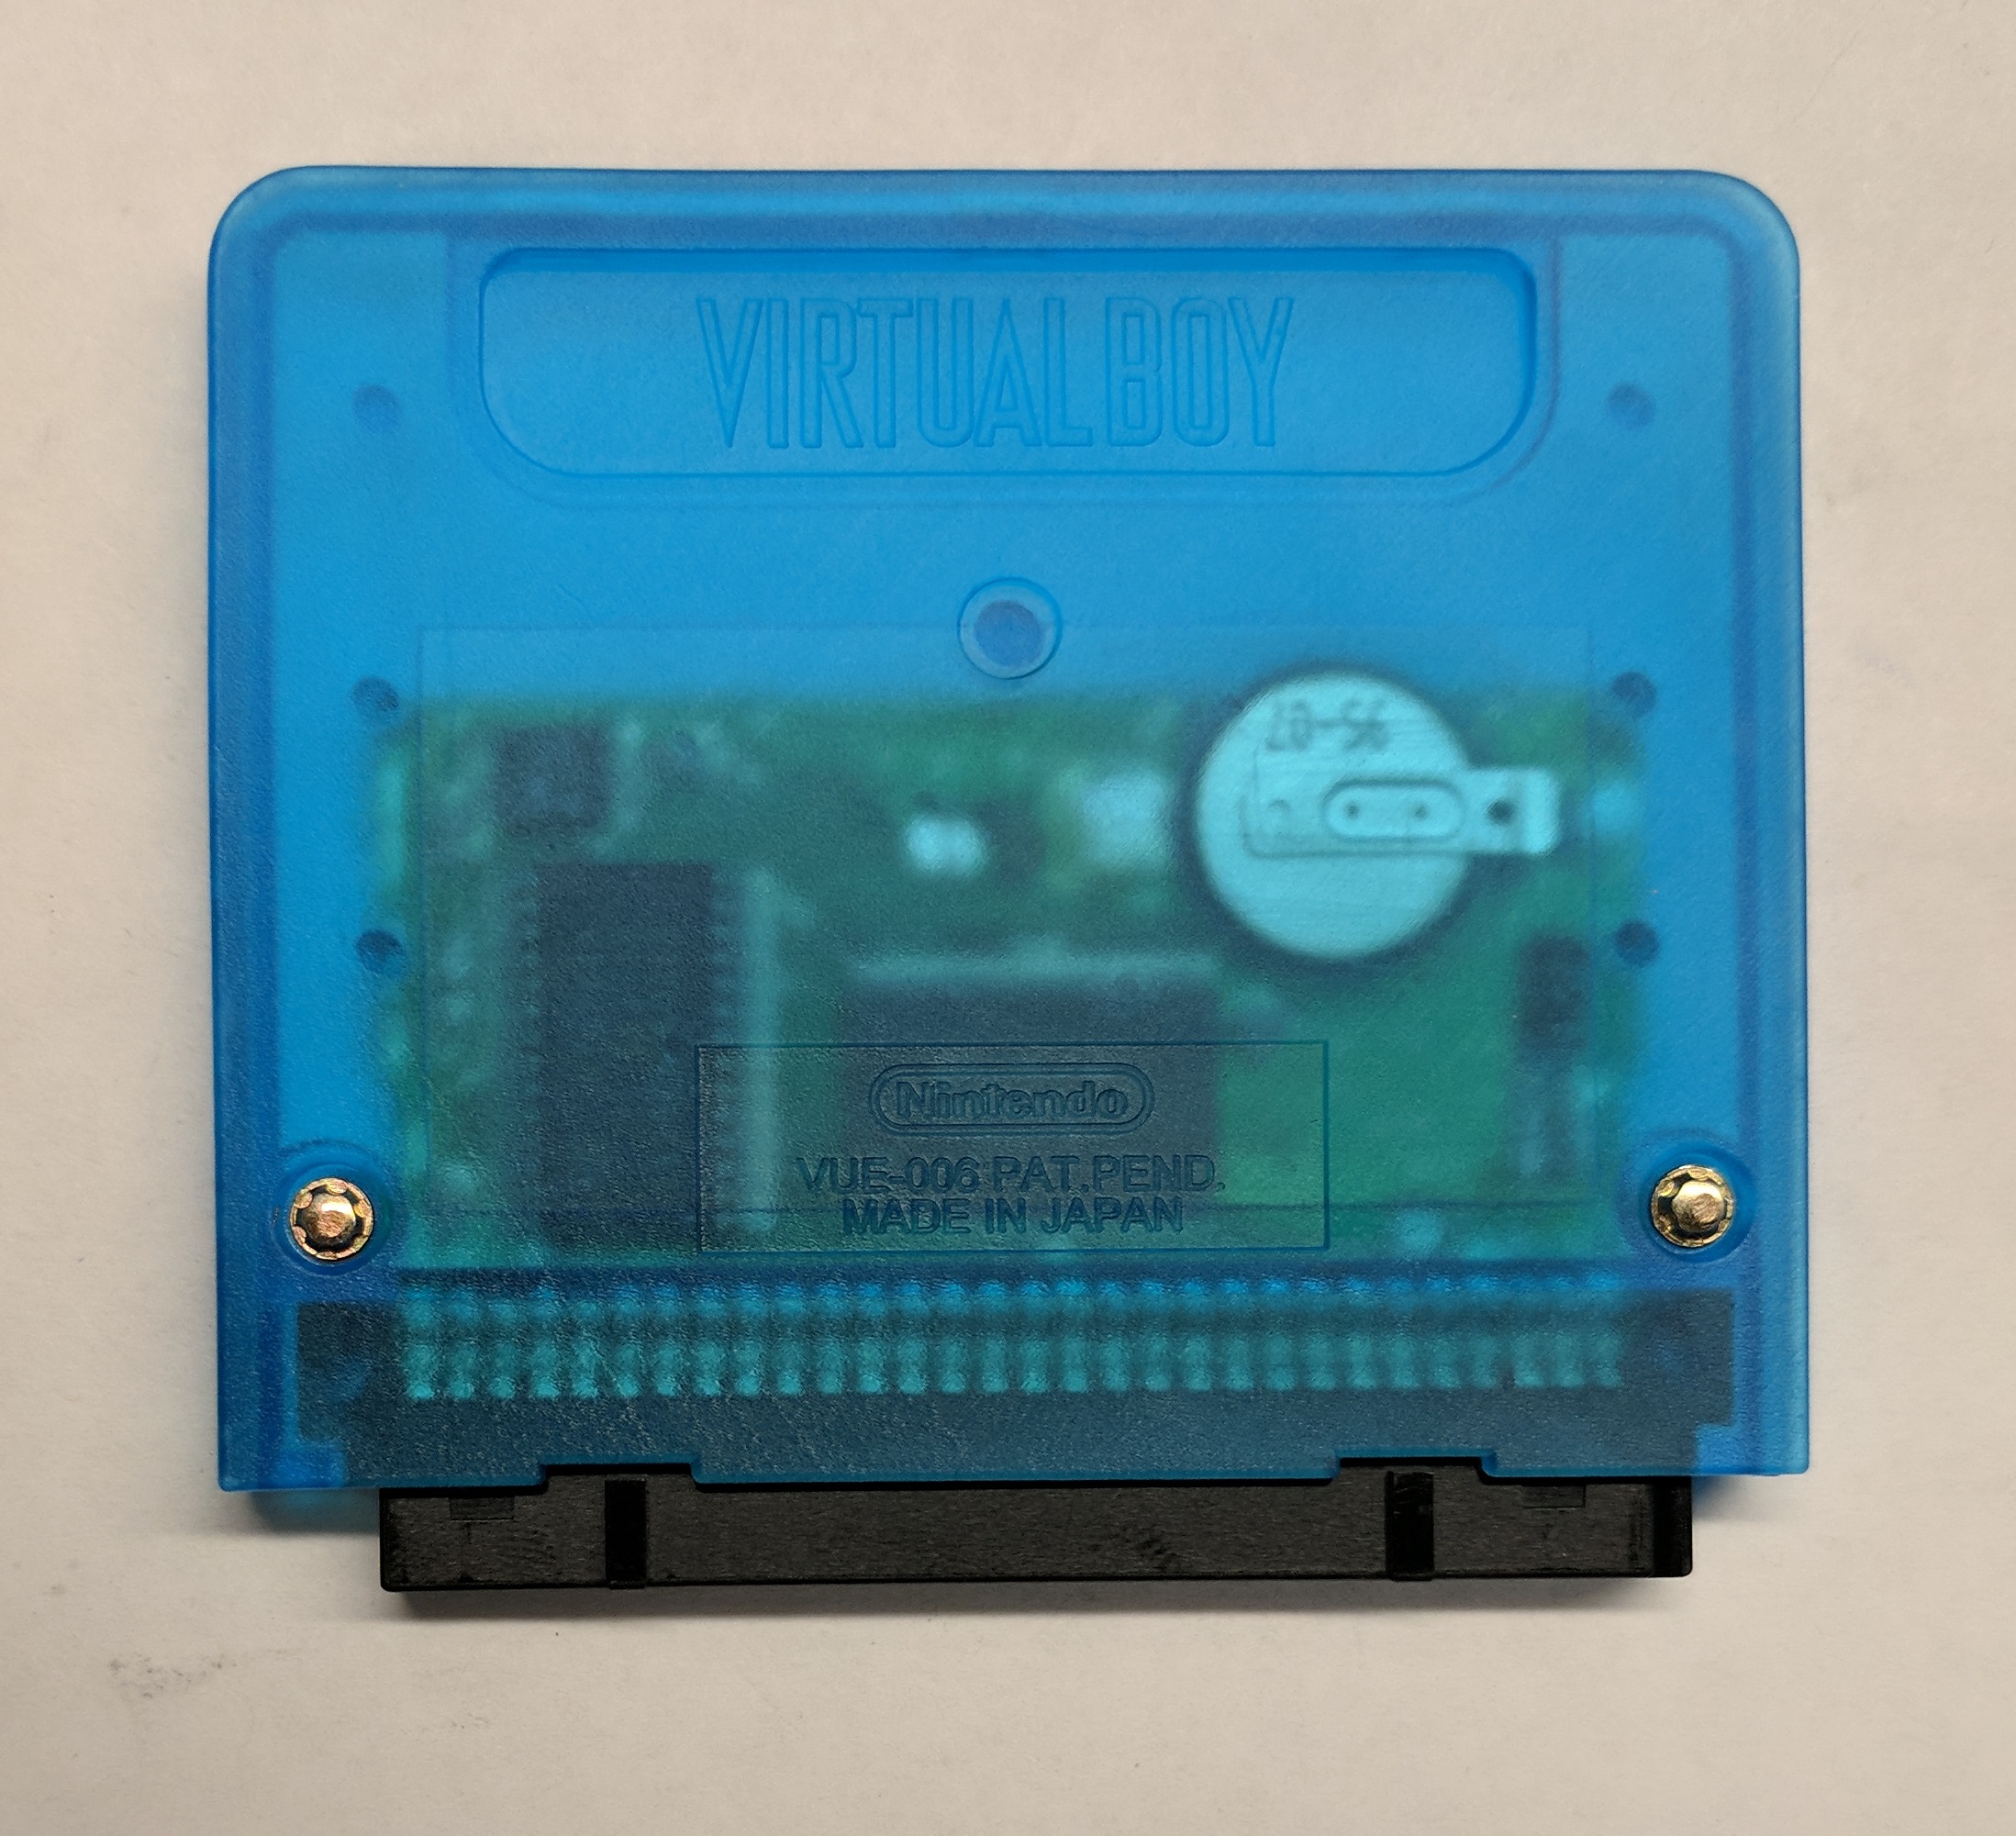
The first resin I tried was Tough as it is marketed by Formlabs as an “ABS-like” material. Overall the prints and the material work quite well. It’s downside is that its BLUE and therefore can’t be dyed certain colors like VB RED.
Here’s some images of the Tough cases with an actual cart inside. Its a very cool translucent blue case.
|
|
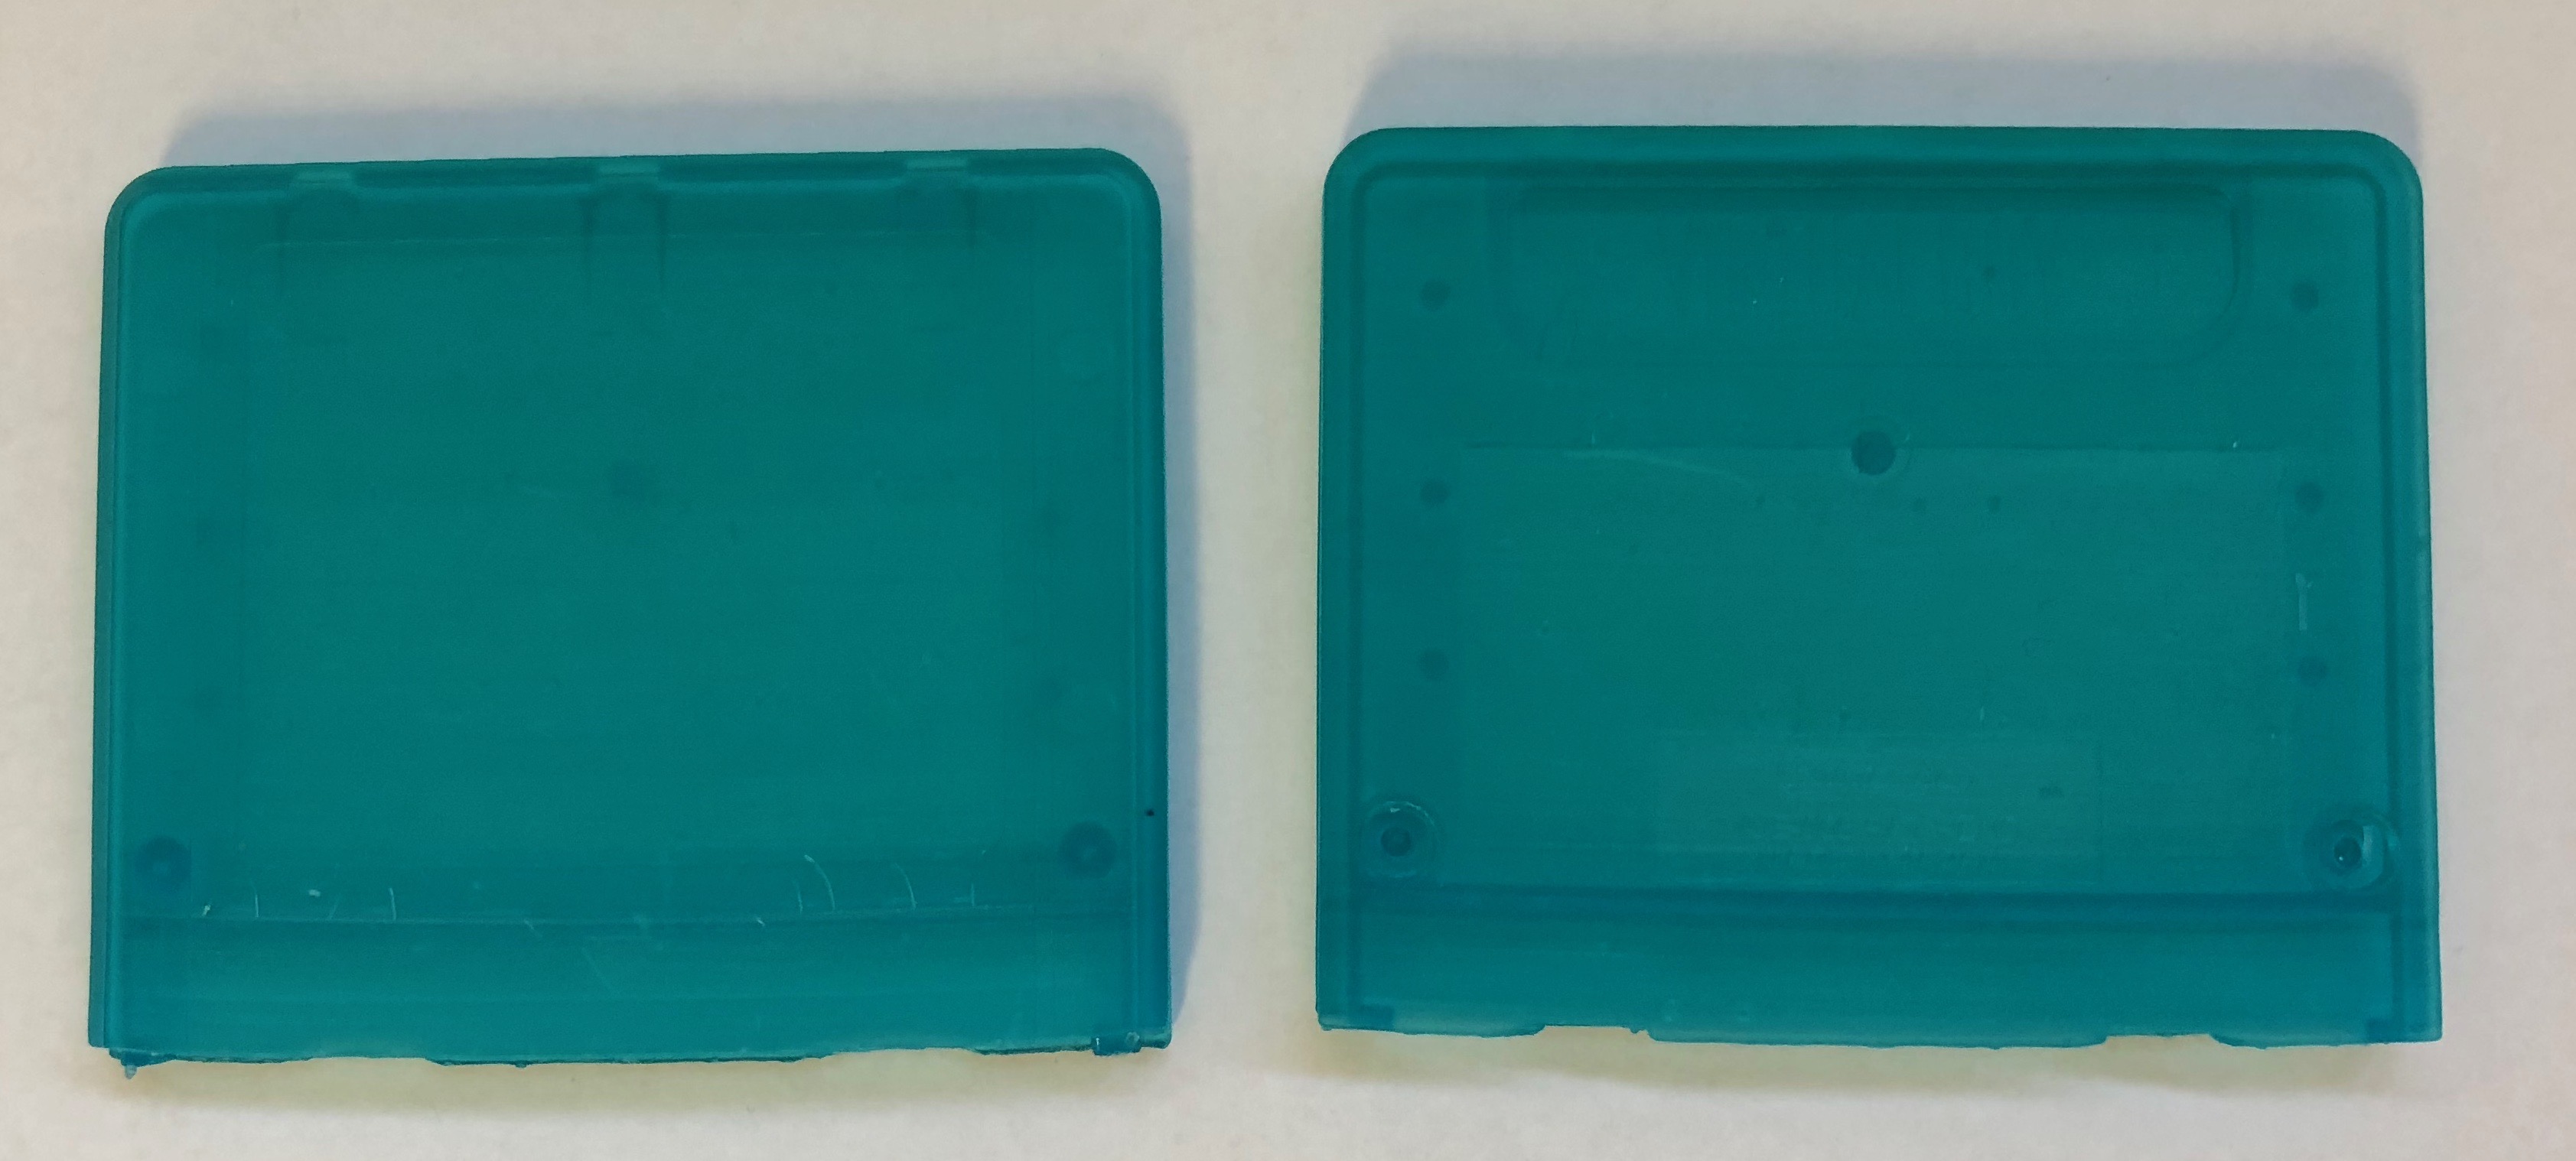
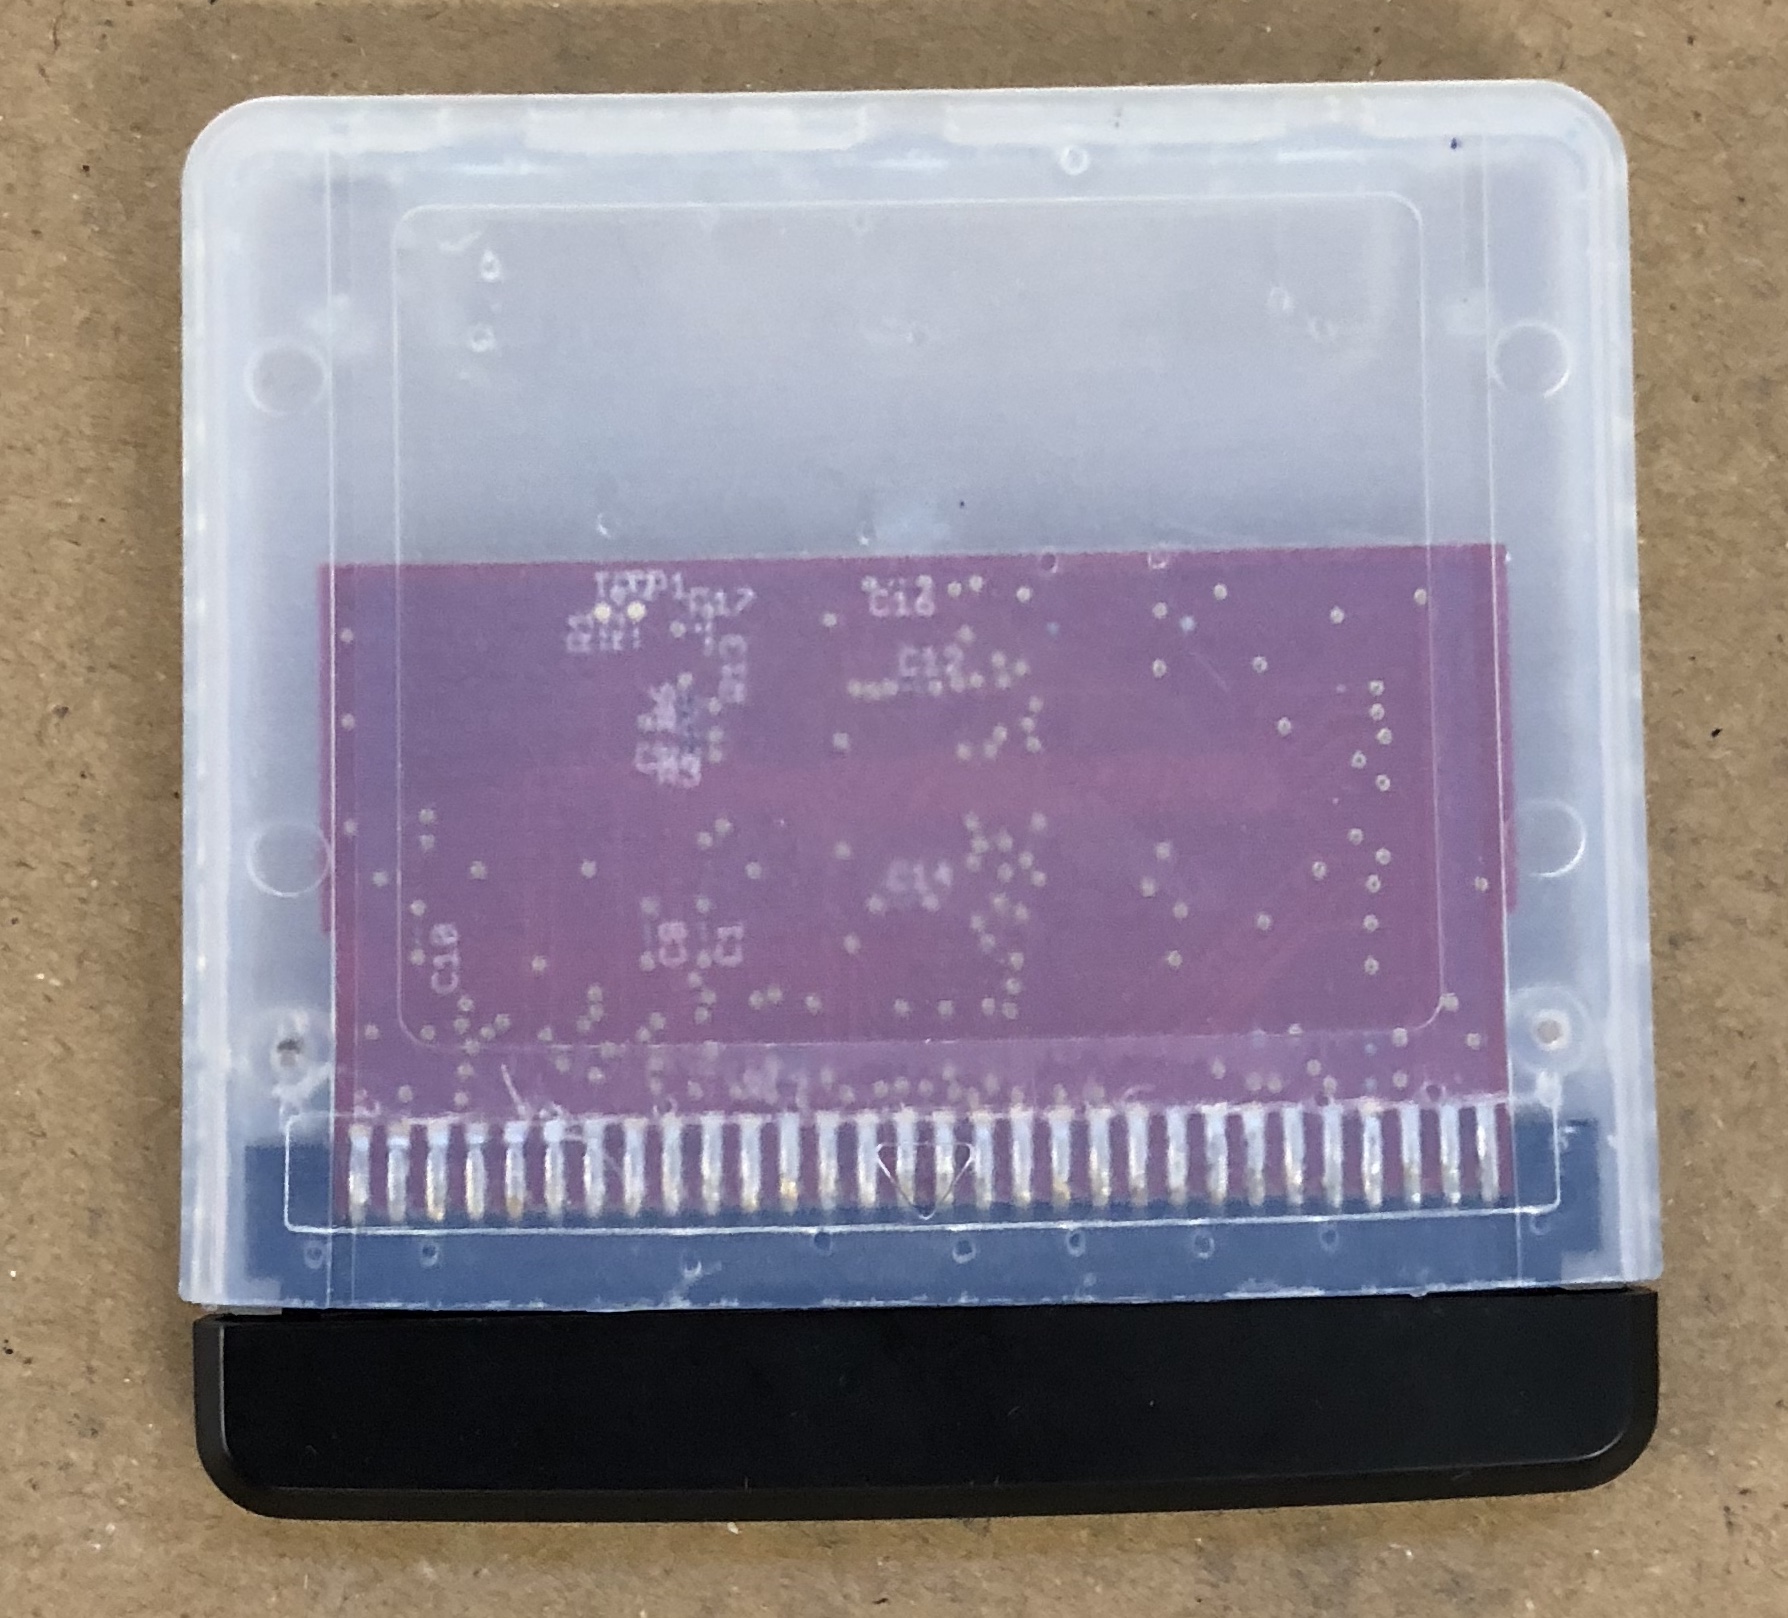
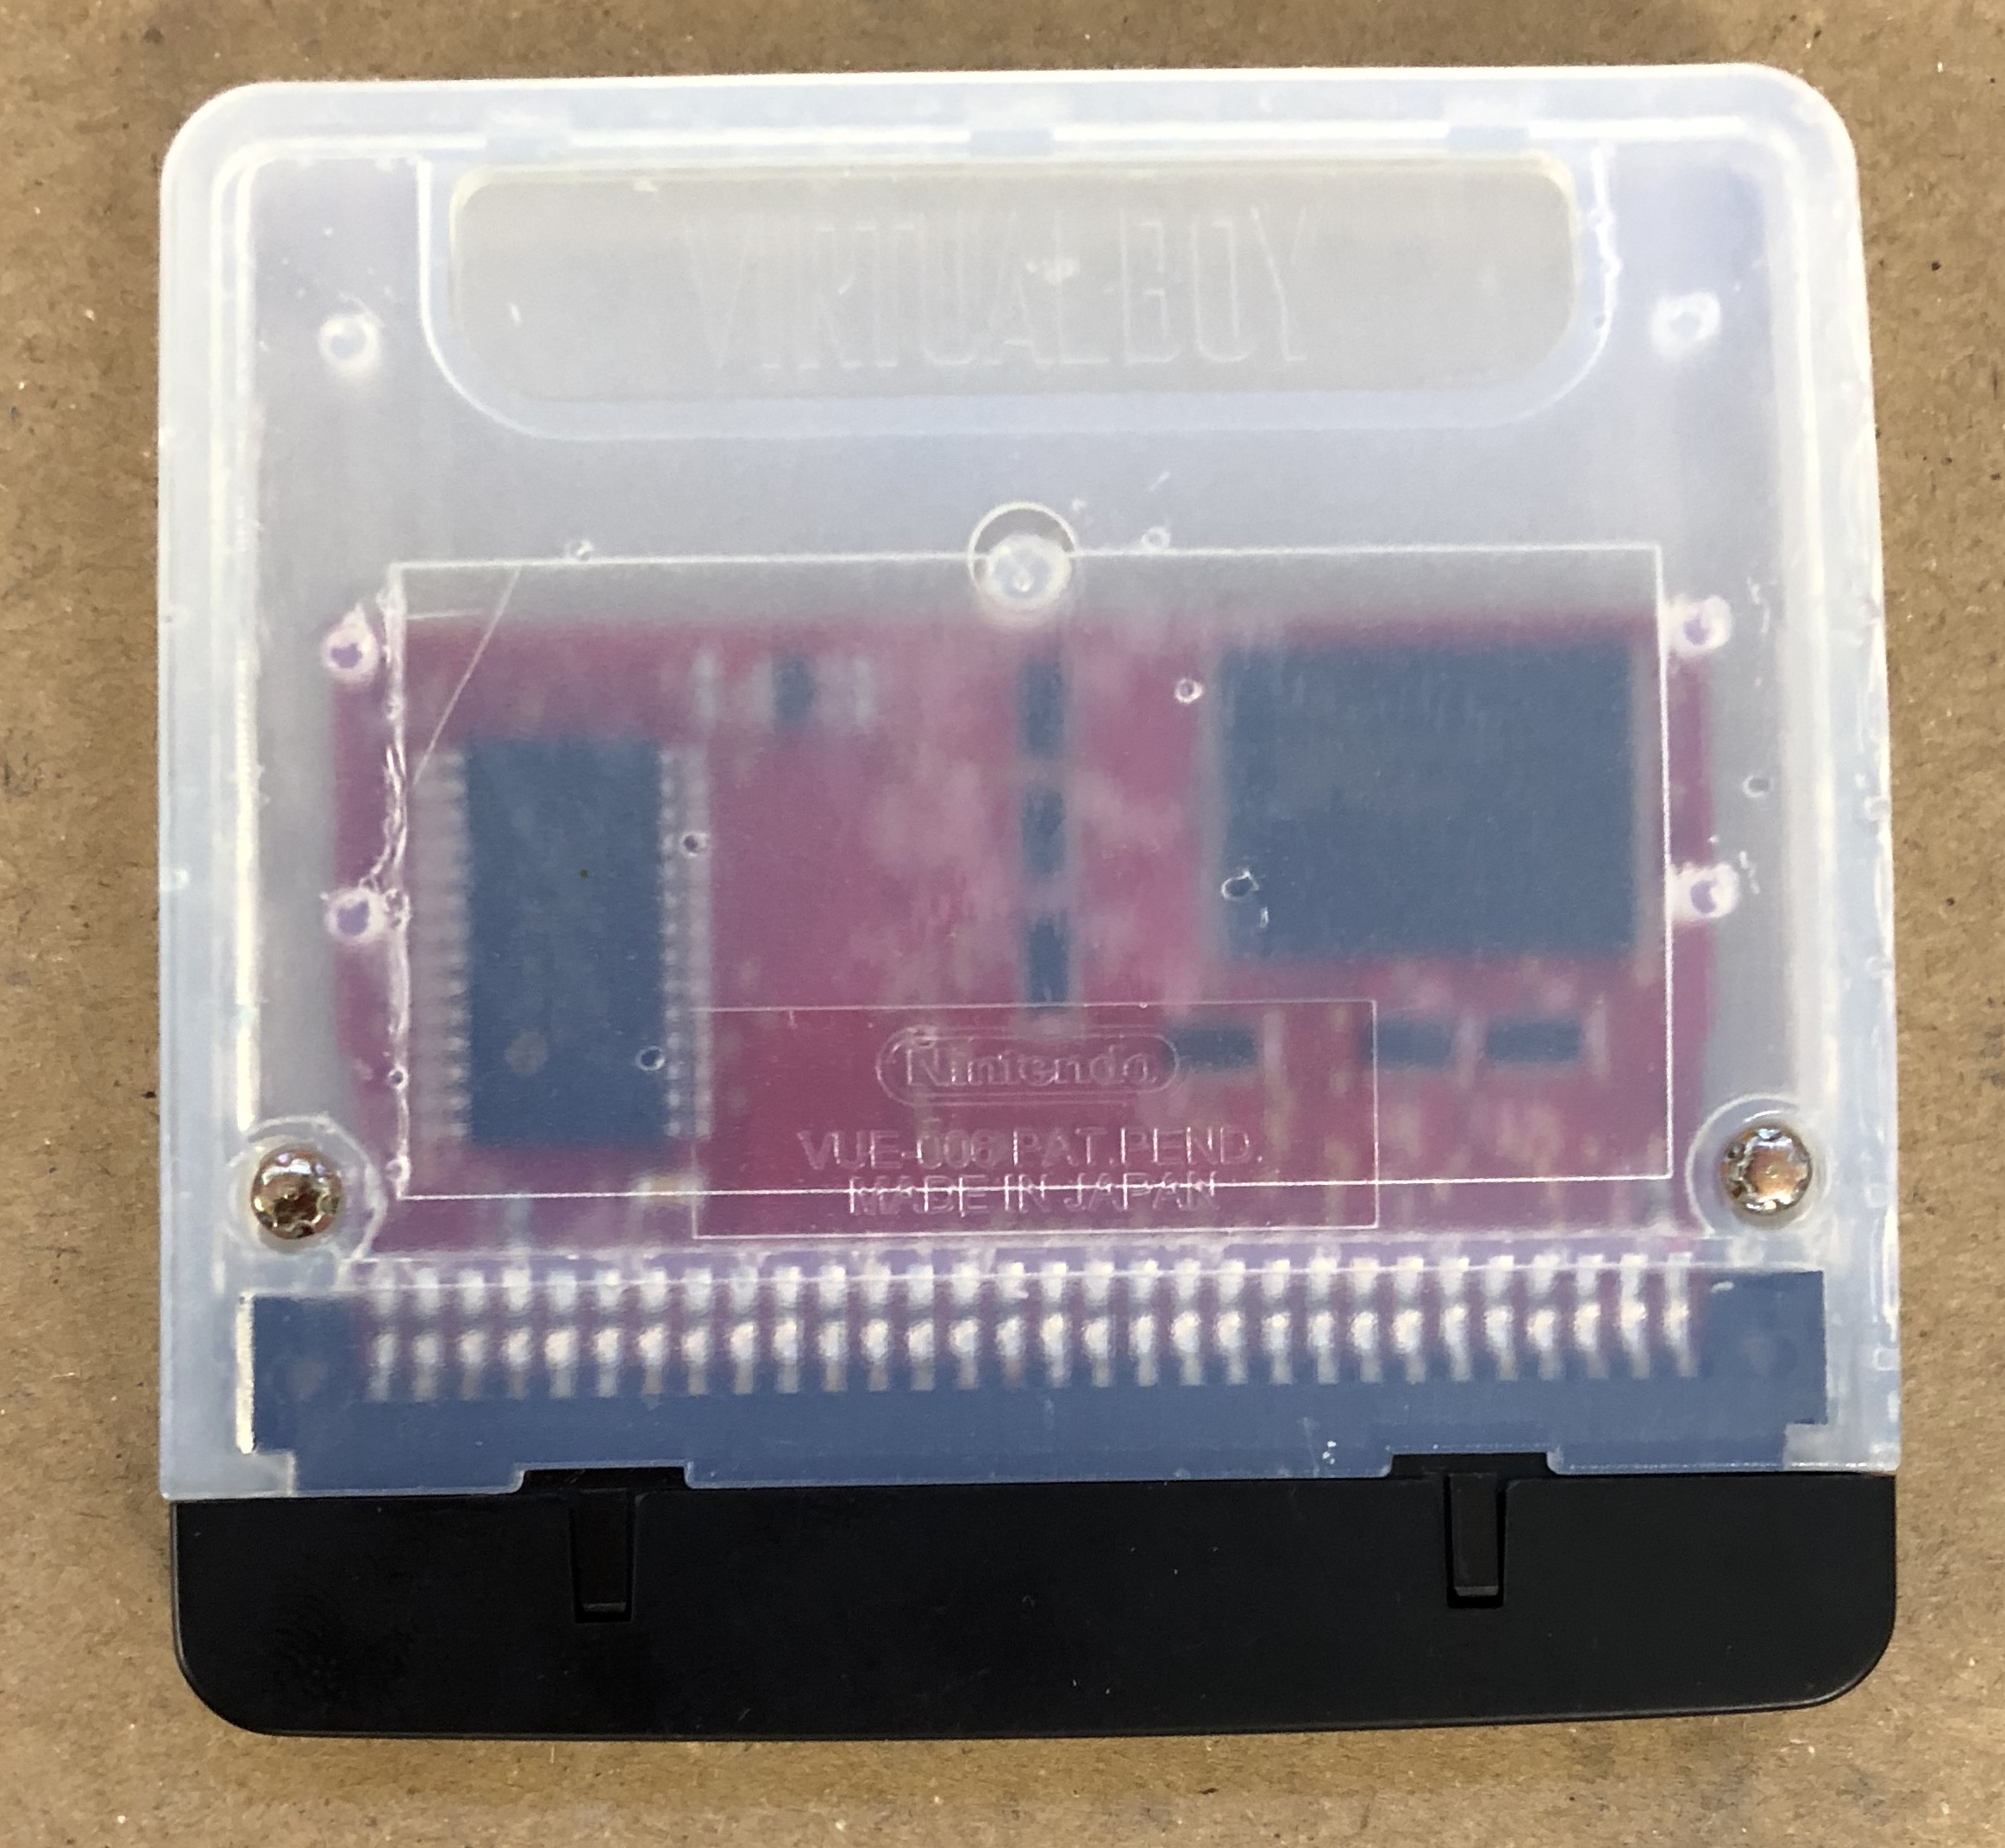
After the Tough prints I wanted to try Durable as its a fairly clear material that would be better suited for dye. I wanted to dye some cart cases RED. The Durable material is more flexible than Tough but also clear. Initial un-dyed cases are shown below.
|
|
Again a very cool semi-transparent clear case. The next thing I tried was dying it with RED solvent dye which came out great.
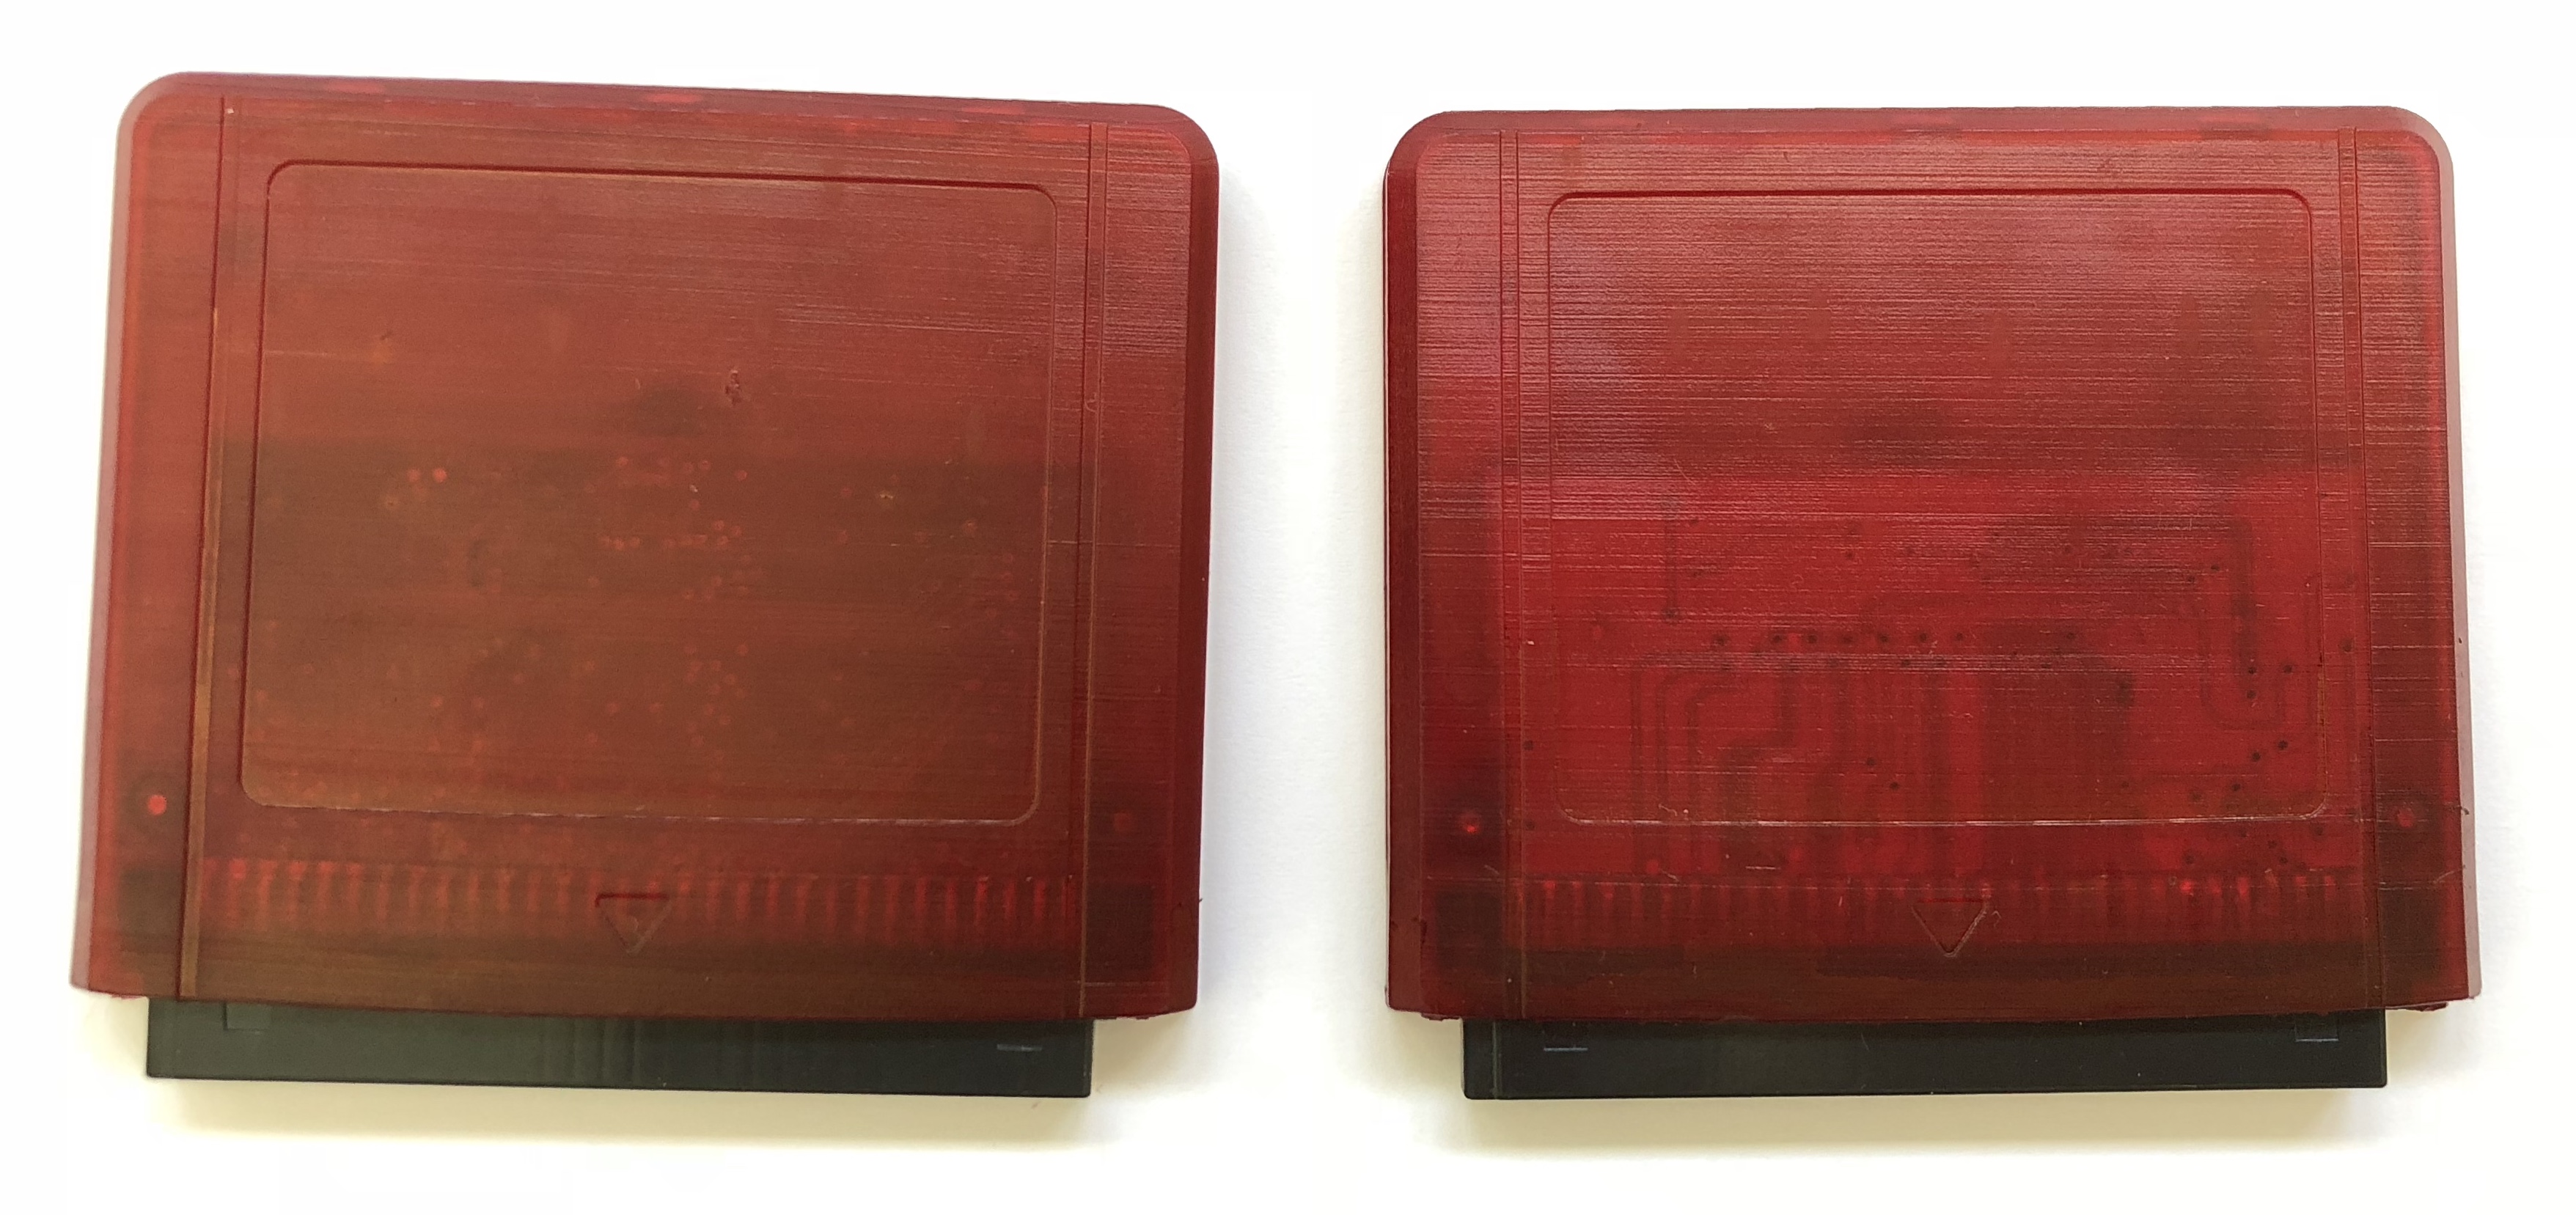
However the Durable material is a bit too flexible especially in the thinner parts of the case. I think it’s fine for someone who may have access to a Formlabs 2 printer, but not prime time to supply to people as deliveries for custom projects. It’s just not quite ABS enough. The dye comes out not too bad as long as you make efforts to keep the dye tank clean. It also helps in dying if you suspend the part in the dye and keep the tank agitated so dye keeps flowing around.
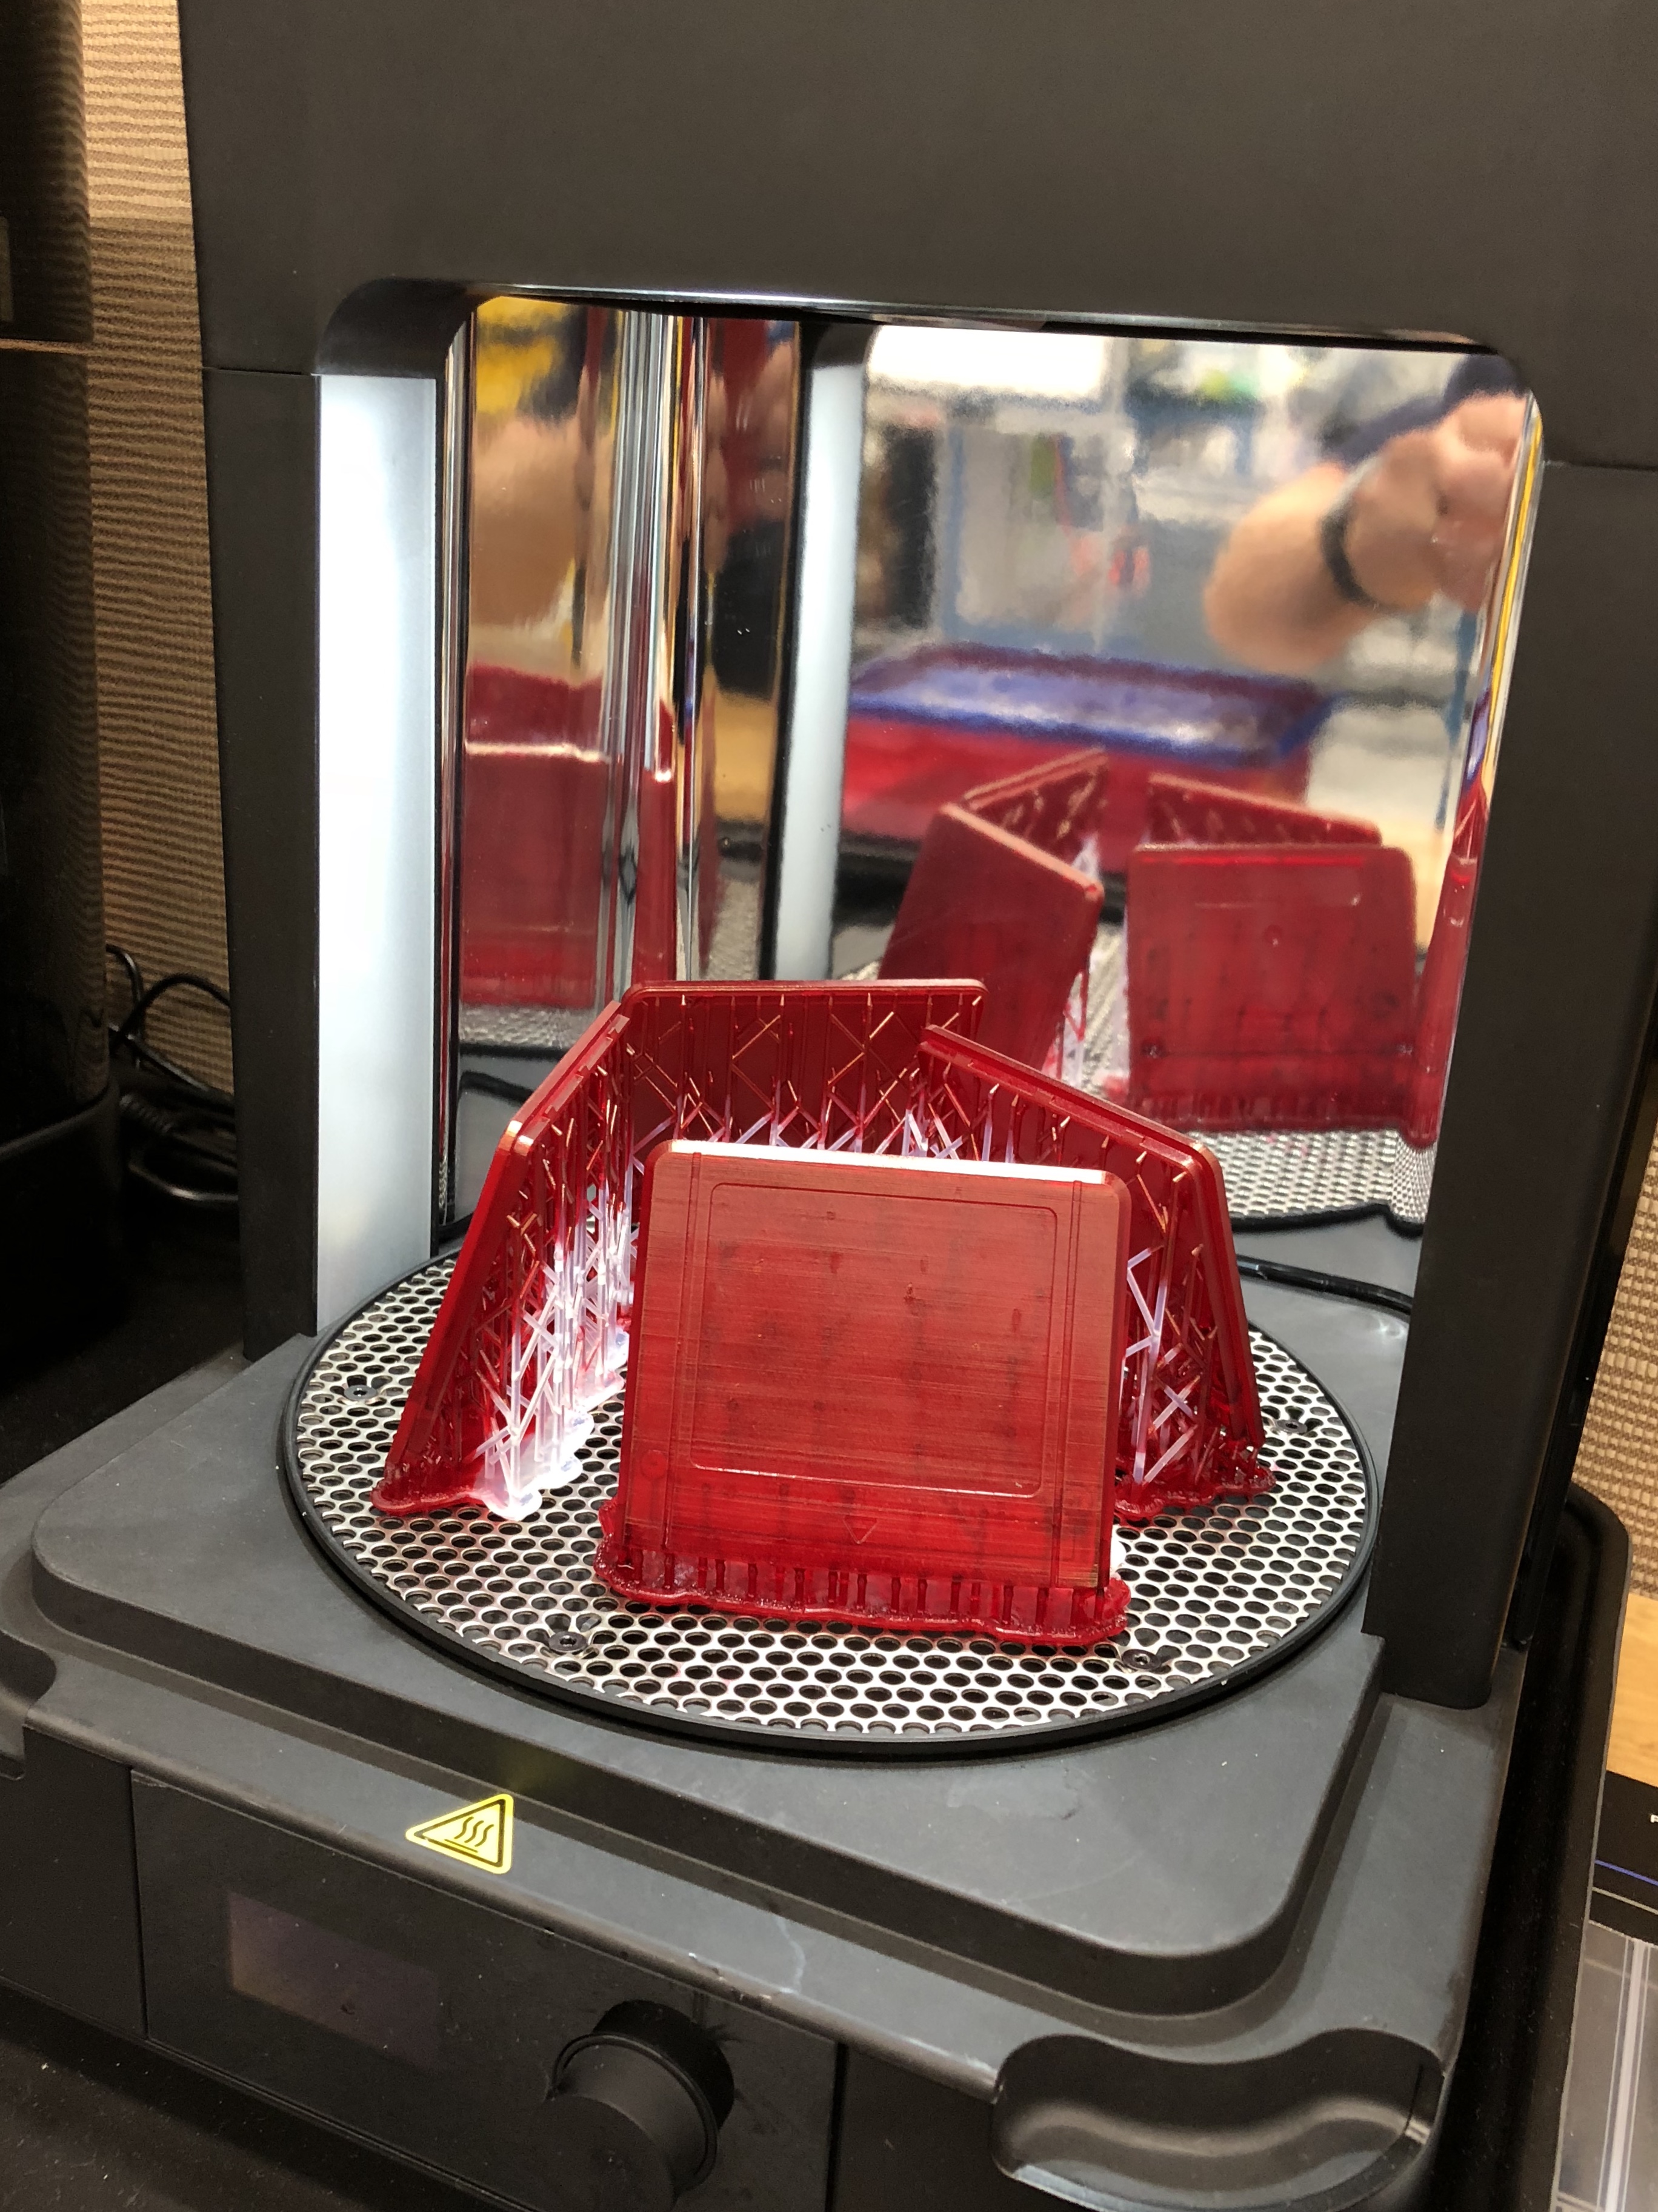
The next material I tried on the Formlabs 2 was their High Temp material. This material is marketed for high temp molds used in plastic injection molding or even for welding torch ends. However, I had access and so wanted to try it for cases. Turns out its way too brittle when thin walls are made. It dyes fine like Durable. These cases won’t work due to their brittle property. I cracked one handling it as well as when trying to put the screws into the case.
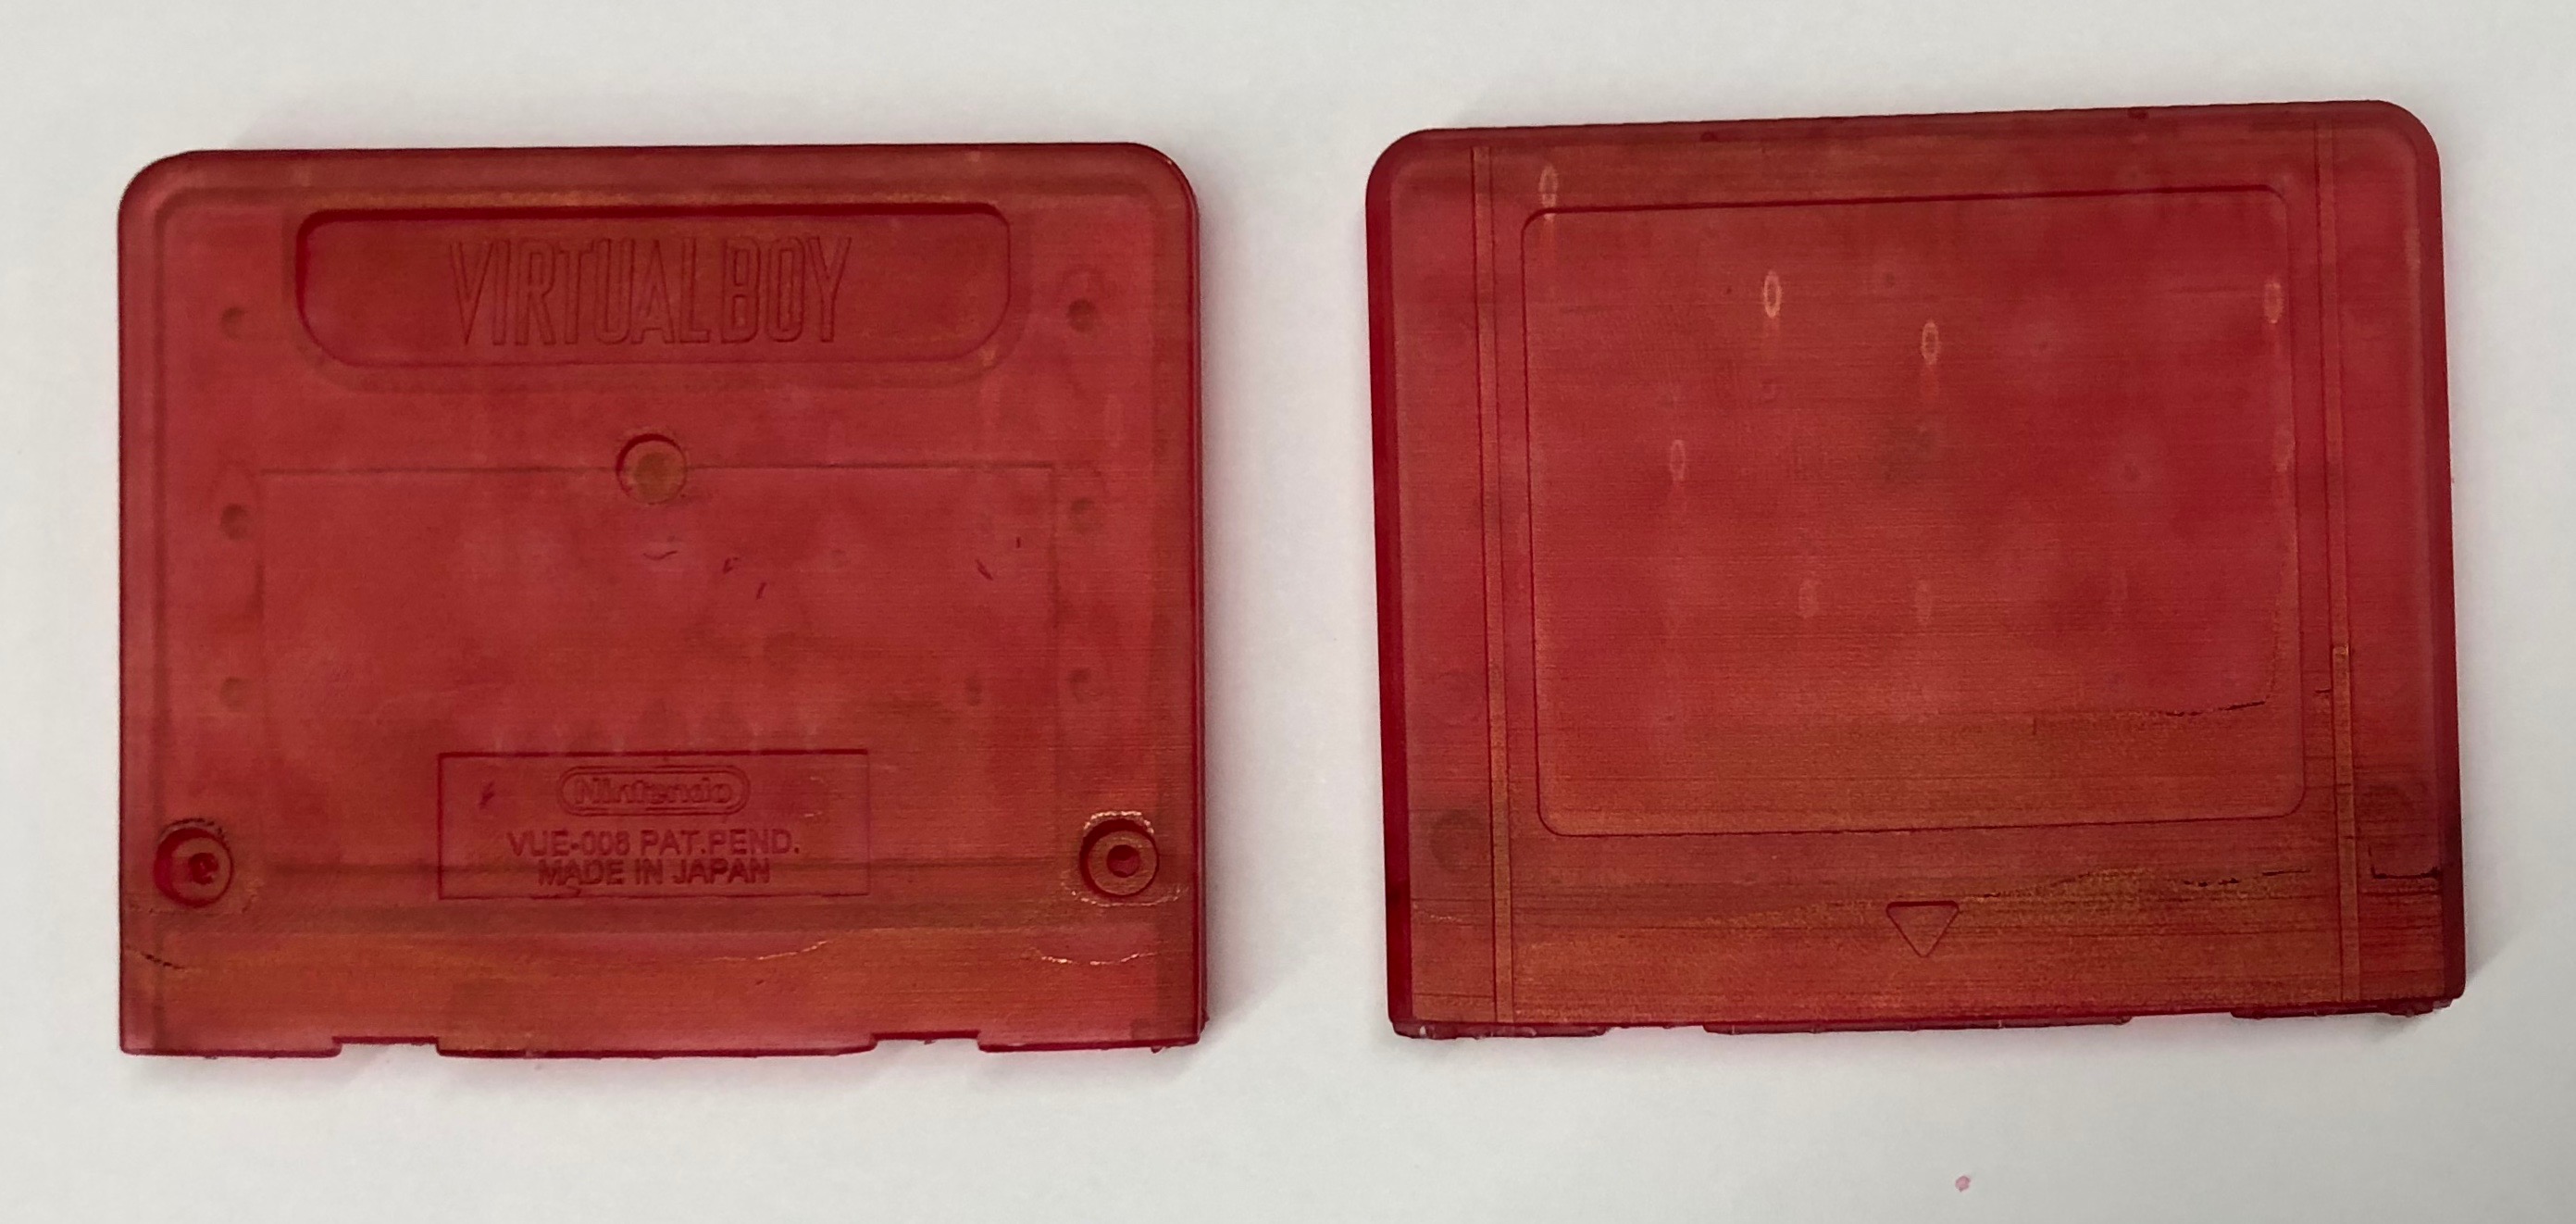
I tried a lighter mix of dye with the High Temp cases as you can see in this picture of them just prior to final cure.
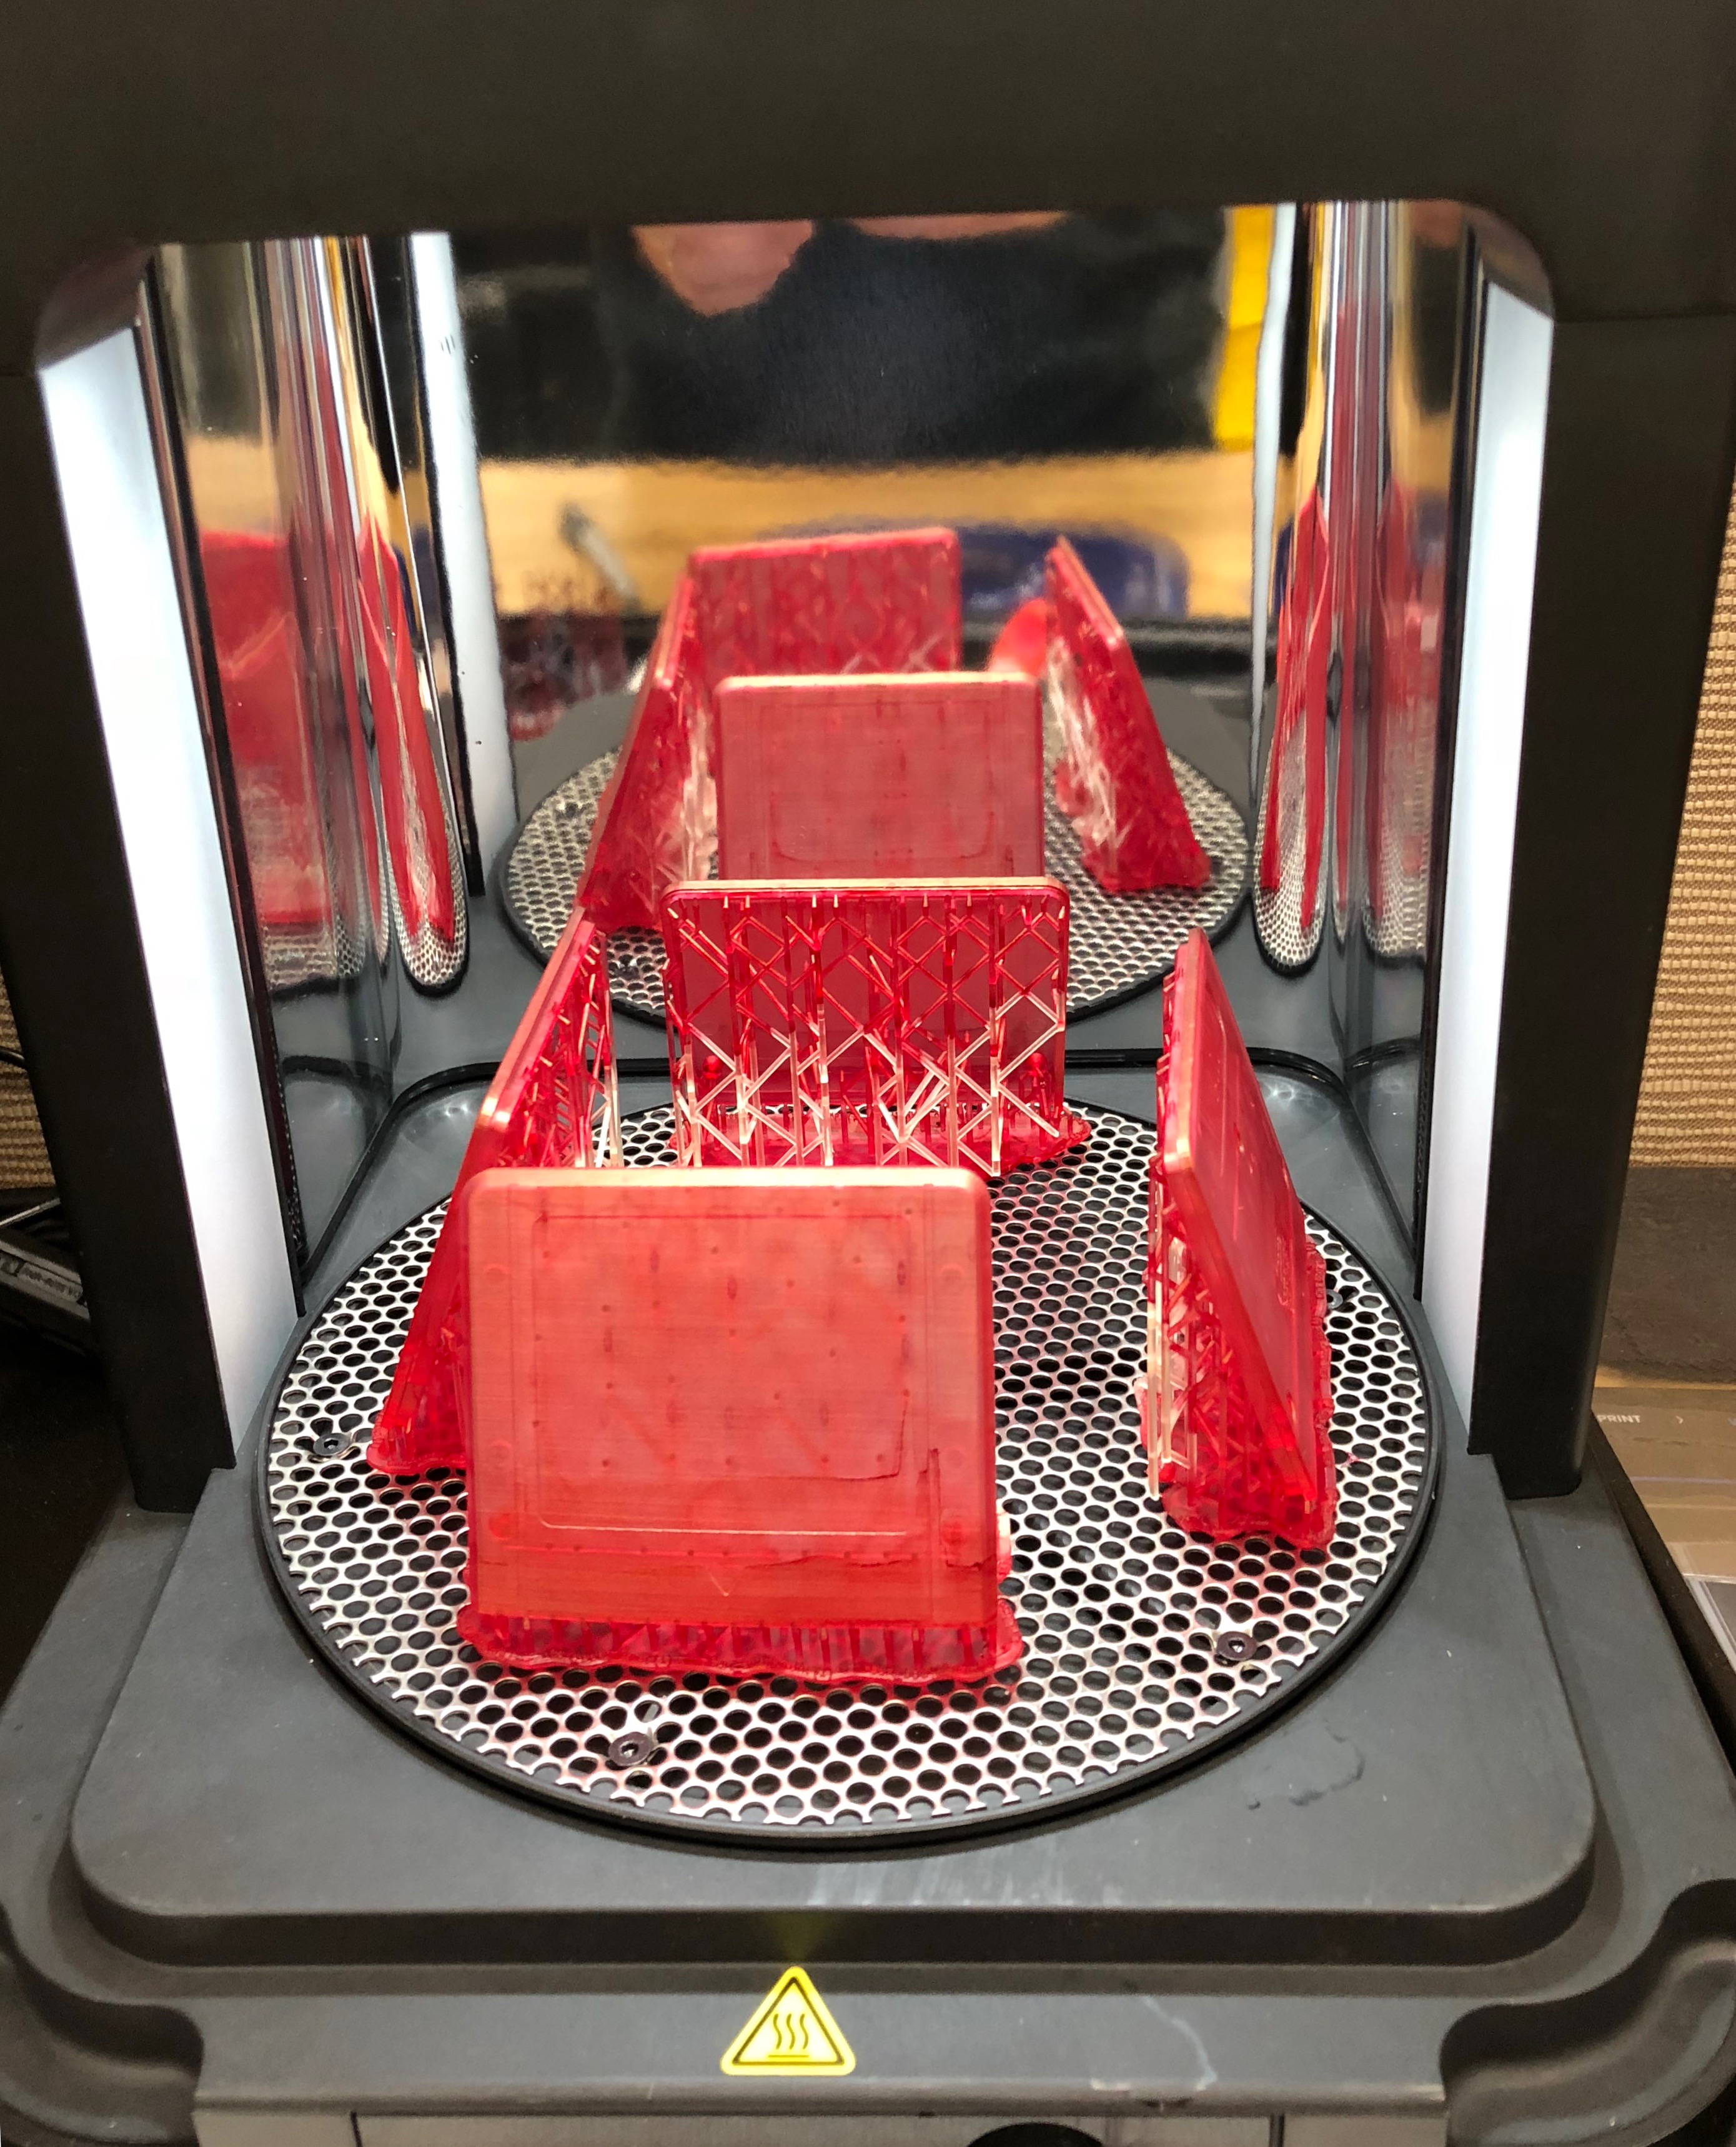
I tried Rigid material next which actually makes a very decent case replacement. Rigid is a glass filled resin which is very strong and works well for thin walled parts. It’s somewhat flexible but no where near as much as Tough or Durable. It’s flexible enough for handling without cracking. When dyed red it’s quite vibrant as well like the VB. This is the first decent case replacement using Formlabs 2 and their materials. Not so sure it could be used for a connector but for cases, it’s good. And because it comes out as a white opaque material, it can be dyed any color you’d like. I still need to refine my dying process as you’ll see in the images below but that’s a secondary concern right now and can be solved.
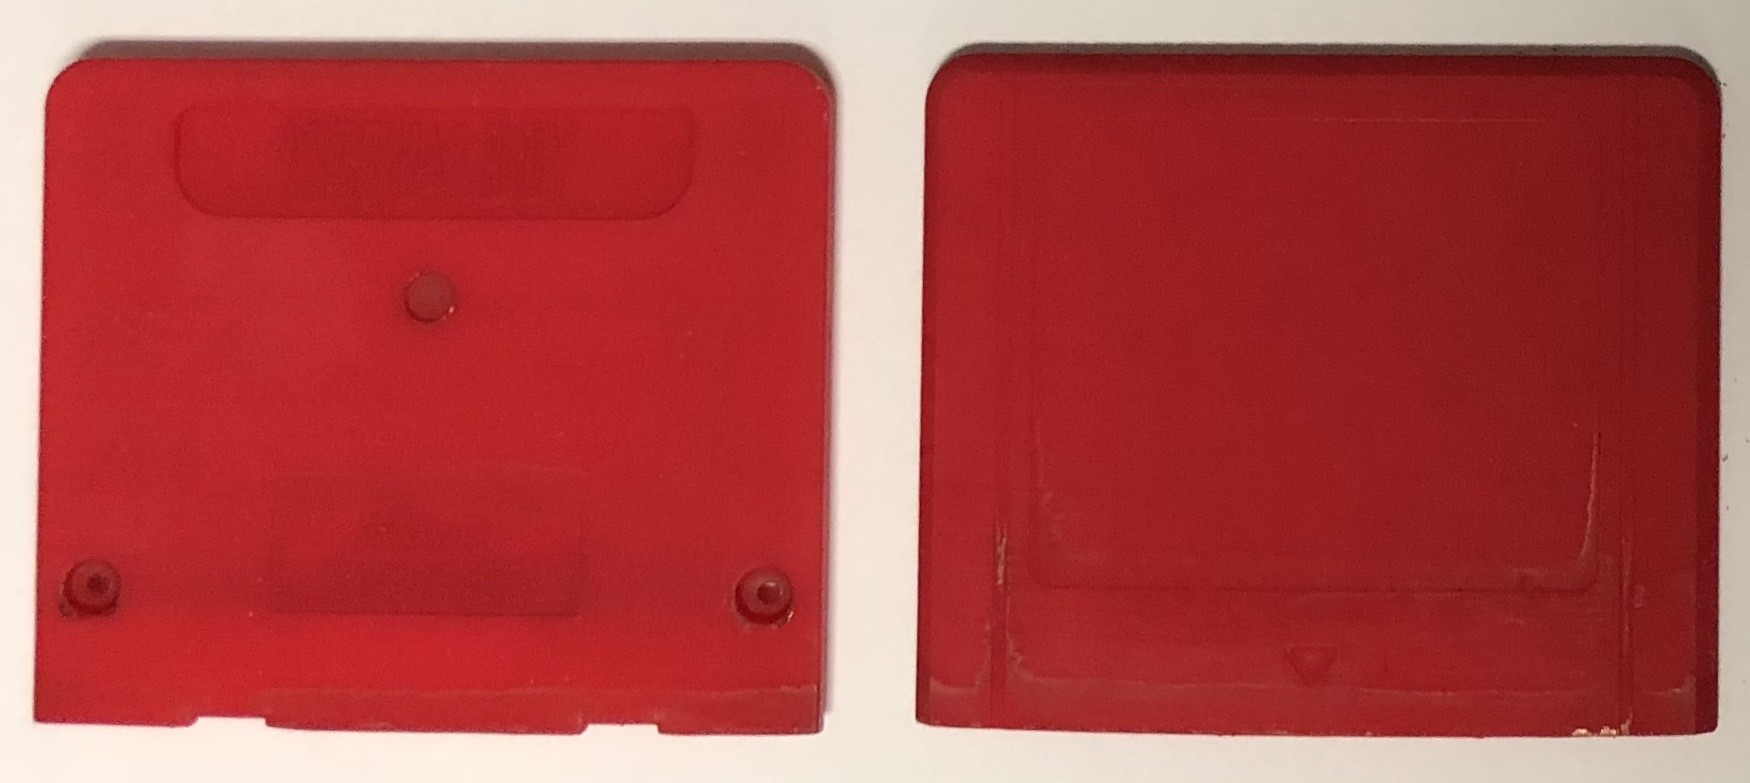
Here’s the Rigid RED dyed parts next to some un-dyed parts post final cure for comparison. The RED color is really nice and vibrant.
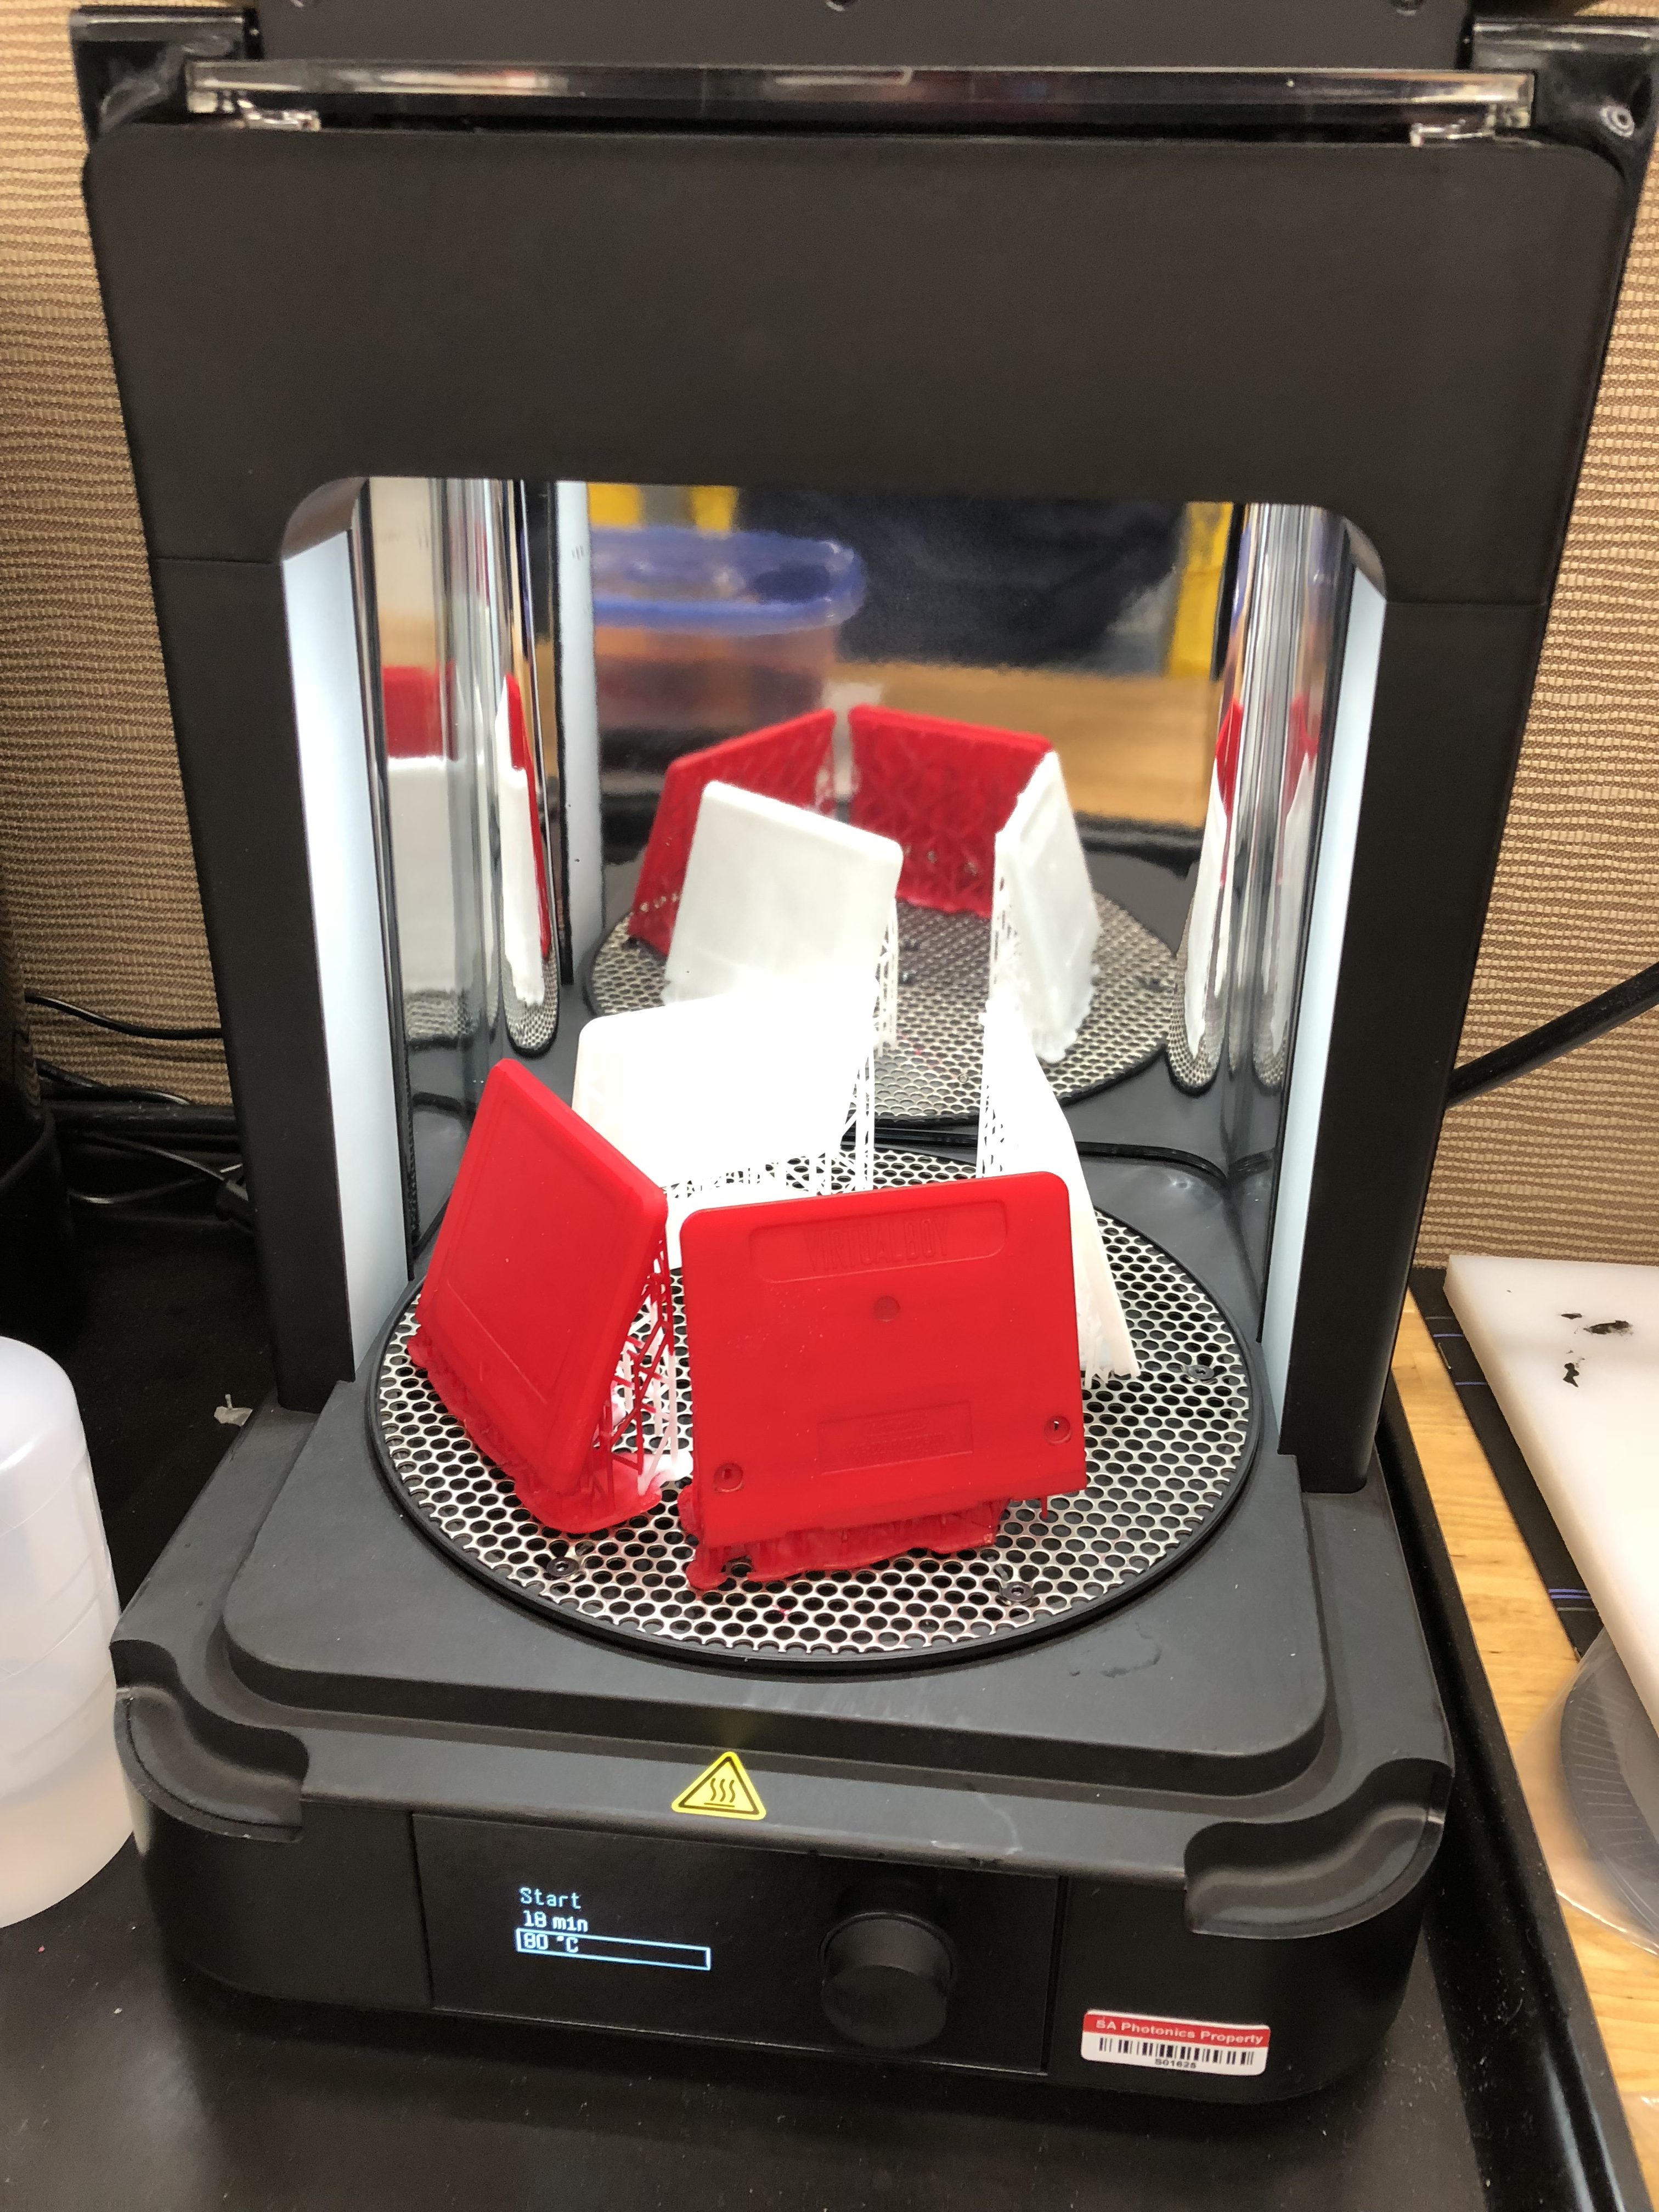
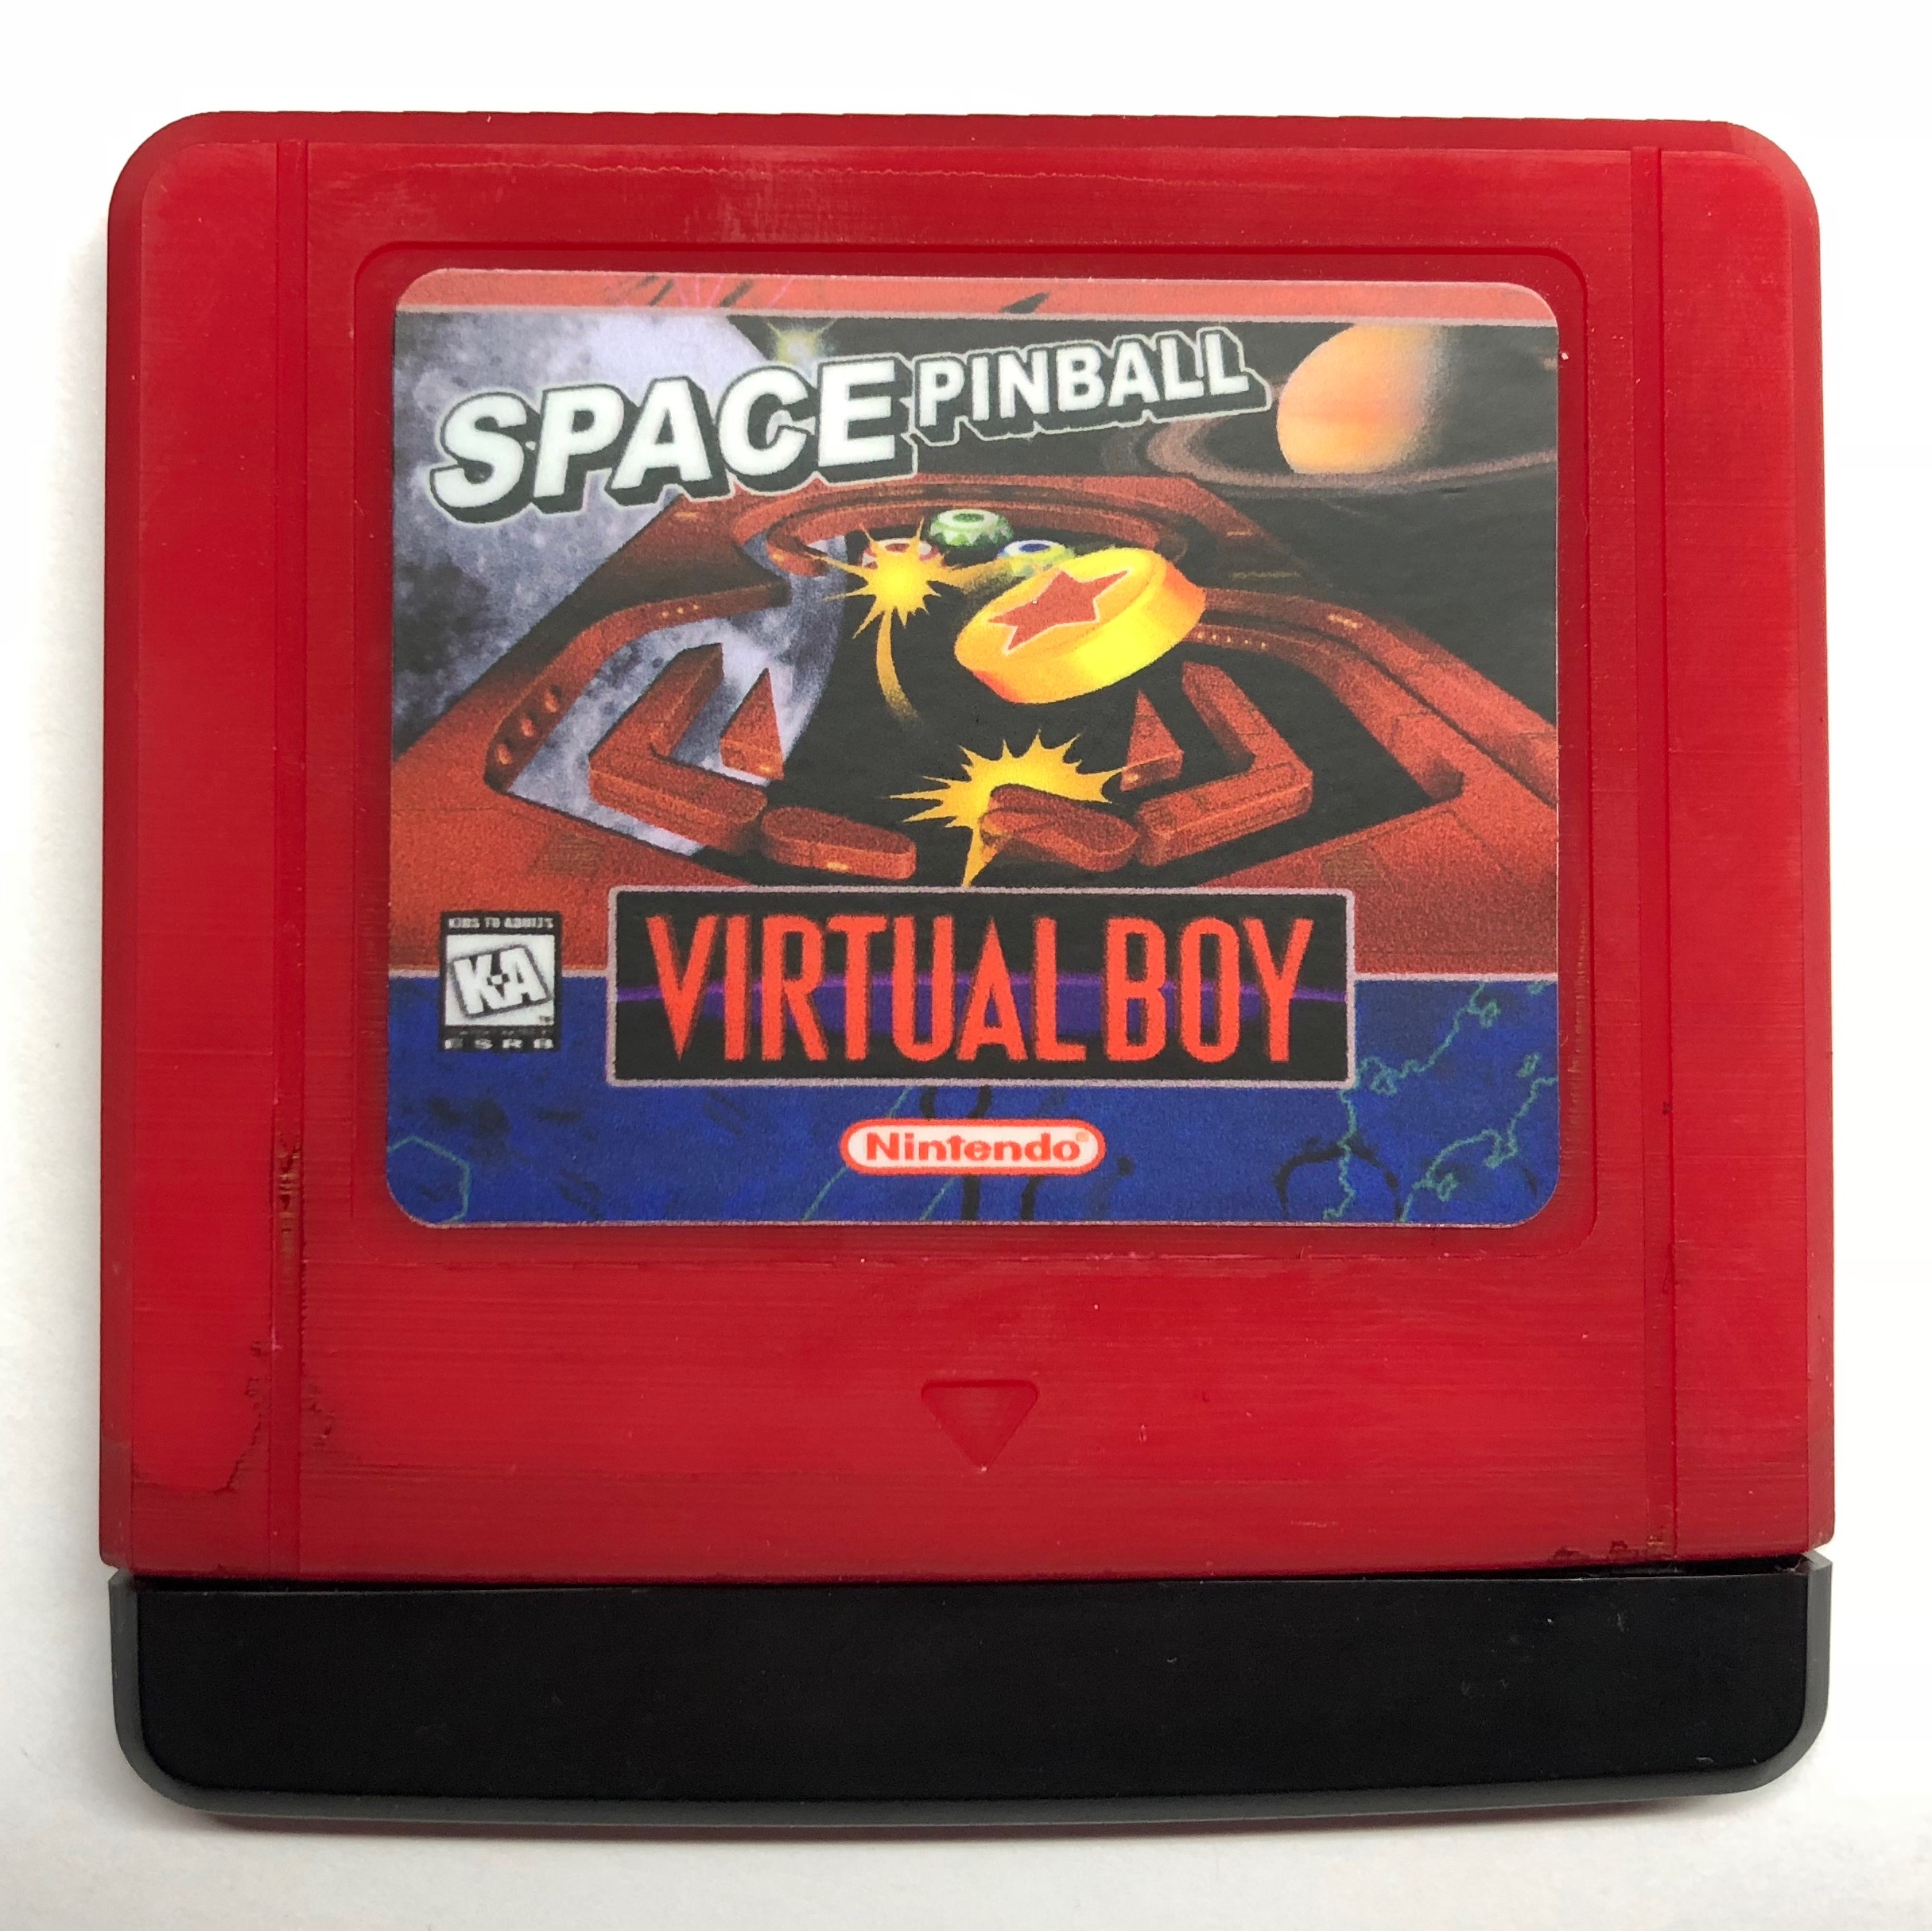
Here’s a Space Pinball in the nice new Rigid RED case. I don’t have my dye process down quite pat yet so you’ll see some artifacts of that towards the bottom of the case where it looks darker than the top.
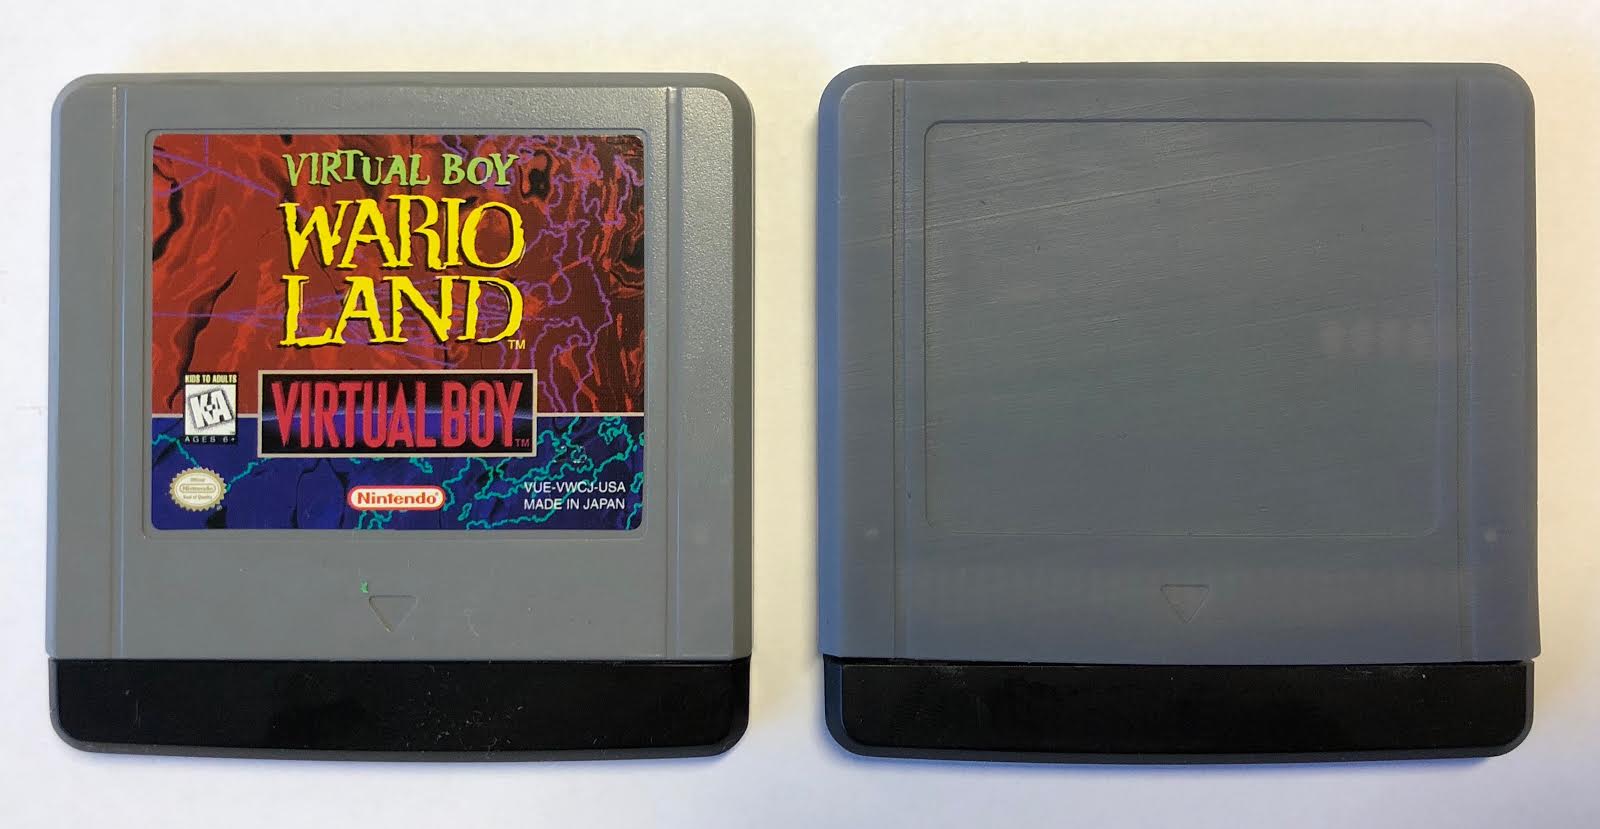
I had some Gray Pro cases printed for me because I wanted to save some cost by not buying the newer resin tank and a whole liter of Grey Pro resin. A side by side with a stock Wario VB game is shown below. The Grey Pro case is somewhat flexible. The Grey Pro parts look dark in the image but they seem to be lighter the next day and a much closer grey tone to the original VB cases. It’s not a bad material for cases but not quite 100% either.
My conclusion at this point is yes, replacement SLA cartridge cases could be made using Rigid material, Grey Pro, or even Tough if you’re OK with blue. It comes out to about $8 per case before the labor and dye. A current donor cart right now is $8 which also includes the connector. So it’s still not quite worth 3D printing a case but if someone really wants one it’s within reach and possible.
DYI injection molding is also a possibility as I’ve recently found out and can make very cheap $1-$2 cases and connectors, but the cost to get started is about $4000 using 3D printed molds and a Medium Machinery machine. That’s not a price you’re likely to recover in the VB market anytime soon. It’s one of those things that is very possible to do, but you have to ask why do it, if you can never recover your costs.
Update: 12-28-2019
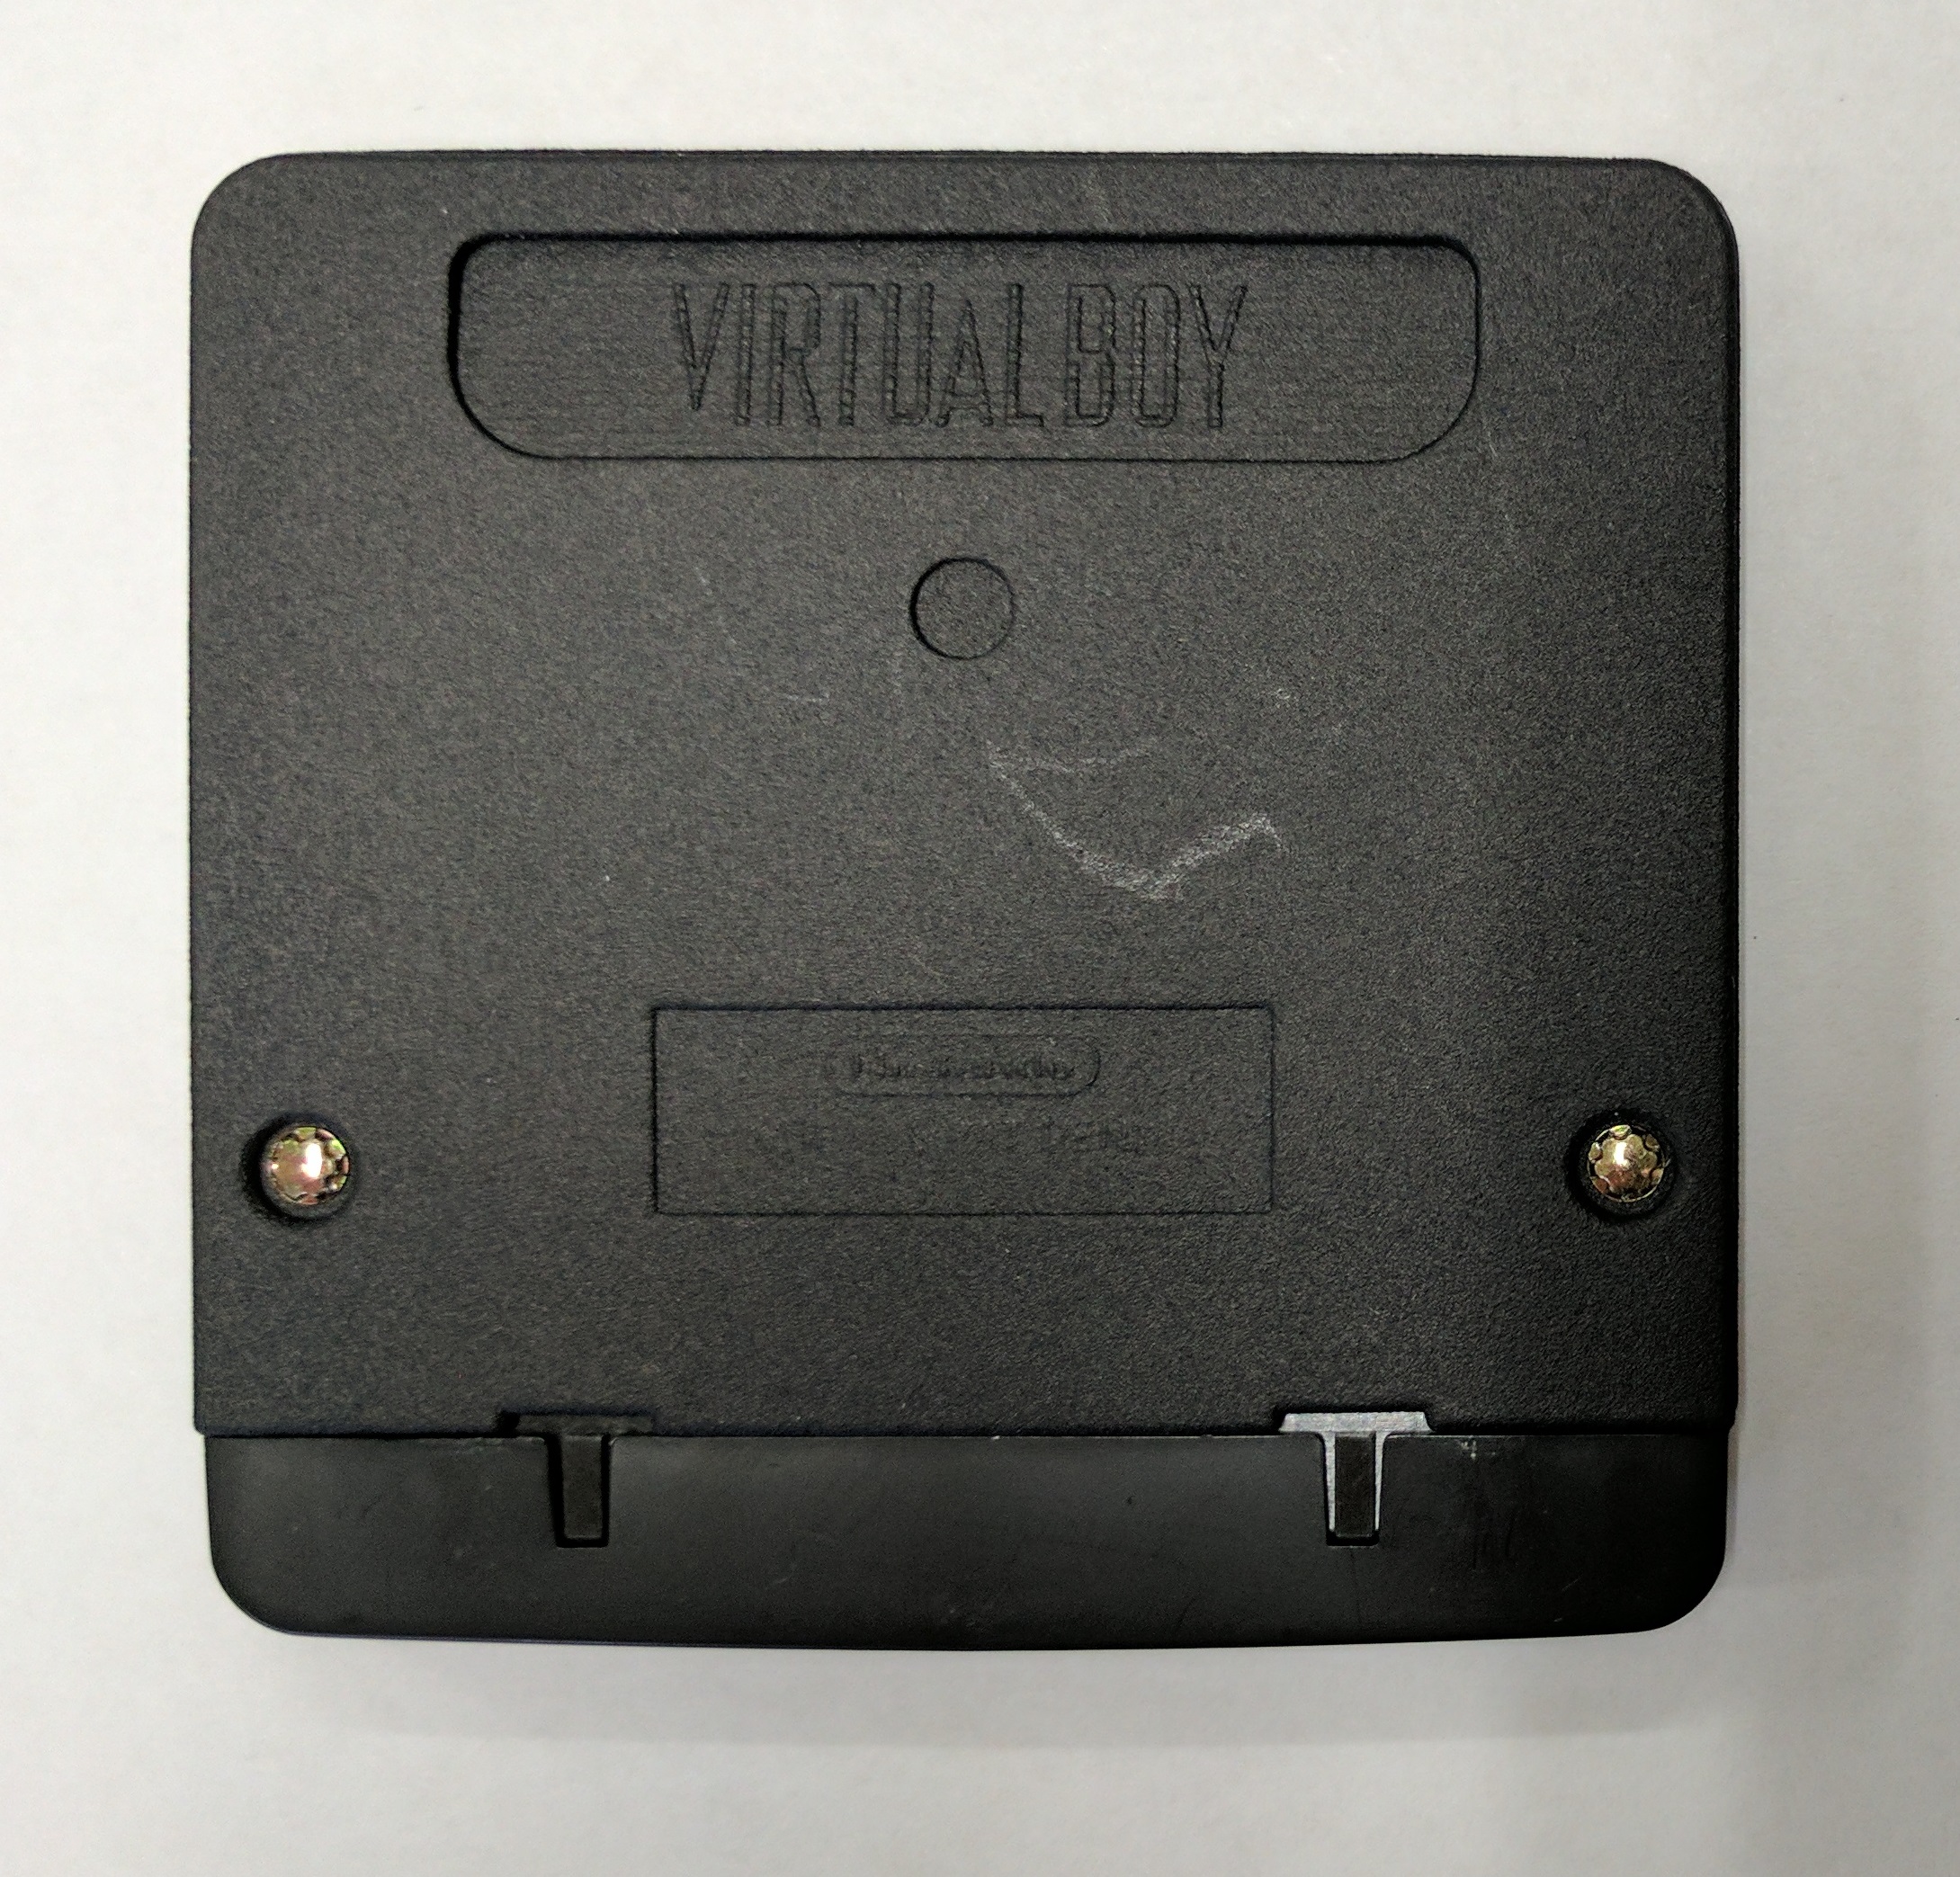
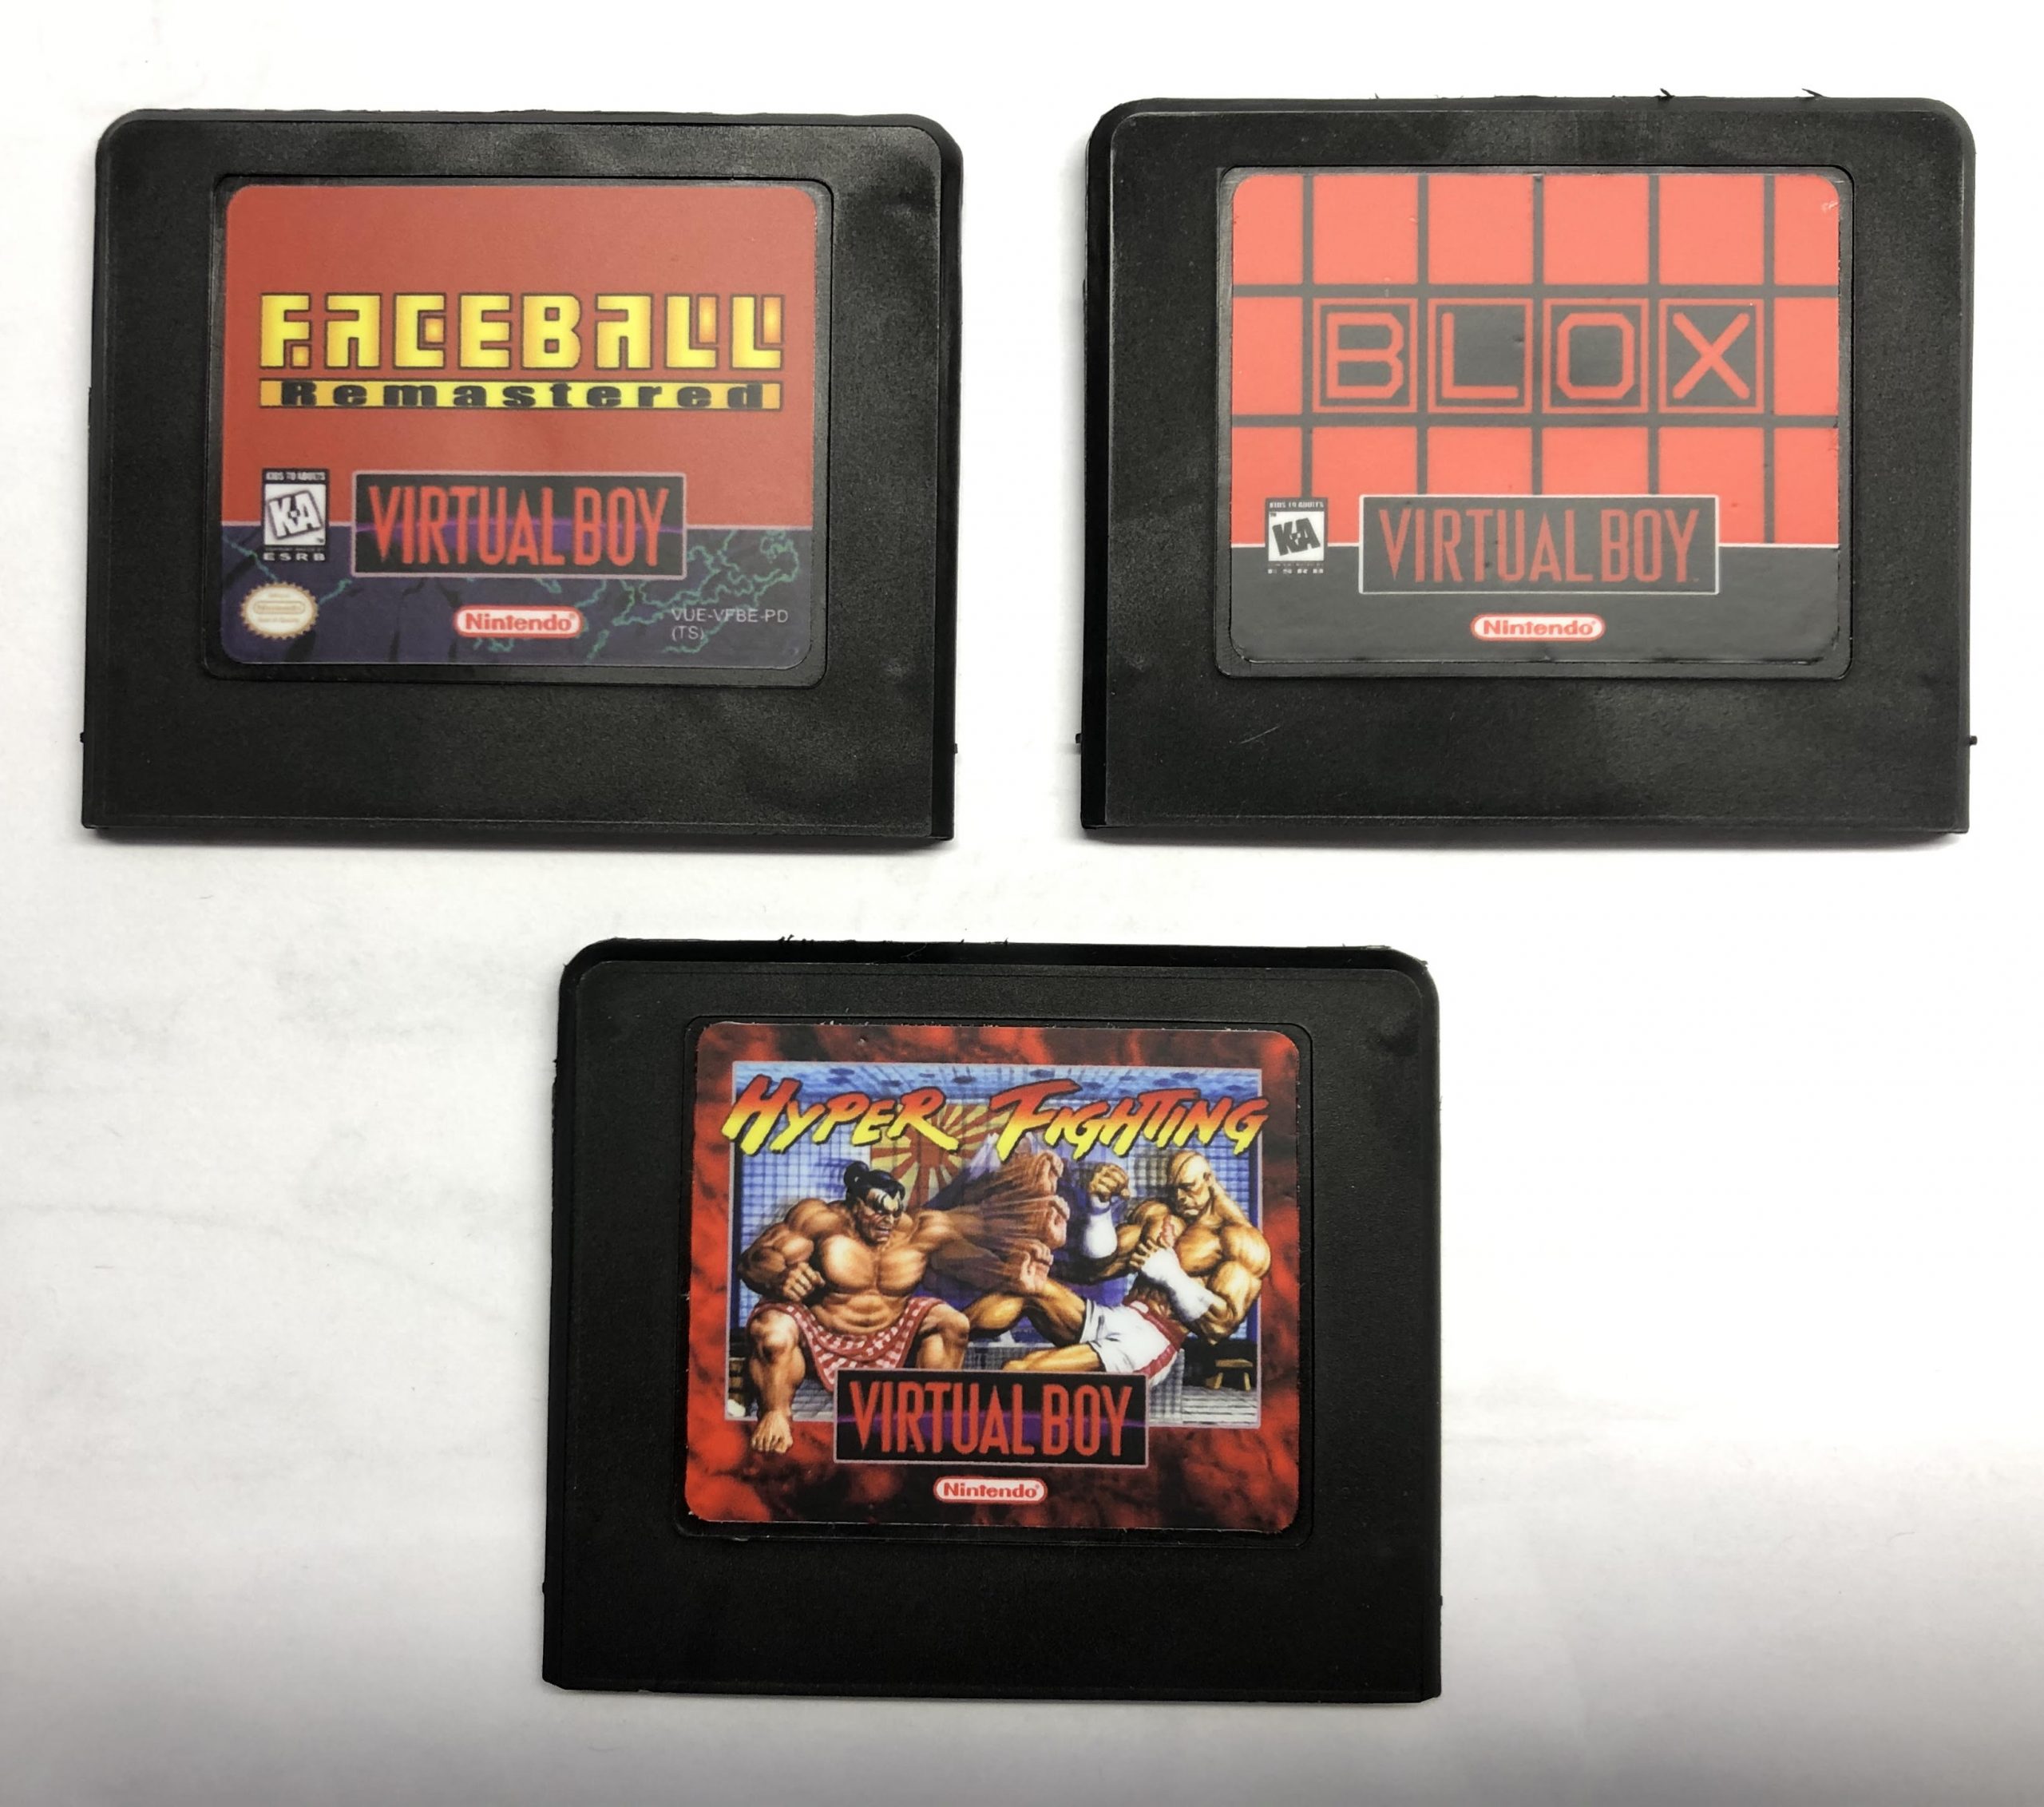
I had a mold made for a top cover of a VB case. Turns out the material properties, mold features, and temperatures are all very tricky to work out correctly, especially for a smaller injection molding machine. Below are my first Talc-filled Polypropylene injection molded cases. There’s some flashing that needs to be corrected to clean up the edges but they’re not half bad. I even have texturing on the mold but I may have to change my mold release because it seems to be changing the texturing so that its not uniform.
It now becomes a materials game to find what looks best. Low to medium flow ABS hasn’t worked out so well mainly due to my 12 ton injection molding machine not being able to push the material fast enough. I’m now looking at some high flow ABS materials, as well as other non-ABS materials.
Now cost is still an issue. Basically donor cart prices would need to rise to about $35 to make it worth making new cases and connector. That hasn’t seemed to stop me from experimenting here with desktop injection molding. I was able to find a mold shop that is much cheaper at ~$1000 a mold. The machine is $3000. You’d still have to sell a lot of cases to get any return on this. Yikes!
 Mellott's VR